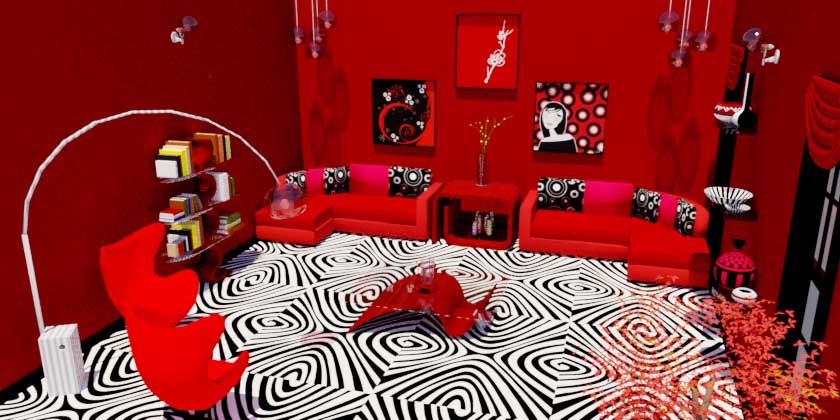
Which room layout do you like better? This . . .
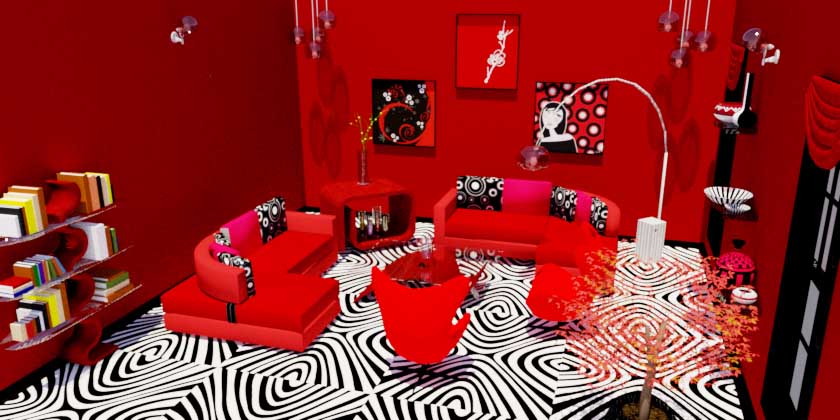
. . . or this?
In this four-part series, I’ll show how to combine SketchUp layers and scenes to explore different options for room design. It’s a useful technique for interior/kitchen/bath designers, remodelers, contractors, or any regular Joe (or Josephine) looking to change a room layout or move existing pieces into a new space.
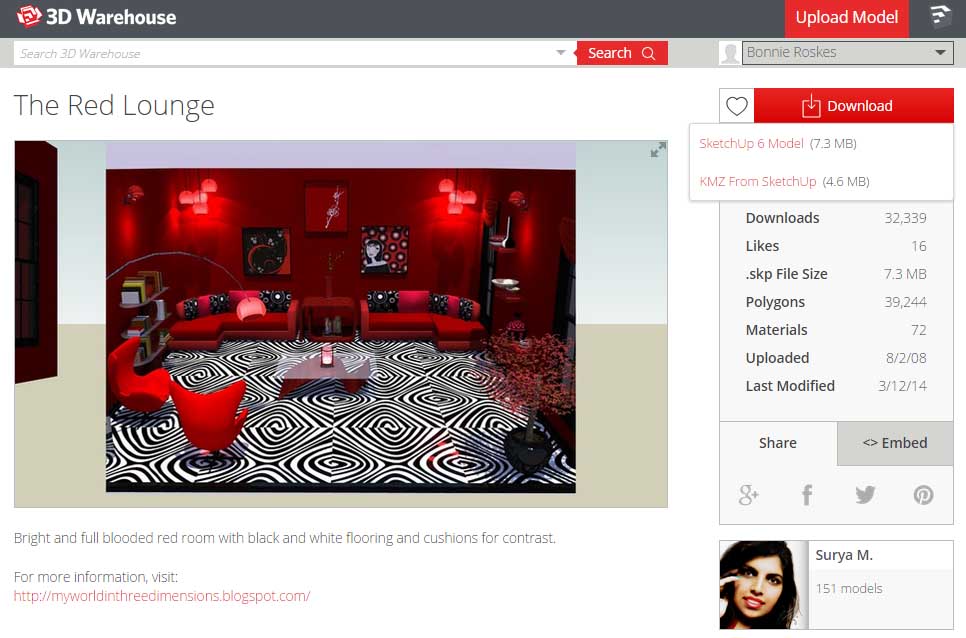
I’m demonstrating the steps using a model called “The Red Lounge” by the talented designer Surya Murali. If you want to try out the steps, you can download this exact model or find (or create) a different furnished room. This particular model was created way back in SketchUp 6, but it will open in any later version.
I like this particular model for three reasons:
- Surya’s style is detailed, bold, and fun.
- All pieces in the room (furniture, accessories, lights) are groups or components. This makes each piece easy to select and manipulate.
- There’s an included image, which appears on the 3D Warehouse page, of how the model looks when rendered (I think Surya uses SU Podium, though this model is several years old so I’m not positive).
Prepare the Model
Here’s the room model in SketchUp. The rendered image is off to the side, and the model itself has no edges showing.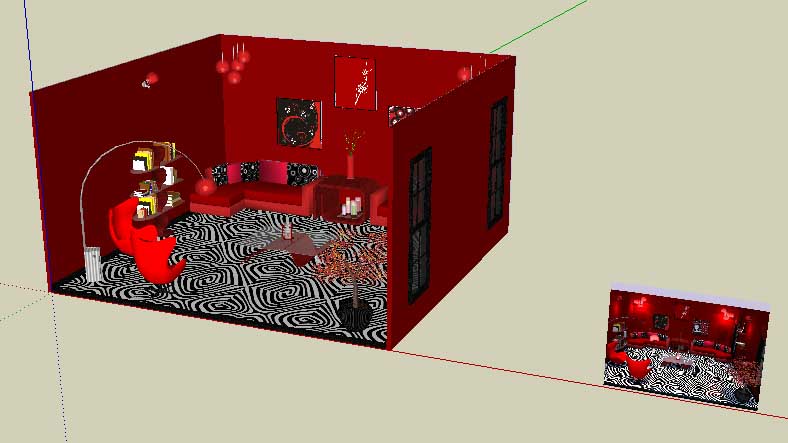
To make the model easier to work with, I turned the edges on (menu: View / Edge Style / Edges), erased the rendered image, and turned off the axes (View / Axes). Some of Surya’s models (not this one) also have shadows turned on – things work faster if you turn those off as well (View / Shadows). 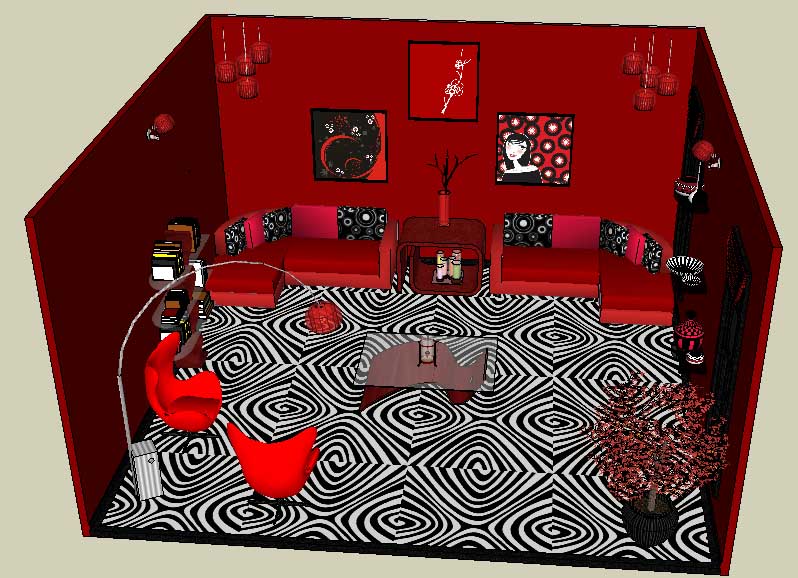
Another thing to check before getting started is whether the model already contains layers – open the Layers window. This particular model comes with four layers, in addition to the default (“Layer0”). I want to get rid of these layers and start with a new set of layers, one for each design option.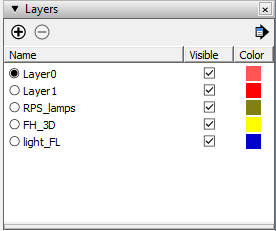
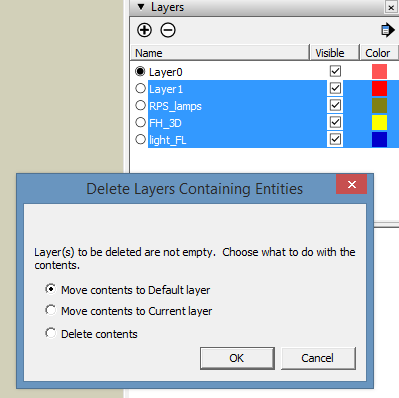
To remove layers, select them all except “Layer0” (you can’t delete the default layer), and click the “minus” icon. These layers have objects on them; choose to move these objects to the default layer (“Layer0”).
You should end up with only “Layer0,” which is where everything in the model now resides.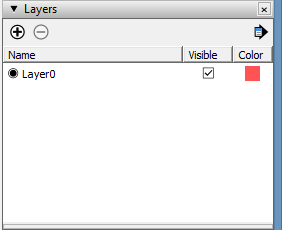
Set up New Layers
Use the “plus” icon to create two new layers: “Option 1” and “Option 2.” For both of these layers, uncheck the Visible box. This means that anything that gets placed on one of these layers will become invisible.
I’m not messing with anything on the walls, but I’m going to move all of the pieces on the floor to the “Option 1” layer. Placing an object on a layer is done in the Entity Info window. I’m starting with three selected objects: the two egg chairs and the floor lamp, which can all be selected using Select with the Shift key pressed. Right-click on any selected object and choose Entity Info. 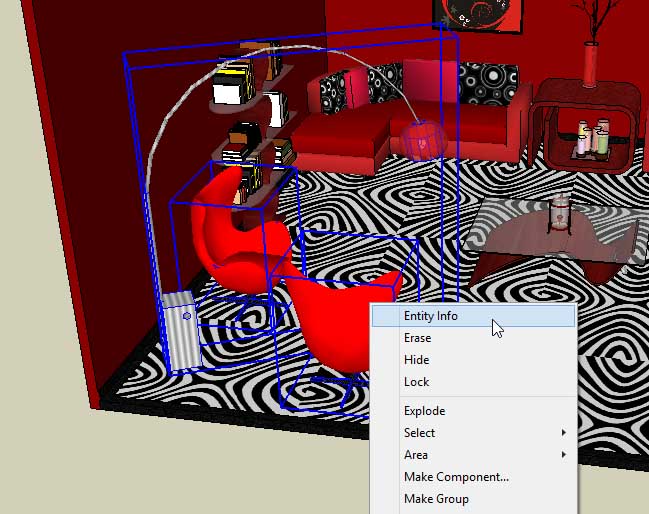
In Entity Info, switch the layer of the selected objects (three components) to “Option 1.” 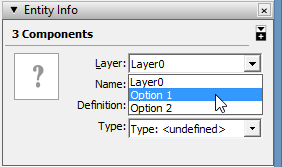
Because “Option 1” is not visible, those three objects disappear from view.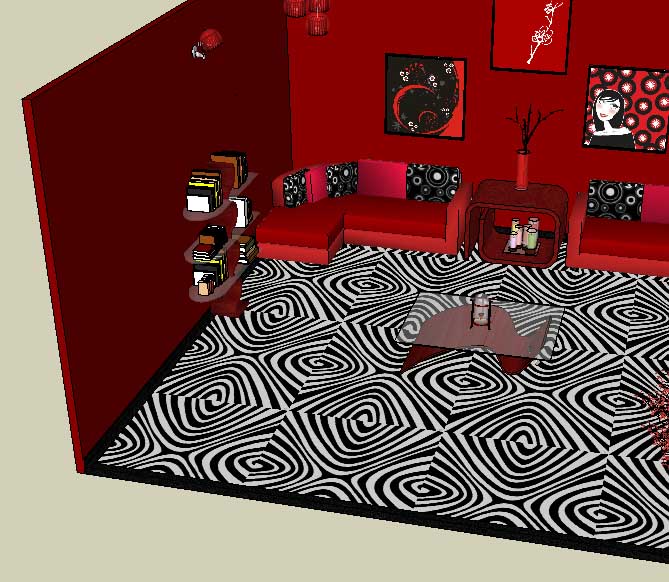
Select and move all the rest of the floor pieces to “Option 1.” Because each moved object becomes invisible, it’s easy to keep track of what’s left. You can keep going and move the wall art and lights and knick-knacks, but I’m leaving those in place. When you’re done, all of the pieces available for rearranging are invisible. 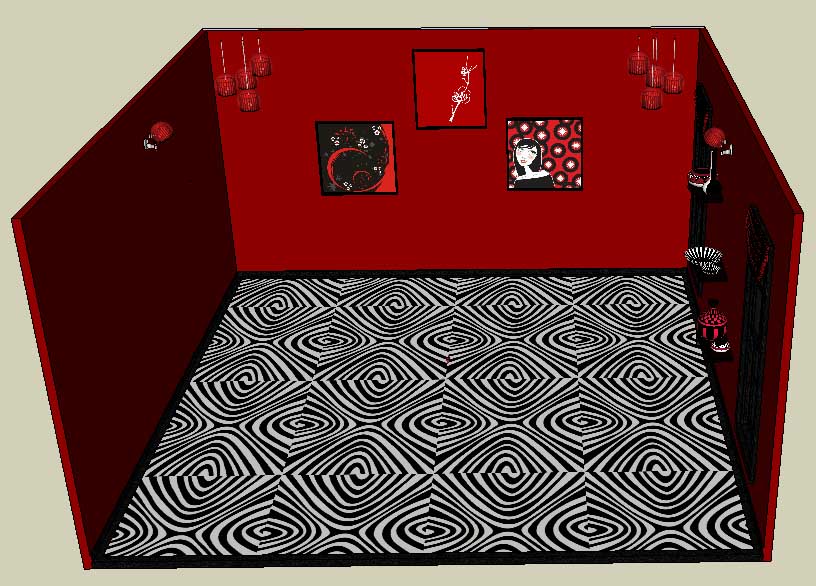
To make the room itself easier to manipulate, select all of what’s left: walls, floor, lights, wall things, etc. Right-click on any selected object and choose Make Group. This makes the entire room into a single object.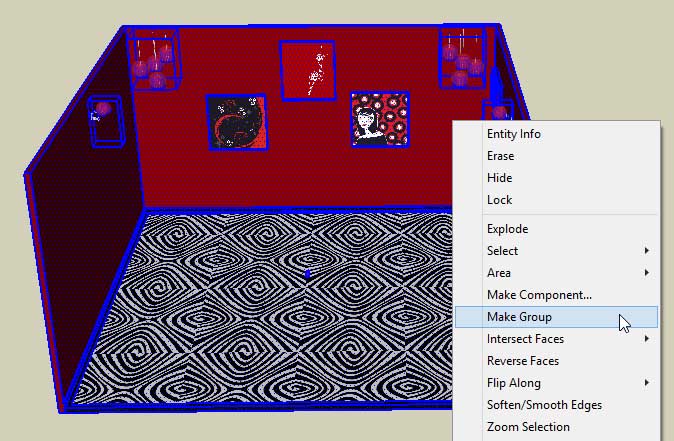
To bring everything back into view, turn the “Option 1” layer back on. 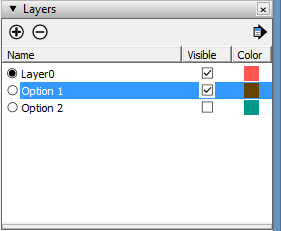
Now the room looks just as it did before. 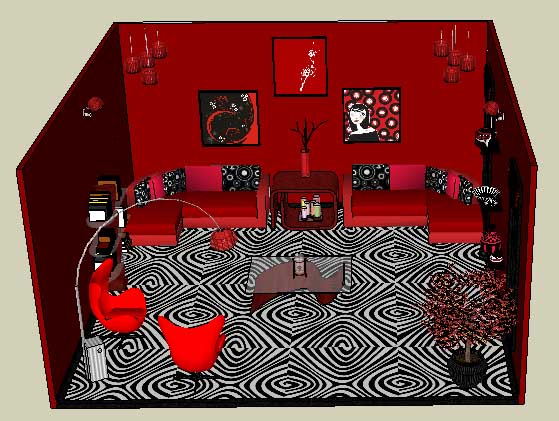
But now I’m well-positioned to start on my “Option 2” design, which I’ll show in Part 2.

