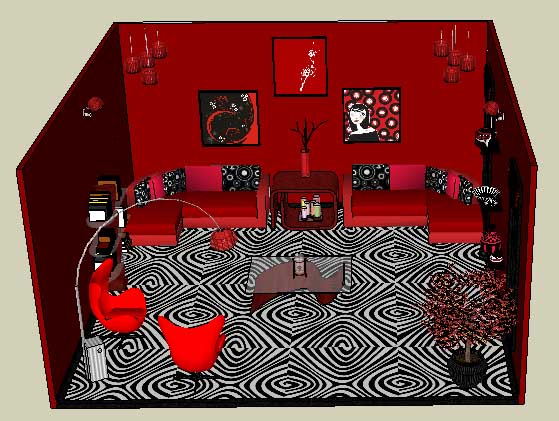
In Part 1 of this series, I started with this room design:
I want to compare this room layout to another design. The first step, which I showed in Part 1, was setting up layers – one layer for each design.
In this part, I’ll show how to use the layers to display the two different designs.
Here’s where I ended up after Part 1: one layer for each design option, with all of the furniture and accessories placed on layer “Option 1.” Nothing yet is on the “Option 2” layer, and that layer is set to be invisible.

Copy the Furnishings
Select everything – the entire room and its contents. Use the Move tool, tapping the Ctrl or Option key, to create a copy of the entire thing. 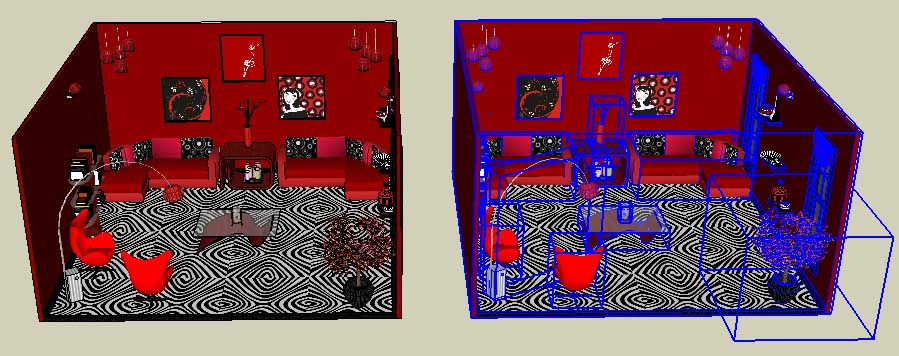
Erase the room itself from the copied set. Because the room (walls, floor, lights, etc.) was made into a group in Part 1, it’s easy to erase. 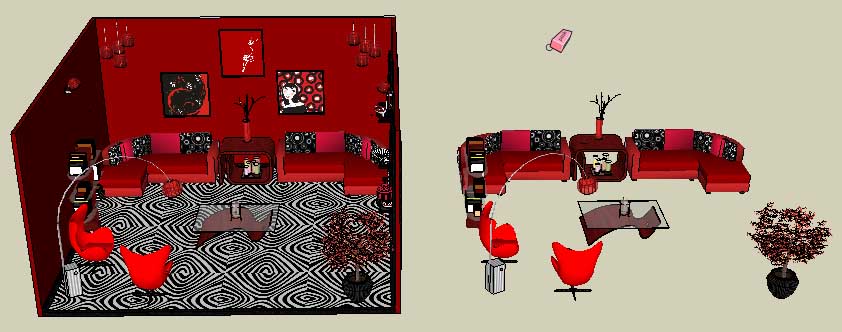
Now select all of the furnishings in the copied set. 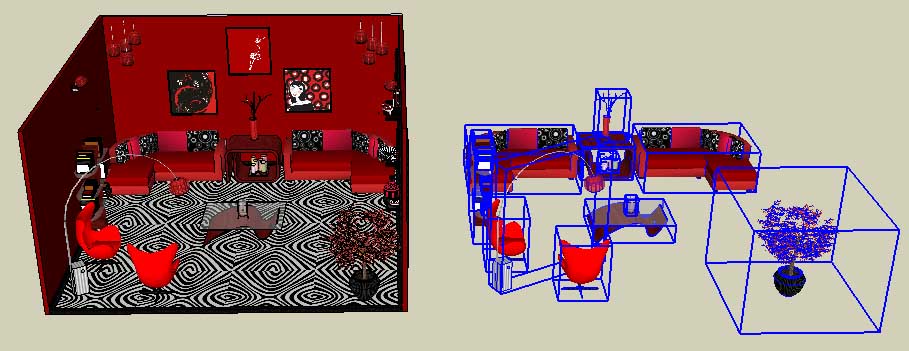
Use the Entity Info window to change the layer of the selected pieces from “Option 1” to “Option 2.” Because the “Option 2” layer is not visible, all of these objects disappear from the display.
Create the Second Design
In the Layers window, switch the visible layers: hide “Option 1” and display “Option 2.”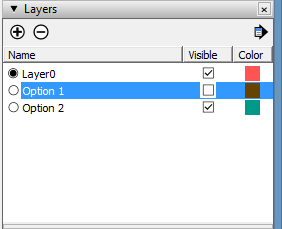
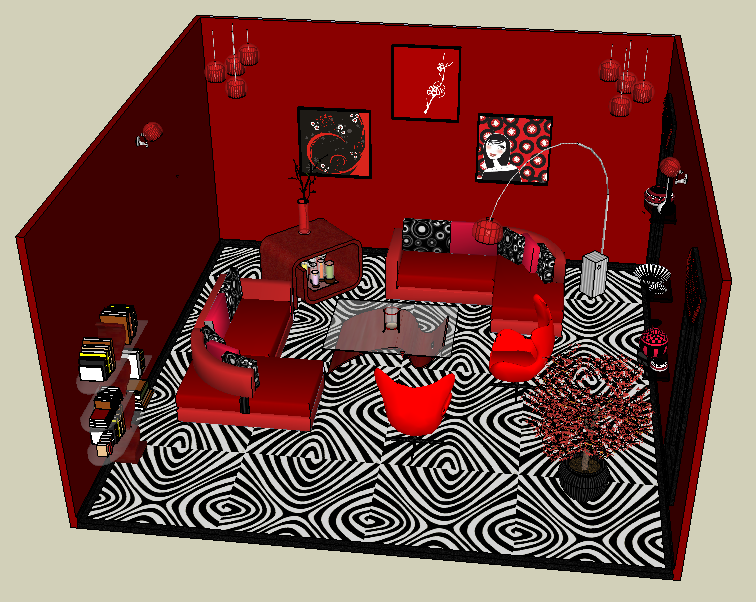
Now the pieces inside the room (“Option 1”) are invisible, and the copied pieces (“Option 2”) are visible. 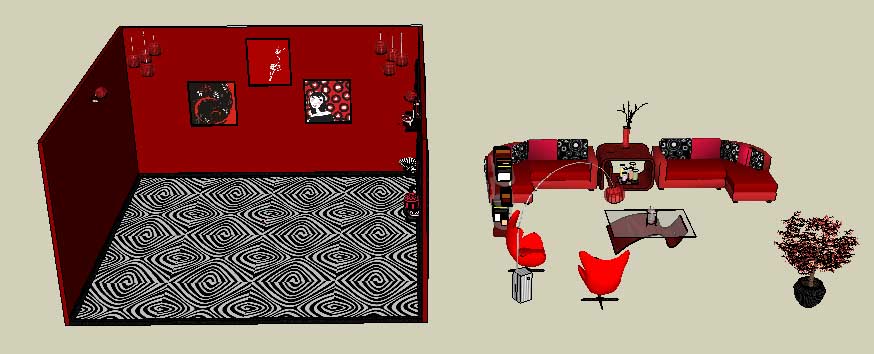
Now comes the fun part. Place the “Option 2” pieces back in the room, using a different arrangement than before. It’s easy though perhaps a little time-consuming; select a piece to move, and use Move and/or Rotate to get the piece exactly where you want it.
You can show and hide layers to compare the two designs, but all that clicking can get cumbersome.
What we need now are scenes – those will make it easy to switch back and forth between the designs. That’s coming next, in Part 3.


Permalink
I liked this lesson on how to create different scenes using layers that can be switch on and off to suit views.
Permalink
Thanks! I’ve used this technique on my own house renovation projects – it always amazes the contractor 🙂