In Part 1 of this series, we created the basic shape of the pillow, and in Part 2 we painted the front face with an image of a pillow.
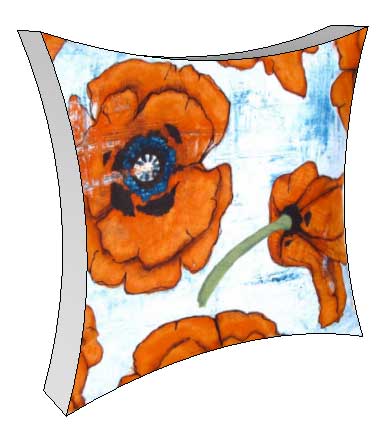
In this post, we’ll finish up the pillow, rounding its sharp edges and painting the sides and back.
RoundCorner Extension
You’ll need an extension for the rounding: RoundCorner, available from SketchUcation. (See this post for details on finding and installing the SketchUcation extension store.)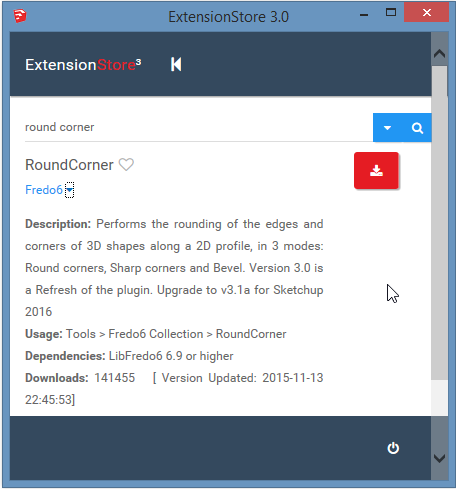
You’ll also need the LibFredo6 extension; if you don’t already have this extension, find and install that one as well.
Round the Corners
To start the rounding, first select your entire pillow. (Only the edges need to be selected, but it’s easier to just select the whole thing.)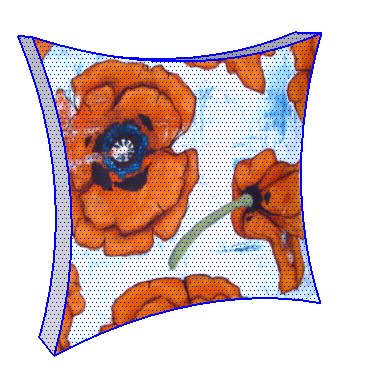
Click the first icon on the Round Corner toolbar. (If you don’t see this toolbar, choose Tools / Fredo6 Collection / RoundCorner / Round Corner.) 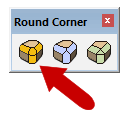
You’ll see a large toolbar across the top of the display, containing dozens of rounding options. It’s a bit overwhelming, but the only one needed here is Offset, found under “Rounding Parameters.” Enter some offset numbers to try them out. The preview of the rounding edges is shown in green, to give you an idea of where the rounding will start and stop. If your offset is too high, you’ll see some orange squares, along with a warning message about reducing your offset due to overlaps. Enter the highest offset you can without causing any overlaps. In my example, 5/8″ works nicely.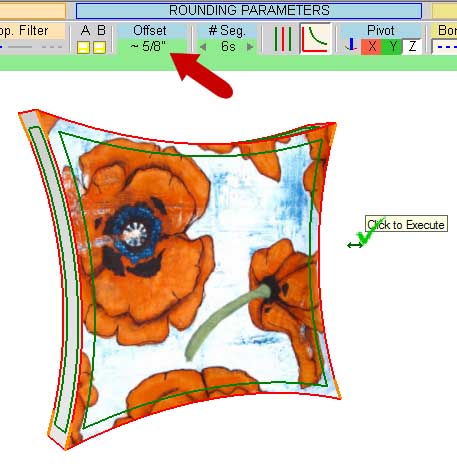
Click anywhere outside the pillow to complete the rounding. If you don’t like the result, you can try a different offset value and re-run the rounding. When you do like the result, click again in blank space to end the extension. Here’s the result – the edges are nice and soft, but there’s a jumbled-looking mess of materials surrounding the front face.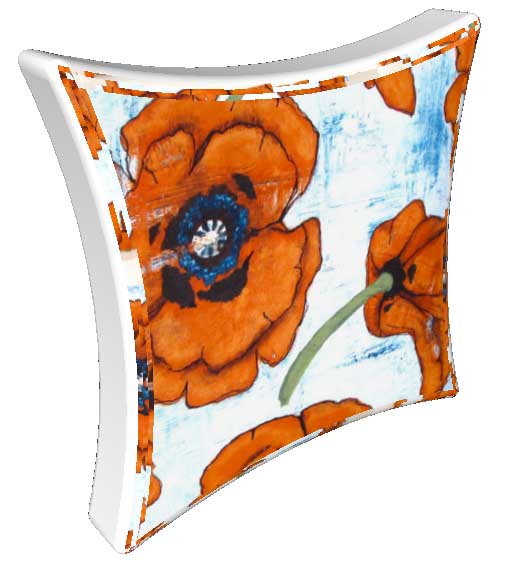
Fix the Materials
There’s a neat way to fix this.
We need to access the material for just one face – the front face. But if you try now to select just the front face, you’ll see that the entire pillow is now one, big face. To separate the faces, choose View / Hidden Geometry; now you can see all of the edges surrounding all of the pillow faces, large and small. Right-click on the front face and choose Texture / Projected. (By default, an applied image is not projected; choosing this option is turning projection on.) 
Then go to the Materials window and click the eyedropper icon. Or, if you’re a Mac user, activate the Paint tool and press and hold the Alt key (which works for PC users as well). This changes your cursor to an eyedropper icon. 
Click the eyedropper on the front face, to “sample” its material. 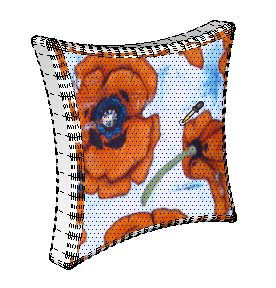
We’re ready to apply this sampled material to the rest of the pillow, but first turn off hidden edges by toggling View / Hidden Geometry. 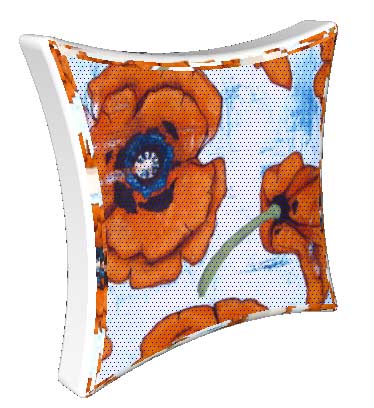
Now your cursor should be a paint bucket. Click anywhere on the pillow other than the front face. Your results might not look perfect – the sides below are a little too stretchy. But again, nobody’s going to be looking too closely at a throw pillow. 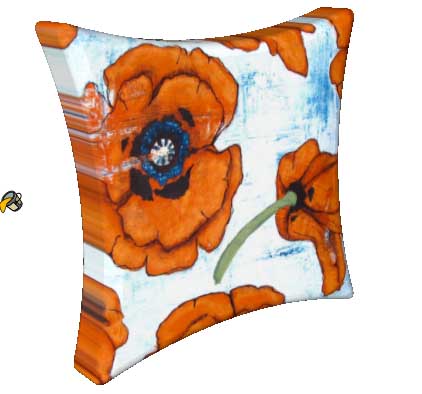
(You can also reduce this effect by starting out with a thinner pillow – perhaps pulled to a 1.5″ depth rather than 3″.)
Save your pillow model.
Now we’re ready for the final step in Part 4 – bringing the pillow into a model of a room.

