In Part 1 of this series, I showed how to find some efficient and well-modeled trees in SketchUp’s 3D Warehouse. In this post, I’ll show how to create your own “face camera” trees from scratch.
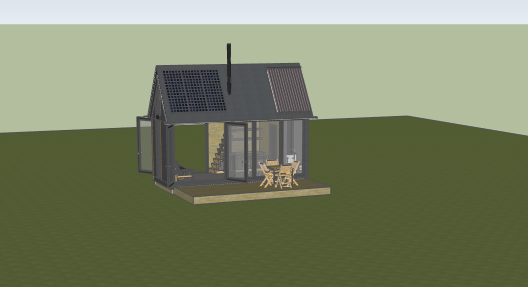
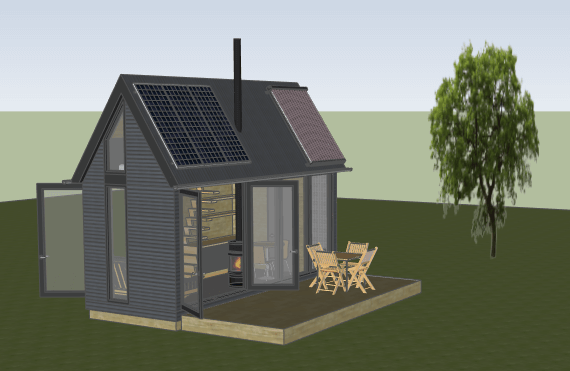
I’ll start with the same model – a house that could use a few trees around it.
All you need to model a tree is an image with a transparent background. And they’re easier to find than you may think. Try Google Images and search for “alpha transparent tree.” So many results:
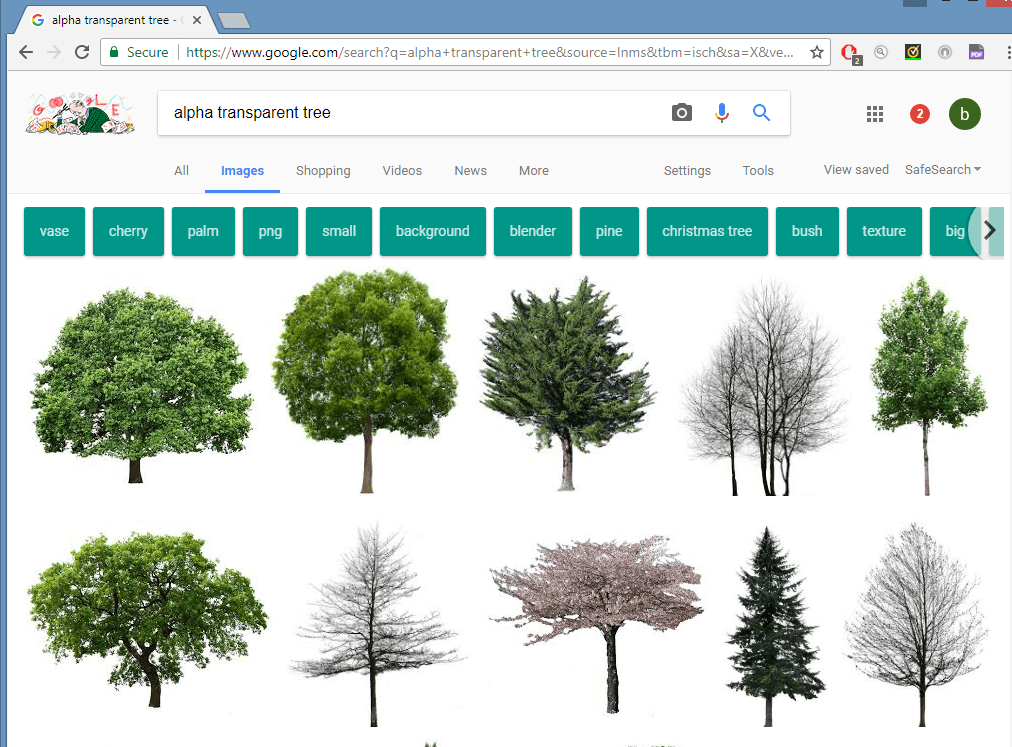
For the one you want to try, right-click on it and choose one of the saving options. Be sure that the file format is PNG.
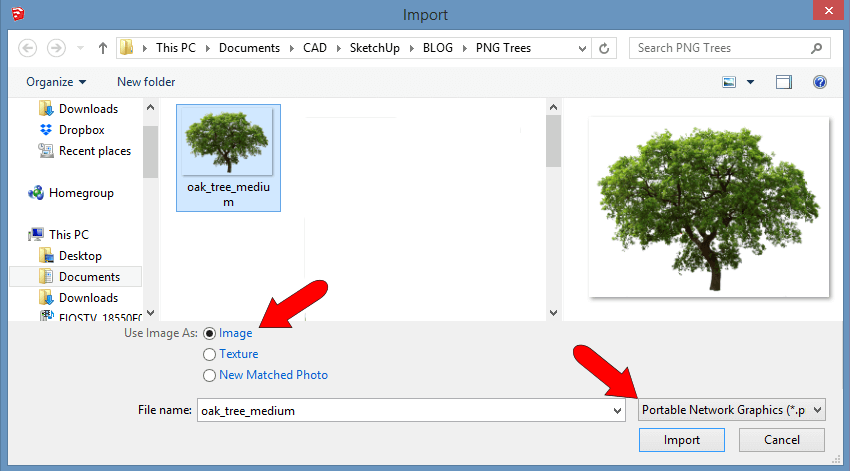
Back in SketchUp, choose File / Import. Be sure to look for PNG files (or search for all image types) and choose to import it as an image (not as a texture).
Click two corners to bring in the image at the size you want. Starting in Front view makes it easy to position it vertically (you don’t want it lying on the ground).
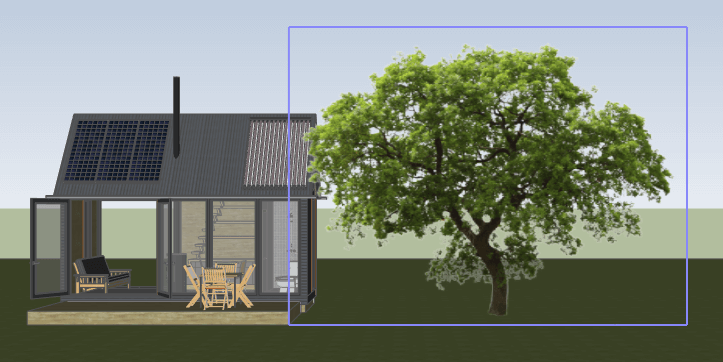
The tree looks good except that it’s not facing you yet. Orbit around, and it’ll start looking like a cardboard cutout.
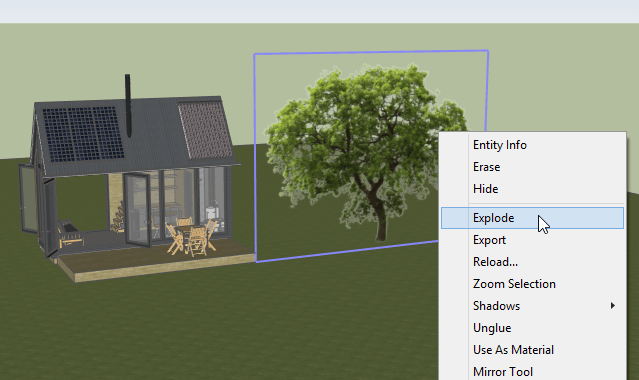
There are a few fixes you’ll need to get this working correctly. First, right-click on the image and choose Explode. To be a component, this tree has to be a painted face, not an image.
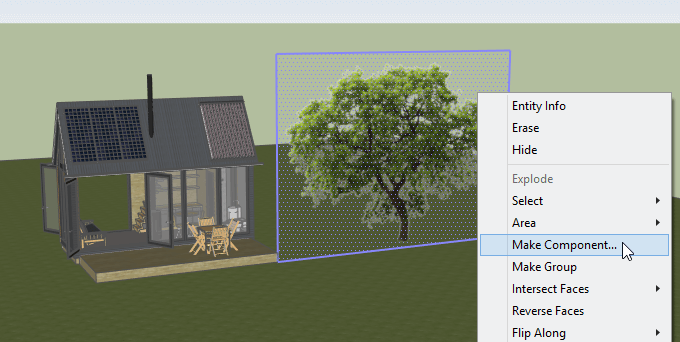
With the image and its edges now selected, make it a component.
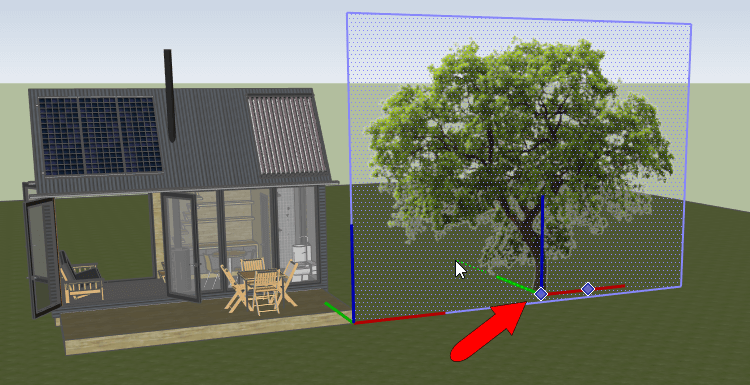
Before completing the component, check its axes.
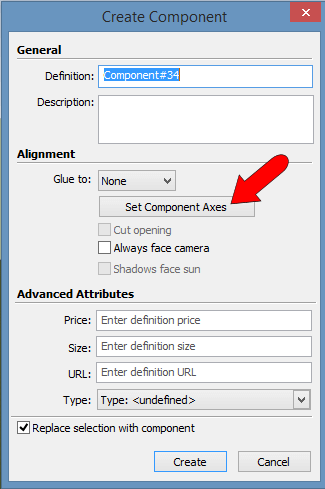
This is important: for face-camera to work, the red axis has to go along the image, and the blue axis has to go up. This should already be the case by default, but it never hurts to check. Also, if you’re OCD about these thinks like I am, you might want to place the origin at the base of the tree, instead of the lower left corner of the tree face. If you do move your axes, be sure to keep the red, green, and blue directions consistent.
One more thing before completing the component: check Always Face Camera.
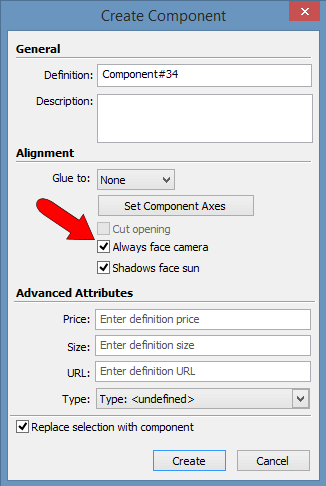
Click Create to finish. Now wherever you look, the tree always faces you. But unfortunately, it also has four nice edges all around it.
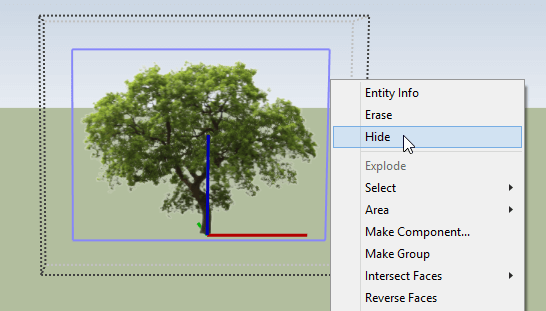
To fix this, open the component for editing. Select all four edges and hide them.
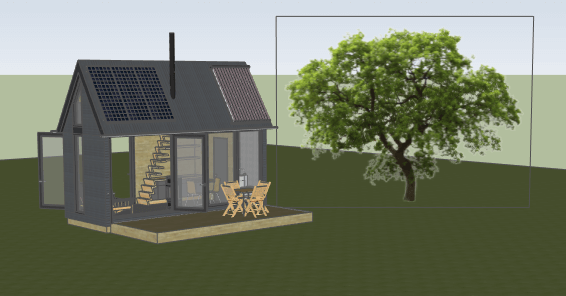
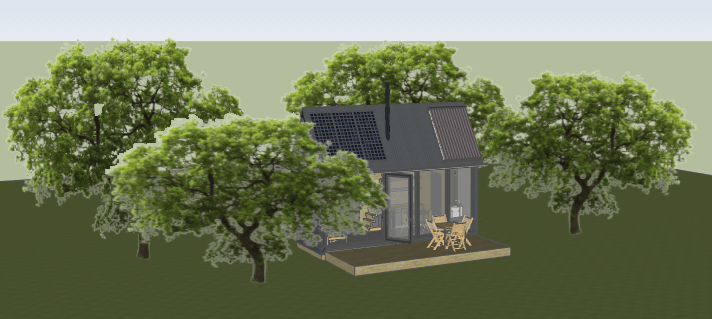
Here’s the little house with four of these trees. I used the Scale tool to make them a bit more random-looking – some taller, some wider, one flipped inside-out. This perhaps wasn’t the best tree image to use, since there are some fuzzy white bits around some of the leaves, but there are many images out there that are pretty much perfect.
Next, in Part 3, I’ll show what steps you’ll need if you want to create a library of ready-to-install, face-me tree models.

