In Part 1 of this series, we learned how to project and sample a material to apply it to an organic face (a blanket). And in Part 2 we used a similar technique of a temporary face to do the same thing.
In this post, I’ll show how to apply your own texture to the blanket. And also how to make some changes to the texture to better fit the blanket.
The image I’m using for my blanket is this:
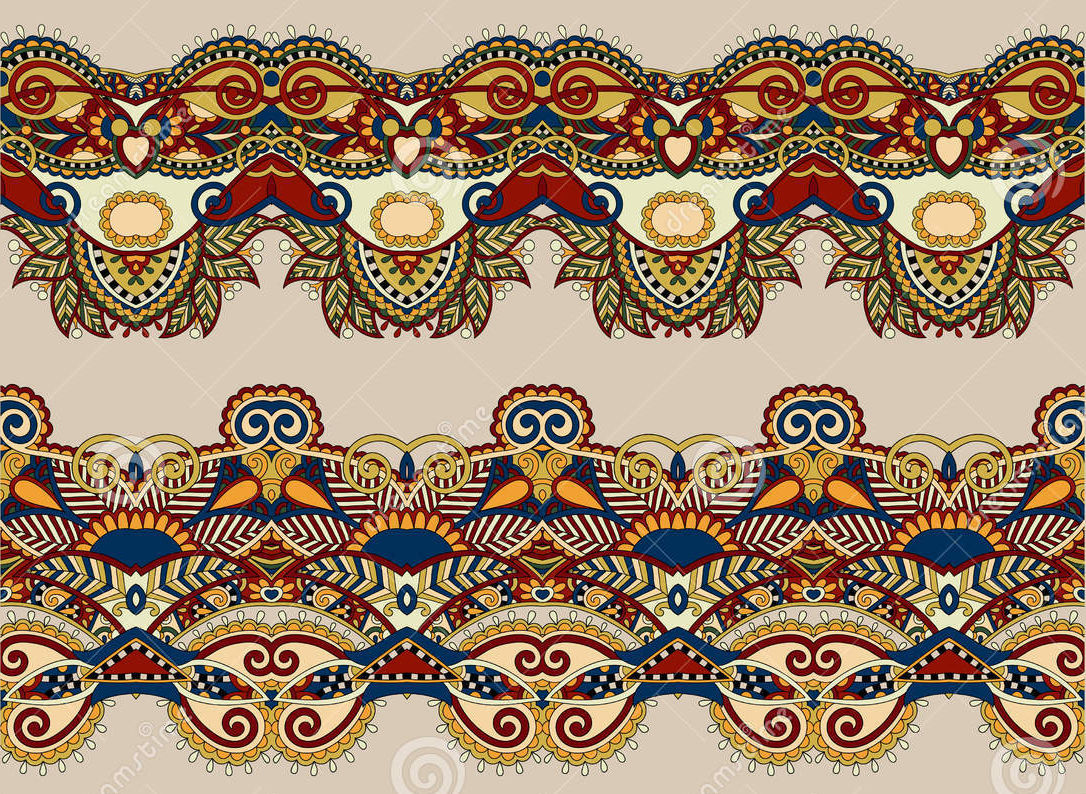
I found it from a search on Google Images for “seamless paisley stripes.” To save an image you find online, right-click on it and choose one of the saving options.
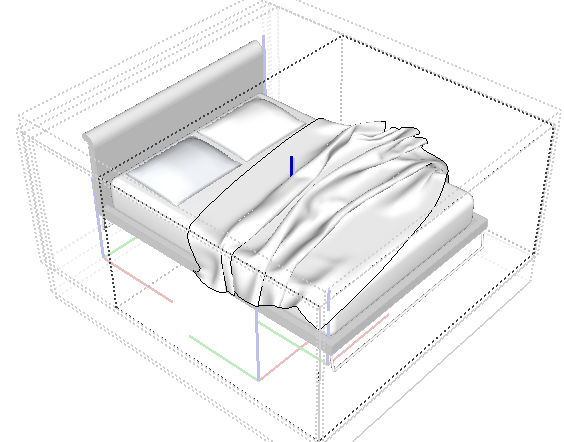
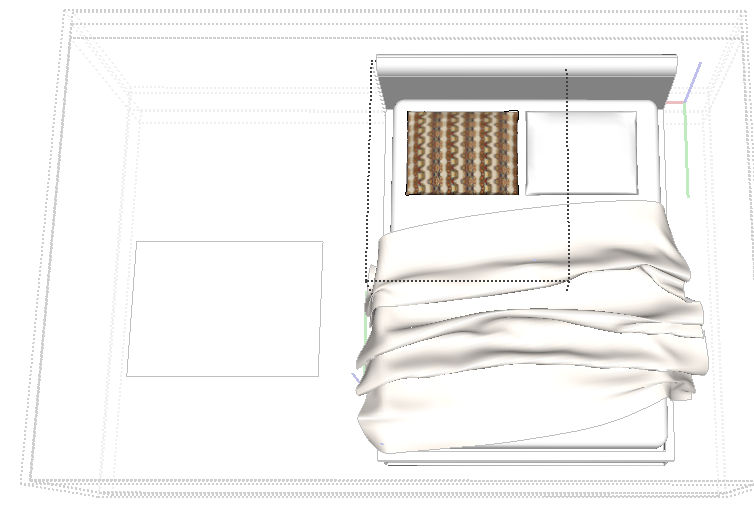
Once again, we’re starting with the same bed model from the first two posts. And once again, drill down into nested components until the blanket is available for painting.
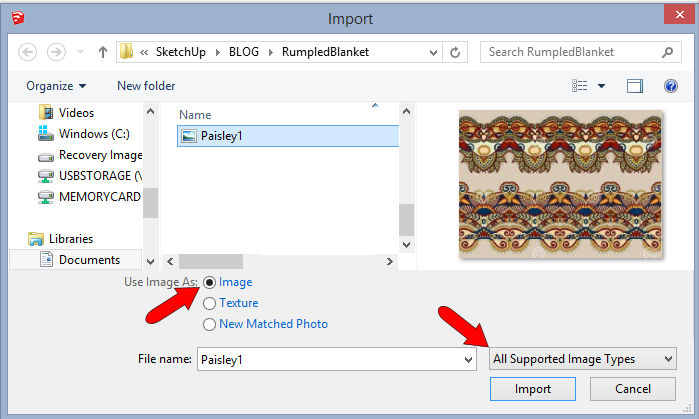
Importing the Image
In Part 2, we created a rectangle and painted it. This time, we’ll bring in the paisley material as its own rectangle. Choose File / Import, and look for image files. Find the paisley image, and import it as an image (not a texture).
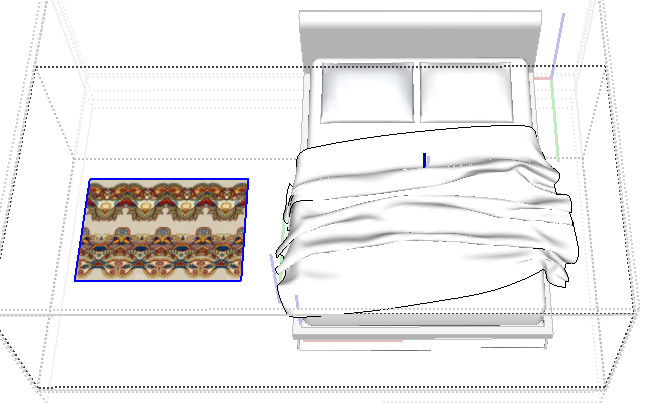
Click two corners to place the image in blank space. You can make the image any size you like.
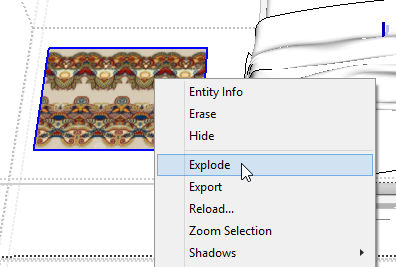
To be able to access the image’s material, right-click on it and choose Explode.
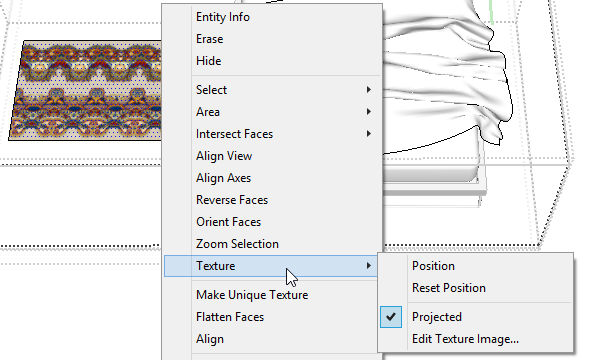
Check to see whether this material is projected – it is. Exploded images are projected by default.
Adjusting the Texture
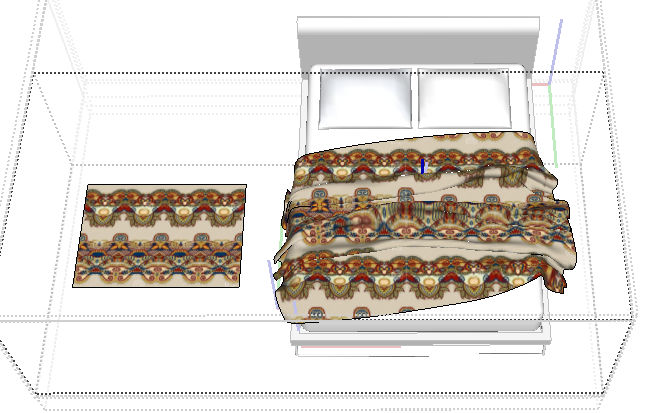
So this material is ready to be sampled. Activate Paint, get the eyedropper, and sample the paisley. Click the blanket to paint with the projected paisley. Looks OK, though it really ought to be more diagonal, to follow the line of the blanket.
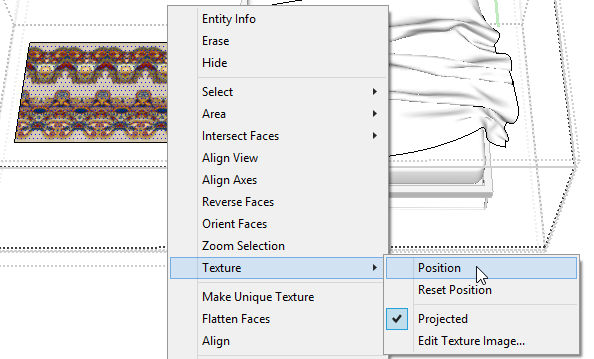
We can adjust the image to accommodate. On the painted rectangle, right-click and choose Texture / Position.
We want fixed pins – four multi-colored pins. If you see four identical pins, right-click and choose Fixed Pins.
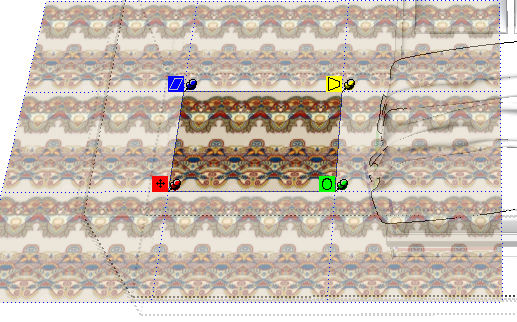
Click and drag the green pin to do two things – to rotate the image slightly to match the angle of the blanket, and to change the scale of the image. I made mine smaller.
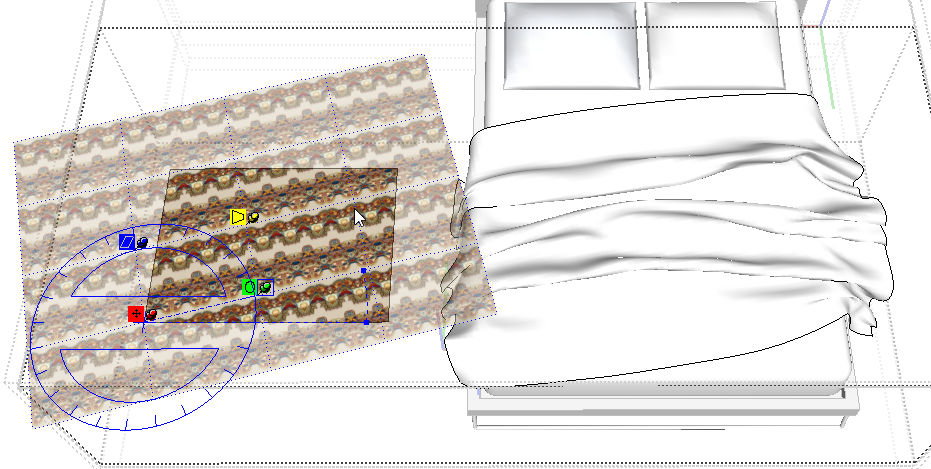
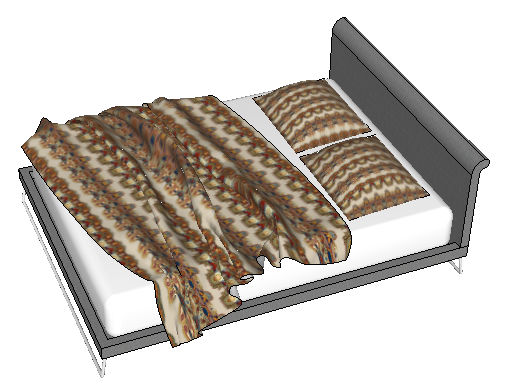
Right-click on the image and choose Done. Then sample and paint the blanket again to give it diagonal stripes.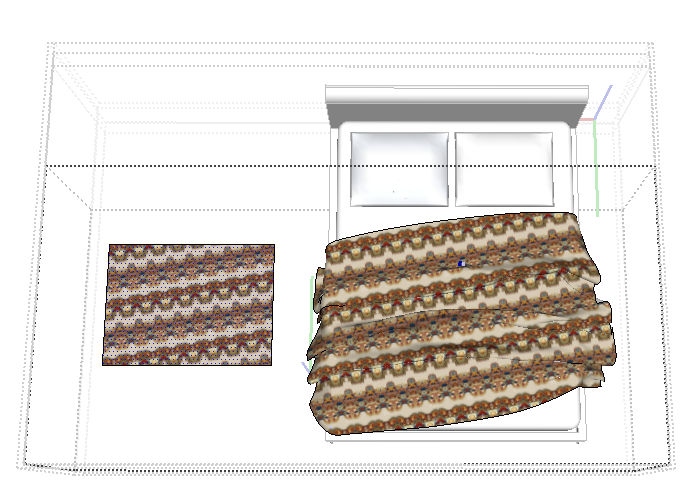
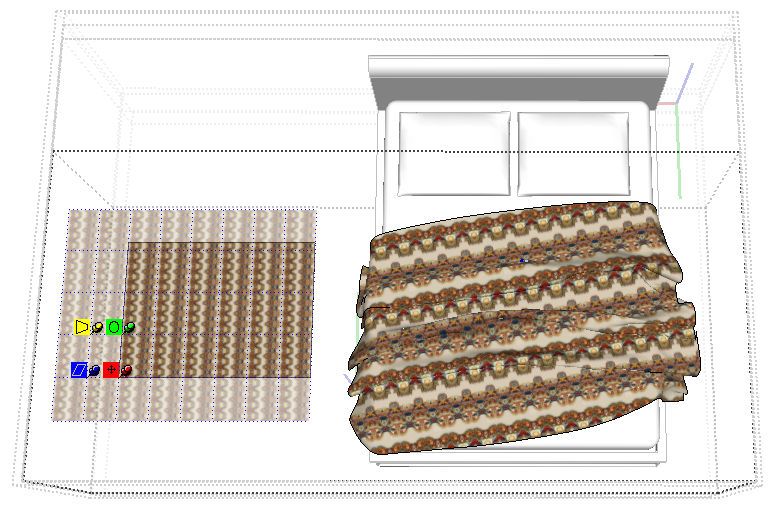
Adjusting the Texture Again
And the pillow? Before closing the blanket component, use texture positioning again to set the material to what you want for the pillow. I’m making my stripes vertical and much smaller.
Like in Part 2, open the pillow component. Sample the material from the imported image, then paint the pillow. Smaller, vertical stripes.
Close all components, to see your very inviting bed.
Now that you know these techniques for painting organic faces, you can apply it to other things as well: drapes, curtains, tablecloths, etc. The same technique also works for projecting a terrain map onto 3D terrain faces.


Permalink
Great tips.
Thank you Bonnie!!
Permalink
Just great….thank you. Love your work….