A couple of years ago, when one of my kids was 8, he had a terrible playground accident. Two of his front teeth were knocked out (by a metal bar, not by another kid). As in, the teeth were completely out of his head – roots and all.
Since then he’s had a couple of dental appliances made, which hang two false teeth from a wire. And when he needs a new appliance, the orthodontist has to take a mold of his teeth. Which my son HATES – the mushy mold material tastes like cement (which it sort of is) – just an unpleasant experience.
To make our most recent appliance, our doc tried out a new toy. I’m not sure what brand it is, but it’s like a big pen. You wave it around slowly inside the mouth as it does a 3D scan. We were watching the computer it’s wirelessly connected to, and watched the 3D model of the teeth get slowly built.
We live in amazing times.
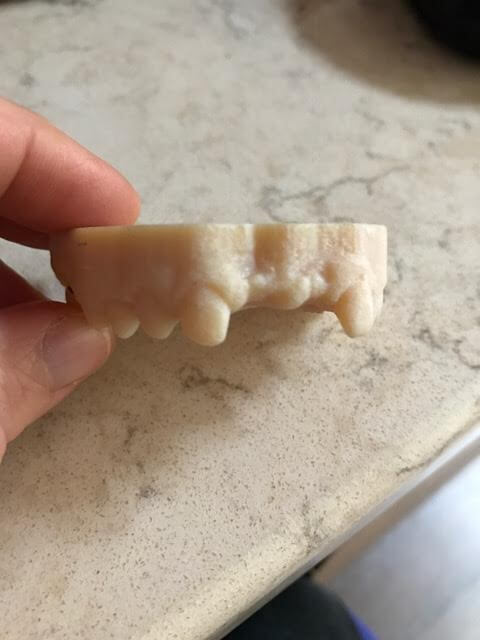
So from that CAD model, an STL file was generated and a model of his jaw was 3D printed. (The print arrived from a lab a couple weeks later. But someday we’ll all leave our dental appointments with fast-printed models of our chompers.)
Here’s the upper jaw printout – see the gap?
So I asked the doctor for the STL files, to see if I could do anything with the teeth in SketchUp.
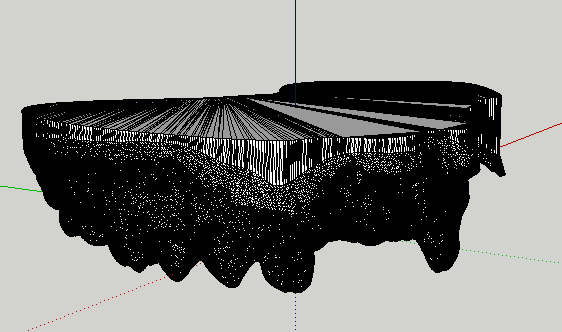
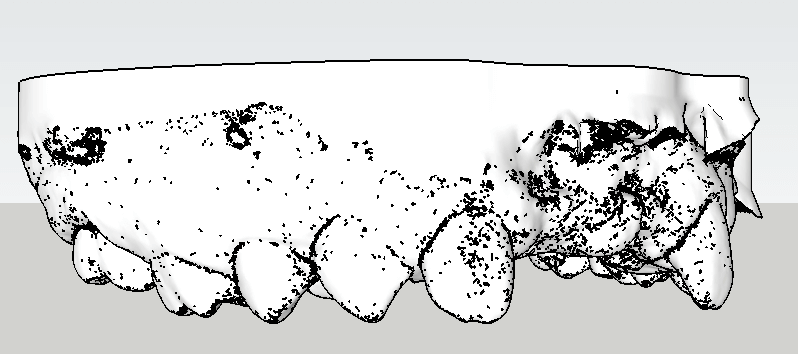
Each STL file (lower and upper jaw) was about 14 Mb. I used the SketchUp STL extension to bring the upper teeth into SketchUp. This import actually took about one hour, on a pretty decent computer. And the resulting SketchUp file was about 38 Mb, yowza. This is what the model looked like, a mess of black edges:
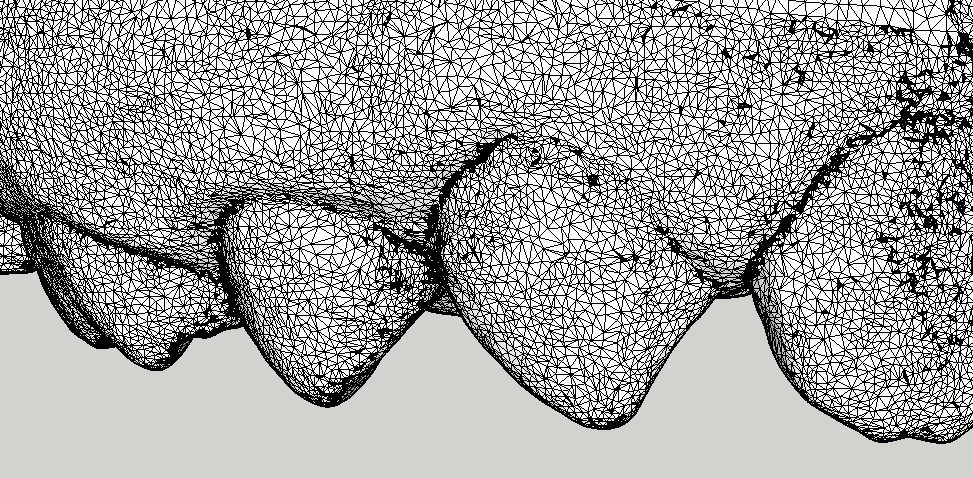
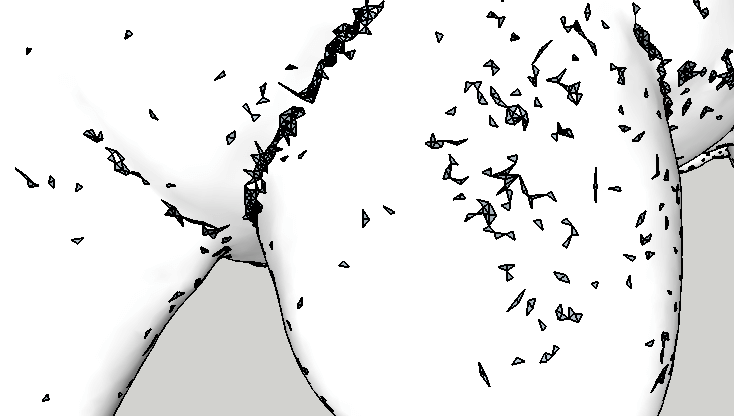
Zooming in, I could see why: zillions and zillions of tiny triangular faces.
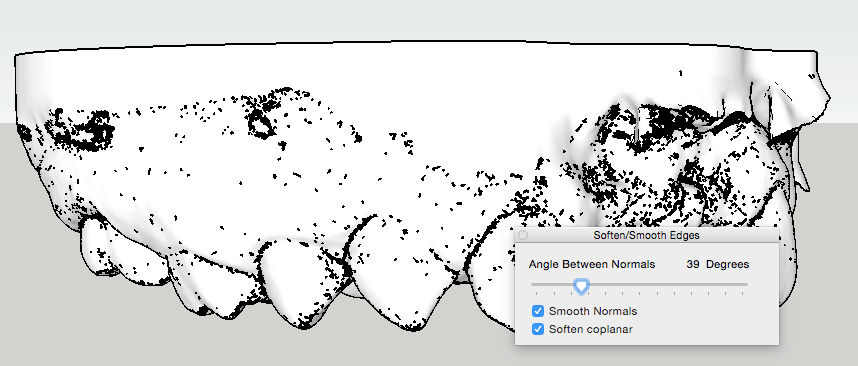
I wanted a clearer view, without all those edges in the way. So I selected everything (just selecting this whole mess took about 45 minutes) and used the Soften / Smooth Edges window to hide edges within the model. All of the little bits still visible below are holes. (Holes in the model, not holes in the actual jaw!)
I zoomed in to get a better view of the holes.
Obviously these holes didn’t pose a problem for the dental lab’s 3D printer. (Or the native file didn’t have any holes, these came from the STL conversion into SketchUp.) But I really wanted to see if I could clean up this model in SketchUp.
The first thing I tried was a feature of the Tools on Surface extension. (I already had this extension, but I didn’t even know about the face-repair feature until I saw “Repair small empty triangles” in the popup menu!)
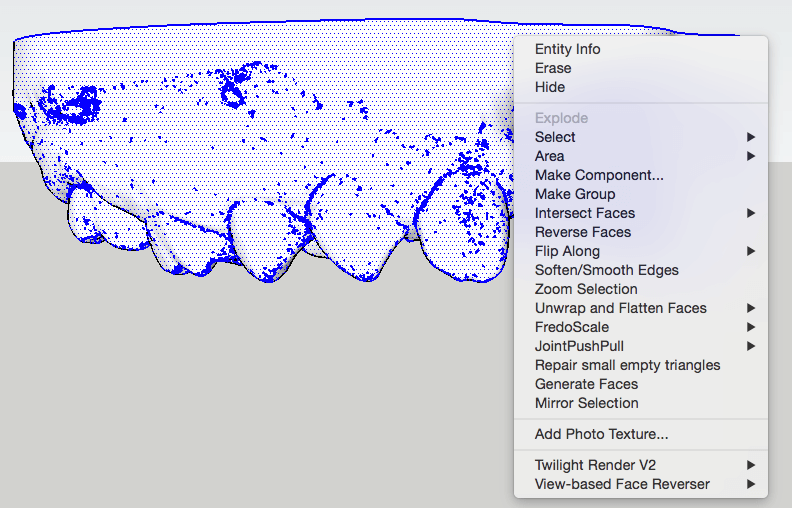
I ran this overnight, so I’m not sure how long it took. I know it was at least an hour, since I checked before bed. But it looks like nothing was actually fixed, oh well.
So the next repair attempt was done with the Solid Inspector 2 extension. This extension is a must for 3D printing enthusiasts – usually it will identify and fix all sort of problems: holes, stray edges, reversed faces.
Solid problems are identified in red. No surprise – all of the holes are found and highlighted. Look at the insane number of stray edges and surface borders to fix:
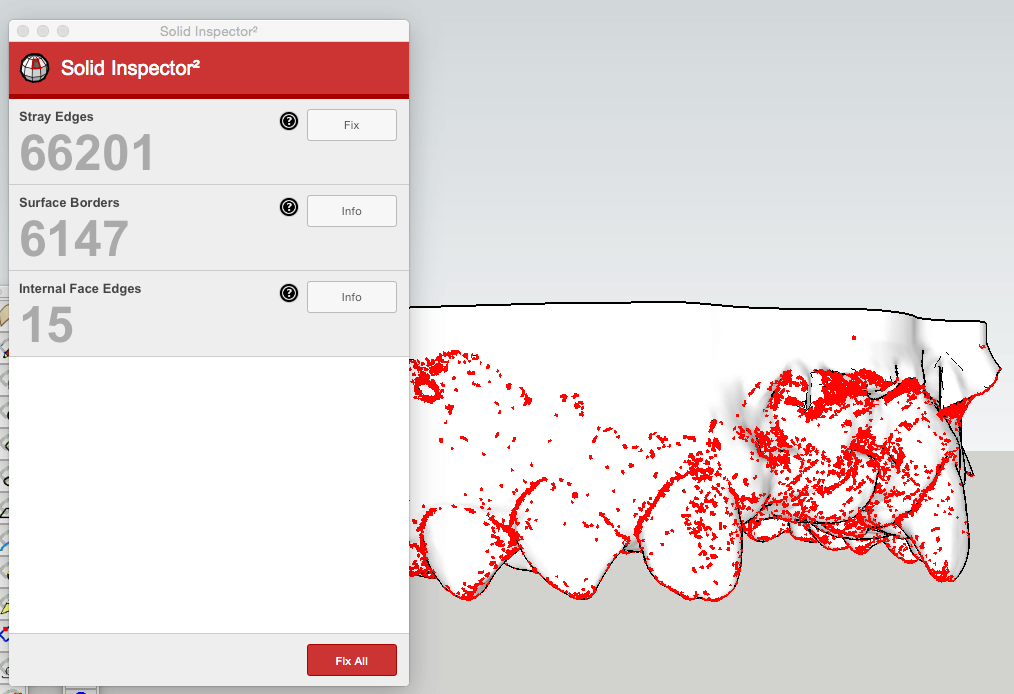
Sadly, this is where my little experiment ended. I let this extension run for over two days, and nothing has happened.
I could fix all of the little holes manually – it would be time-consuming and tedious, but easy and straightforward. But I’m not a dental lab and don’t need to print out more jaw models, so I think I’m going to do a Force-Quit. Oh well, sometimes things don’t work out the way you’d like…

