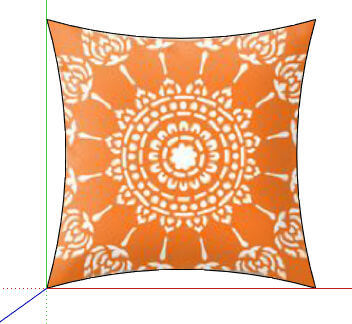
In Part 1 of this series, we started our pillow model by importing an image and trimming a square to get the pillow shape. Here’s where we ended up:
Now we’ll use the amazing Soap Skin & Bubble Extension to give the pillow its puffy shape. You can get this free extension in the Extension Warehouse. (Read our post on how to find and install Warehouse extensions.)
Make the Soap Skin
First, make a copy of the flat pillow face, straight down. We’ll need the lower face later (in Part 3) for a painting reference.
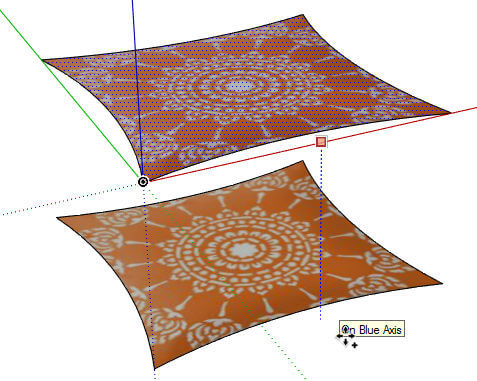
For the higher face, erase the face inside so that only the four curved edges remain.
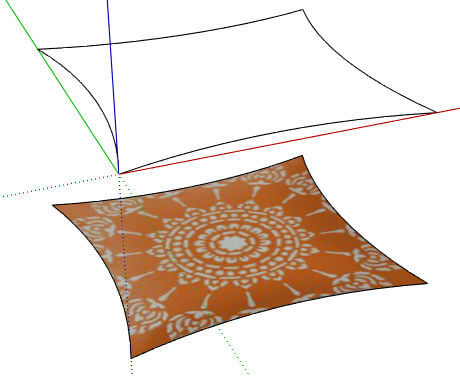
Select all four curved edges, then click the first icon on the Soap Bubble toolbar.
The default number of divisions is 10, but you can increase this if you want a finer mesh. The level of detail doesn’t matter so much for something simple like a pillow. But I changed the divisions to 20, just because the extension is so cool.
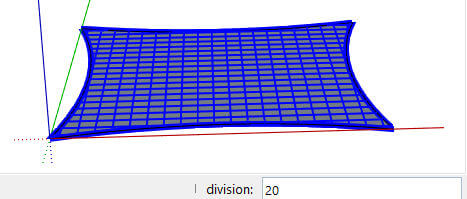
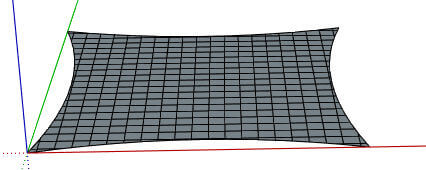
Press Enter, and watch the extension go to work. (It’s more fun to watch when the edges are in 3D, but this is cool, too.) You end up with a flat face comprised of quads (four-sided shapes). And this face is a group.
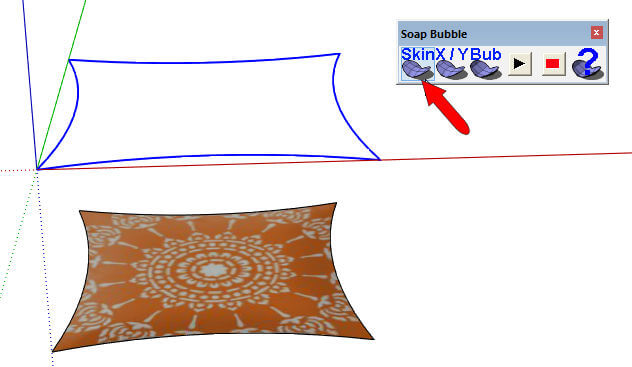
Make the Soap Bubble
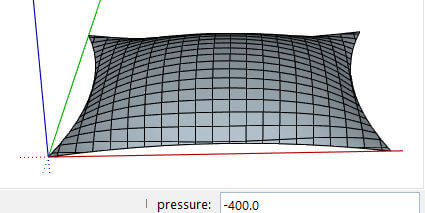
Activate Select and select the new face (again, it’s a group). Click the third Soap Bubble icon.

This time, the value that you enter is pressure. It’s hard to know which values will work, so start entering values such as -20, or -100, or -300, whatever works for you. You can always enter a new number to get new results. In this case, negative pressure will puff the pillow up, positive pressure will push it down. (If the front faces were showing on top, you’d enter positive pressure to puff up.)
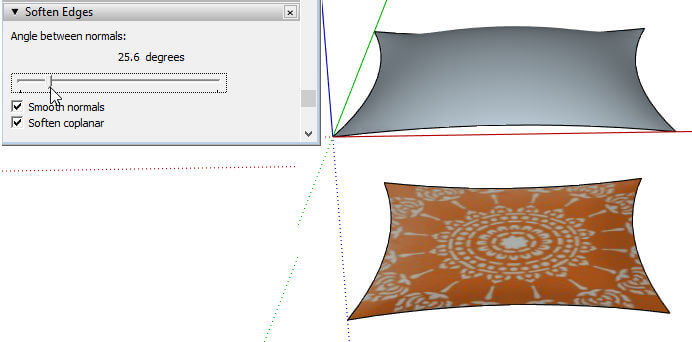
Soften Edges
The puffy face is still a group. We can leave it as a group, but for editing purposes it’s just as easy to explode it.
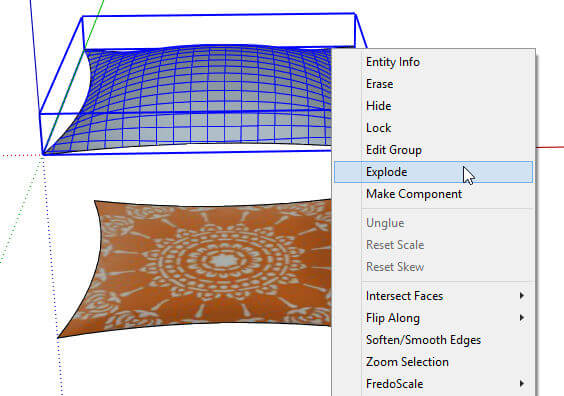
This leaves all of the face’s quads and hidden edges selected. While they’re selected, right-click anywhere on the face and choose Soften / Smooth Edges. Adjust the slider and check the boxes until the face is smooth.
Now the puffy pillow is ready to be painted, which we’ll do in Part 3.

