I recently helped an interior design client design a lovely room, with this nice sitting corner: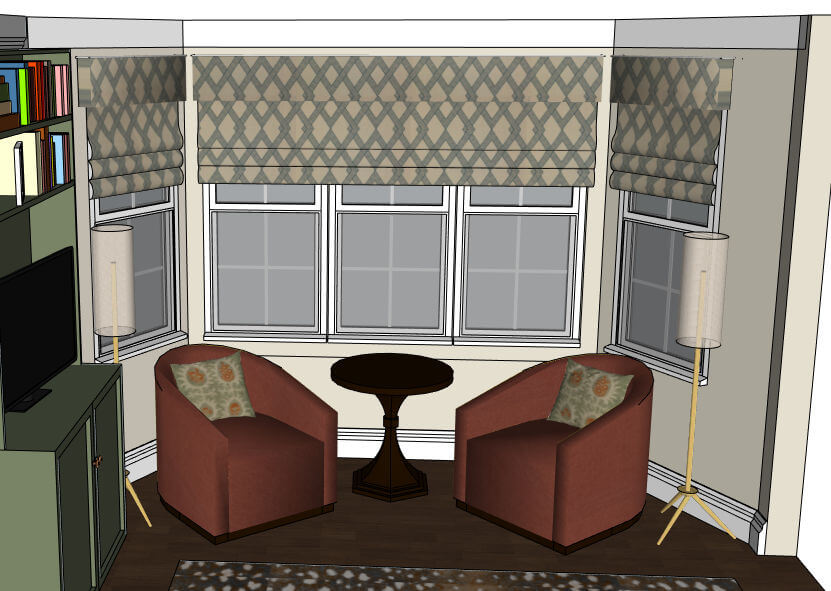
Note the table between the two swivel chairs – it’s a round lamp table by Hickory White. Here’s a close-up:
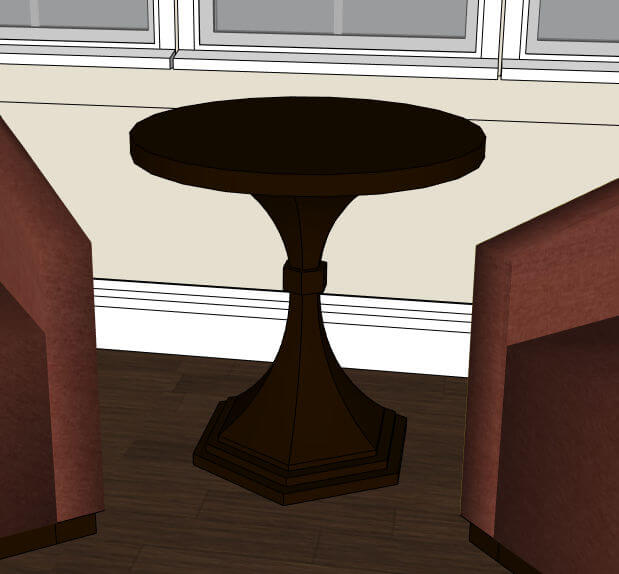
A round table with all circular or straight edges would be pretty easy to model in SketchUp. But the faces of the table base are sets of 6 faces, whose borders are arcs and lines. A little complicated for SketchUp on its own. But extensions makes this quite doable.
The extension I’m using is Soap Skin and Bubble, which we’ve posted about before (for sail canopies and for pillows). There’s another extension called Curviloft which does the same thing in this case, which I’ll show in Part 3.
First, the setup.
I started with a dummy line to represent the table height of 27″. I then created the easy parts: round table top, hexagonal base, and the small hexagonal bit around mid-height, where the base curvature changes. I centered the table at the origin, to make rotating easier later. And as always, when creating circles and polygons, you should always click on either the red or green axis direction.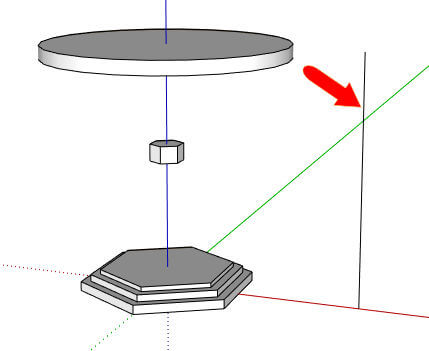
The underside of the table top has a hexagonal support. And a small hexagon was added to bottom of the little part in the middle, created with the Offset tool.
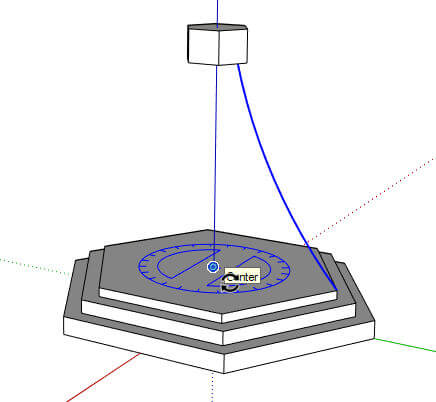
It’s possible to draw arcs in mid-air, especially when you have points along one of the axes. But it’s always easier to draw an arc on an existing face. So I’m starting that face by drawing a line between the little hexagon at the top and the larger one at the bottom. Both of these points coincide with the green axis.
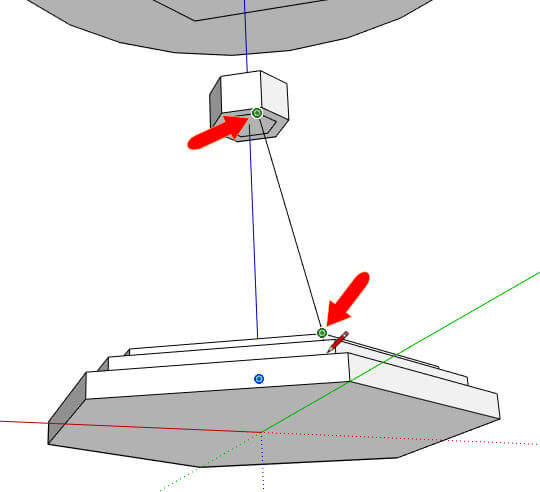
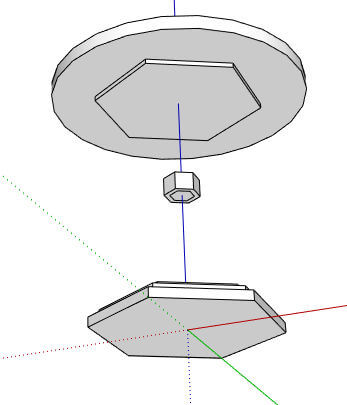
I added two edges, horizontal and vertical, to complete the face.
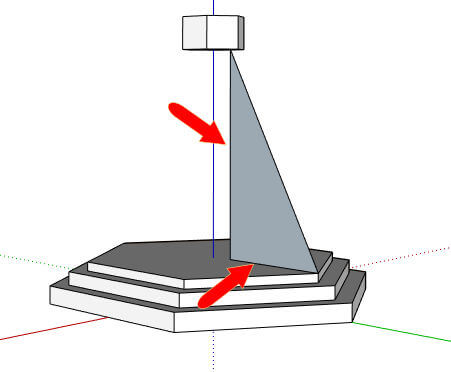
And here’s my arc:
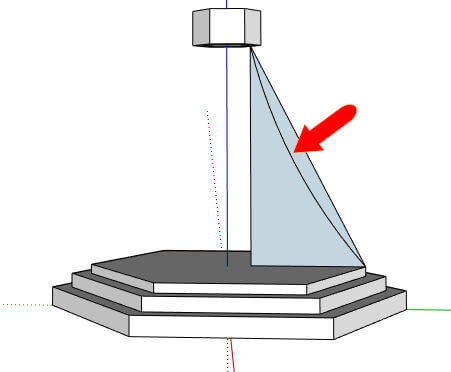
Now I can erase everything except the arc.
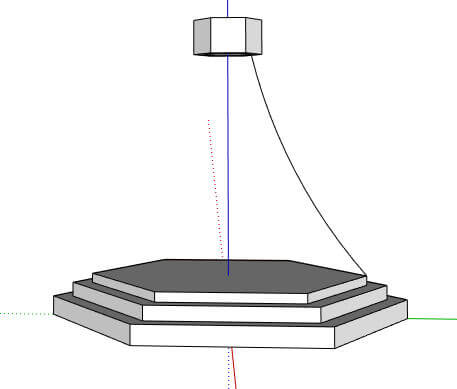
The extension requires that all face borders be selected in advance. So far I have three out of four borders: one arc, and two horizontal edges above and below. I need one more border to add – another arc. This arc will be a copy of the one I just made. I’m selecting the arc, activating the Rotate tool, and placing the protractor at the origin.
To copy, tap the Ctrl or Option key, then click any two adjacent hexagon corners to set the rotation angle. Which should be 60 degrees.
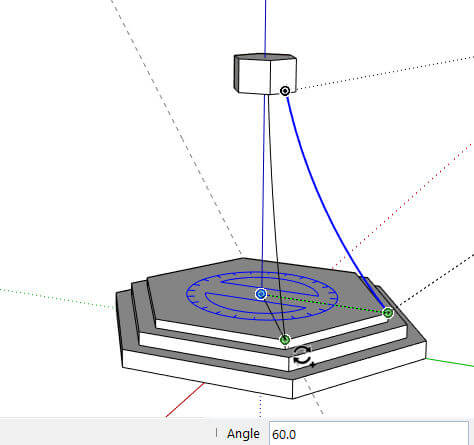
So now I have all four of the edges I need. Next, in Part 2, I’ll create the curvy face inside these edges, and copy the face to complete the table base.

