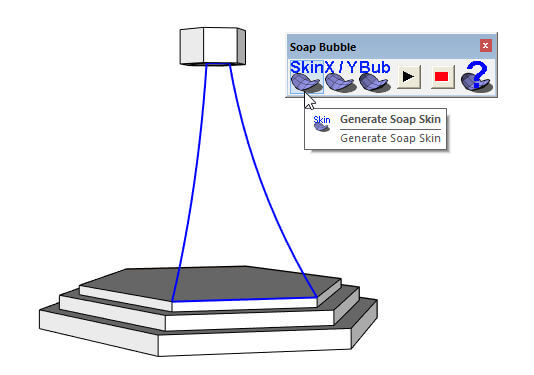
Here’s where I left off after Part 1 of this series – four border edges of the curved face I want to create. I have two arcs on the sides, and two horizontal edge at the top and bottom.
Now for the magic of Soap Skin. First I select all four borders. Then I click the first icon on the Soap Bubble toolbar: Generate Soap Skin.
A preview of the face appears with a number of dividing lines. Using the minimum (10) seems to work but you can enter a different number for a finer surface.
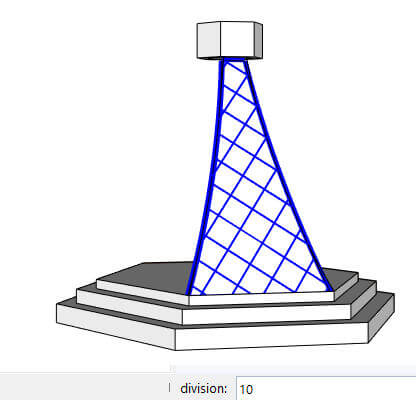
Press Enter and watch your surface become stitched to its borders. It’s brilliant to watch.

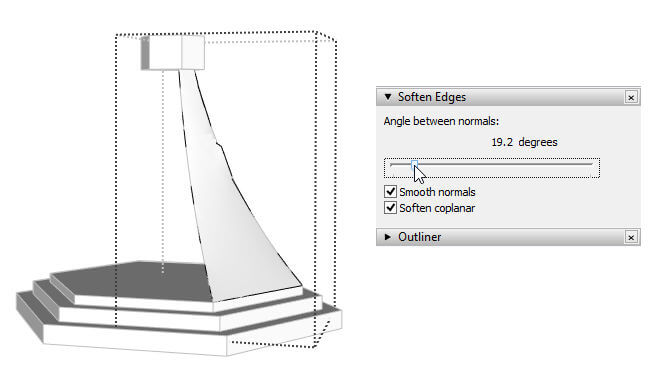
the soap skin is created as a group. To get rid of those dividing lines, you first have to open the group for editing. You could soften the edges manually (using the Eraser with the Ctrl / Option key), or select them all and use the Soften Edges window.
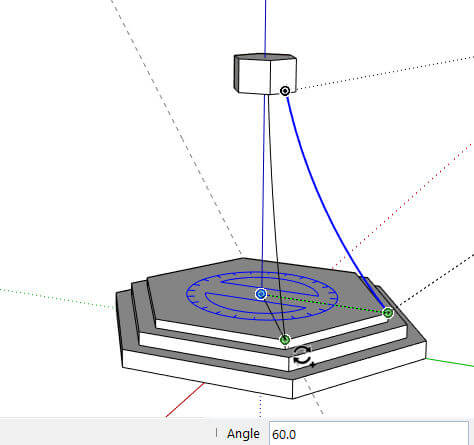
The rest is easy. Select the face, and make one rotated copy about the center (origin). Again, this rotation angle is 60 degrees.
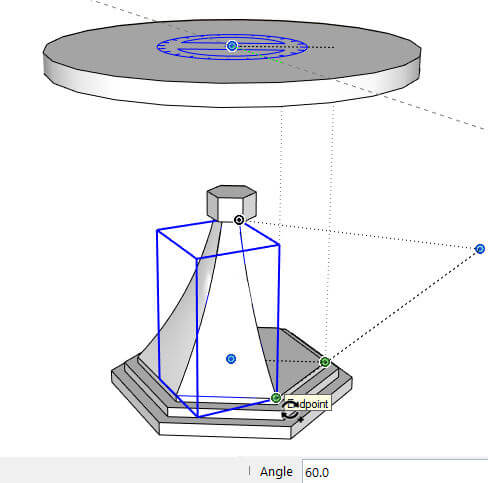
Just after that first copy is placed, enter 5x to make 5 copies instead of just one. This completes the bottom of the base.
The top of the table is created the same way. Here are my two arcs: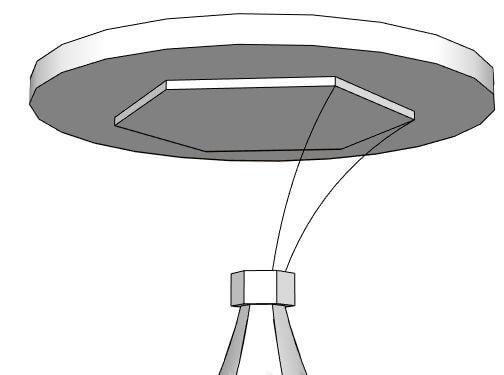
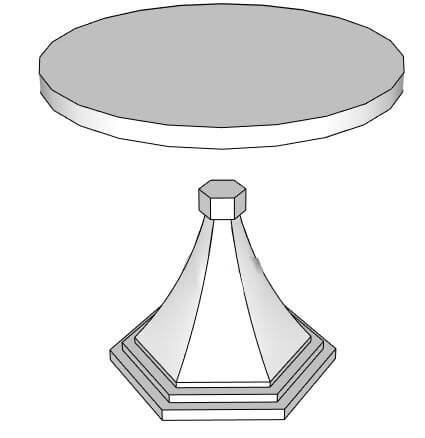
And after making the soap skin, softening edges, and rotate-copying, here’s my completed base.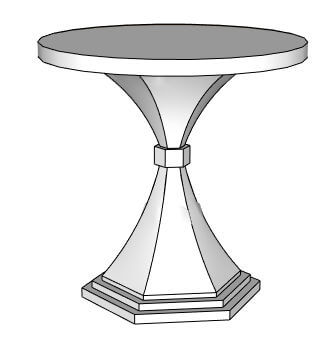
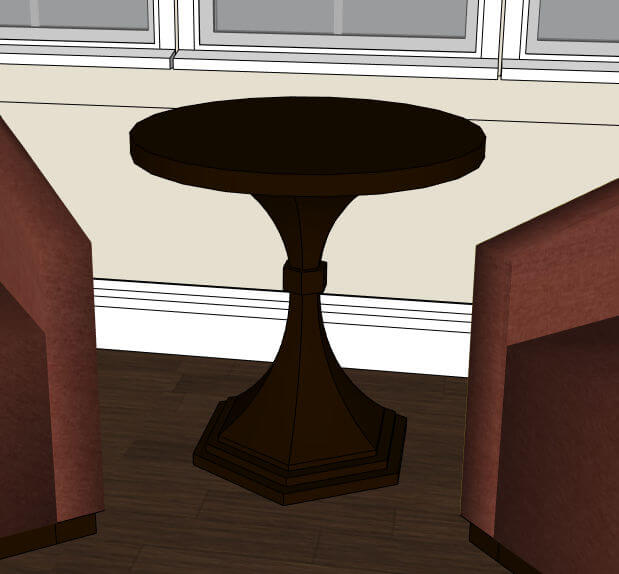
Add some dark wood material, and the table is ready for its corner.
Next, in Part 3: Curviloft

