Most everyone knows that when you start SketchUp, you’re presented with a list of templates you can choose from. These include construction documentation, interior design, product design, 3D printing, etc. The idea behind a template is that your SketchUp file starts with the right units and scale for your project, and contains whatever other properties or objects you need. A template can have specific edge and face colors, default objects (like a person), sky or ground color, etc.
But not everyone knows that you can create your own templates. And that any template you can create can contain whatever you want, including layers, scenes, materials, objects – anything.
This post and the next will show how to set up a template for 3D printing projects. But you can apply this to any type of template you’d need.
(And yes, SketchUp already provides a 3D printing template, both in mm and inch units. Our template will be cooler.)
Import the Printer Model
If you have a particular 3D printer, your template could be as simple as a rectangle that has the same size as your print bed. But I’ll show how to create a fancier template – one that has a model of the actual printer.
First, open SketchUp to any template. Use the Styles window to adjust the display if you want. This means setting default face colors, edge styles, background, etc.
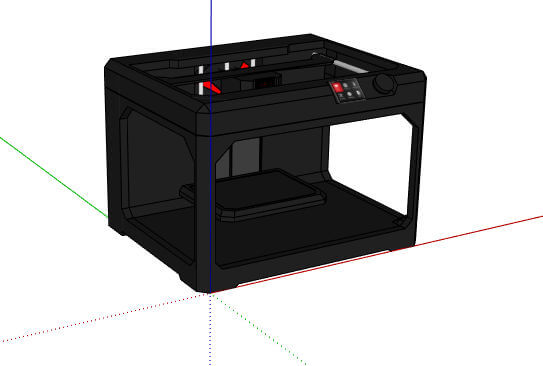
Now say you have a Makerbot and want to bring one into your template. Use the 3D Warehouse tool to search for Makerbots – here’s the one I’m going to use:
Import the printer. (Or if you don’t want to take the time to find and import a model, just create a basic box that has the same size as your print bed.)
This is already enough for a nice template. But let’s make this one even more useful, with the ability to turn on and off the display of the printer itself.
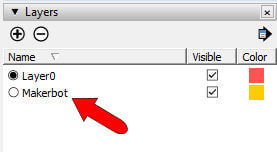
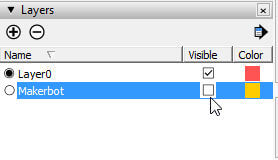
To start, open the Layers and add a new layer called “Makerbot.”
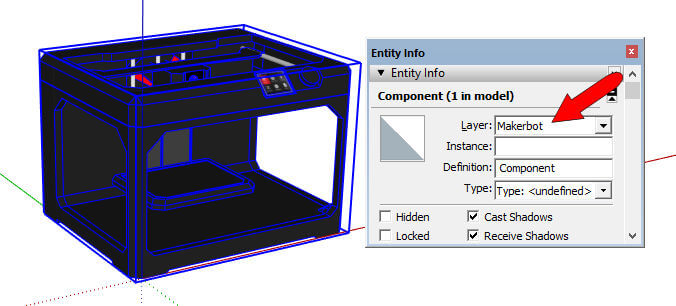
With your printer (or box) selected, and the Entity Info window open, place the printer on the new layer.
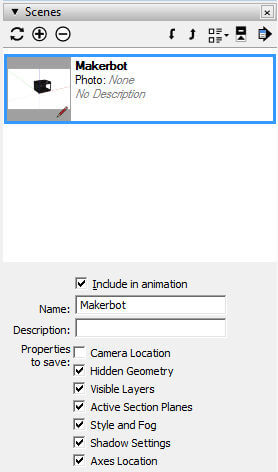
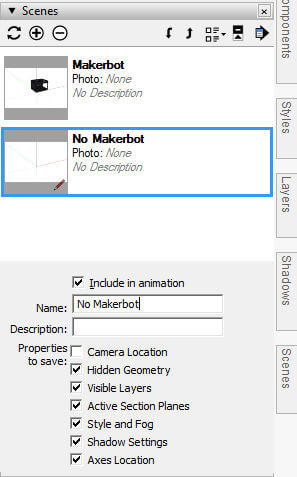
Now open the Scenes window and create a new scene called “Makerbot.” If you leave the Camera Location property unchecked, you’ll able to work in this model from any camera view.
Now go back to the Layers window and uncheck the new layer’s Visible box. This blanks the layer, so your printer should disappear.
Create a new scene called “No Makerbot.”
Next, in Part 2, I’ll show how easy it is to save this file as a template. And how you can use this template for printing projects.


