In the first two parts of this series, I showed how to create a simple sail canopy. In Part 1 I modeled the surface of the canopy, and in Part 2 I modeled the tower supports.
In this post, I’ll show how to make another popular landscape architecture model in SketchUp: a fluid sail canopy.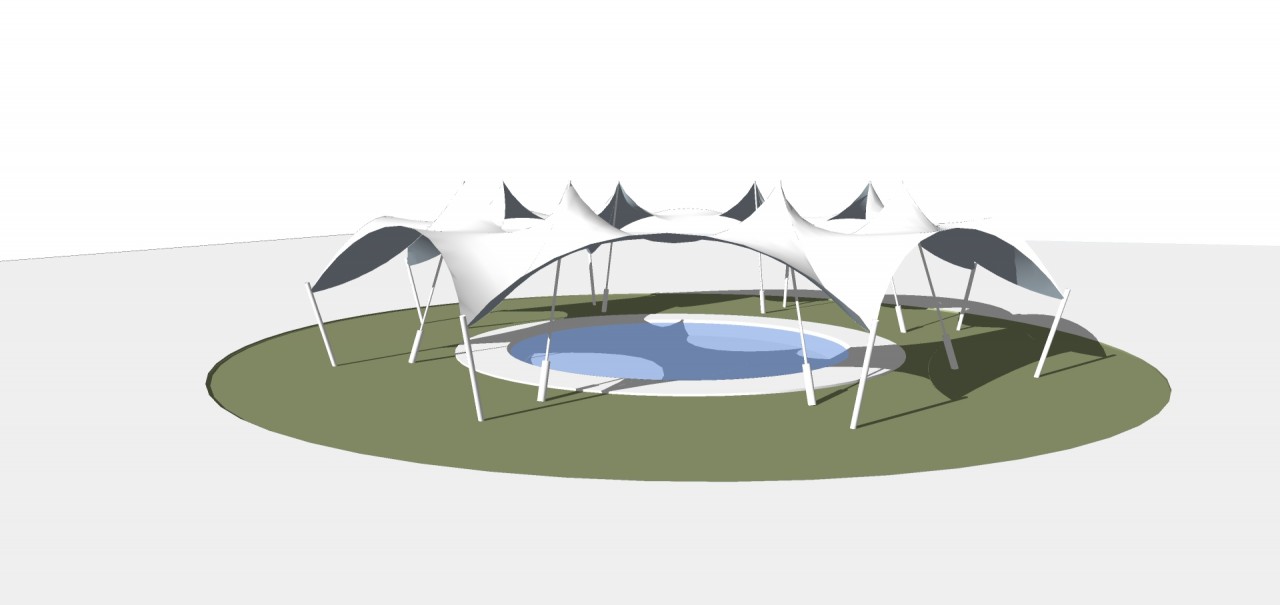
There are no new extensions needed for this model; in fact you could do it all with SketchUp’s native tools. The most important design technique here involve the use of rotate-copied components.
The Border Arcs for the Surface
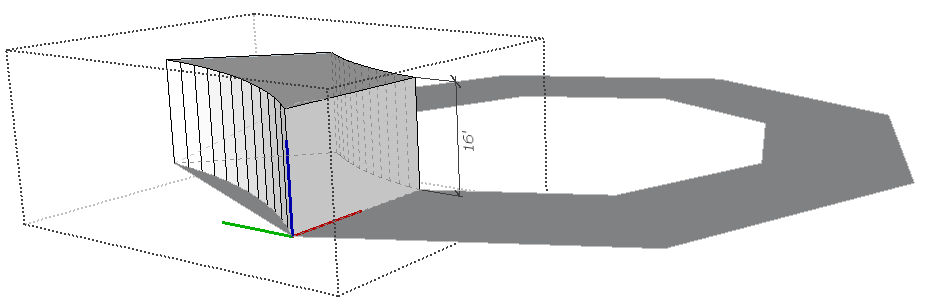
Start with the base form – a circle or polygon set to have 8 sides, with a radius of 60 feet (diameter of 120 feet). For the inner circle, I used Offset inward at 22 feet.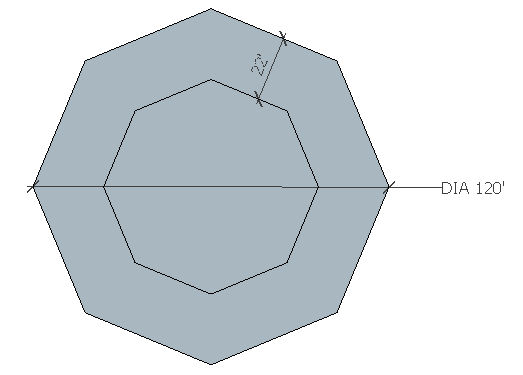
In one of the octagon segments, draw two lines separating one segment from the rest of the octagon. Then add two arcs – the longer one with a 3 foot bulge, the shorter one with an 18 inch bulge.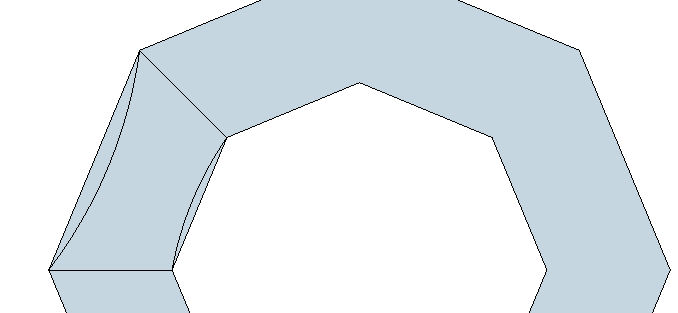
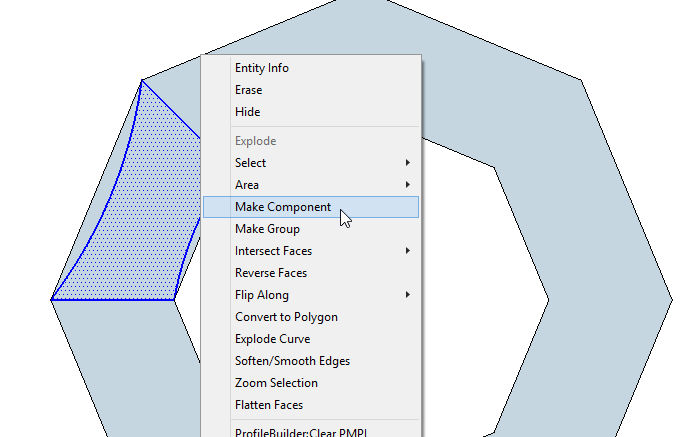
Select the curved face (Select-double-click will select the face and its four edges), and make it a group.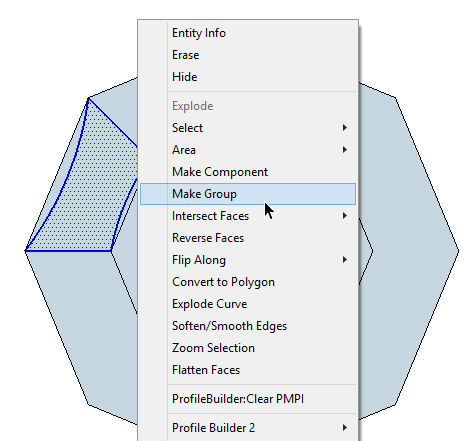
Edit the group and pull it up 16′.
Close the group.
Like with the sail from Part 1, draw an arc on each of the four sides of this curved group. Place these arcs outside the group, and be sure that all three points of each arc lie on the face of the group (not popping off the face). The arc on the outer face starts and ends at the bottom, the one on the inside face starts and ends at the top. For the two arcs on the sides, be sure to use the same bulge distance. Erase any extra faces that get added.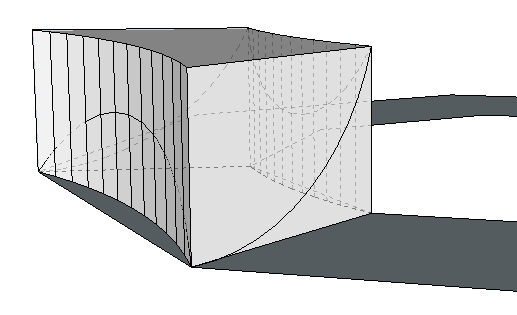
Erase the group, and select the four arcs.
The Sail Surface
If you have the Soap Skin extension, create the sail surface that way. Otherwise, with the arcs selected, choose Draw / Sandbox / From Contours. (If you don’t see this option, open your Preferences window, Extensions page, and check Sandbox Tools.)
Either way you get your sail surface, it will be created as a group. But because we’ll need several copies of the sail, it should be a component. So right-click on the sail group and choose Make Component. You won’t have to define a name – SketchUp will assign a default.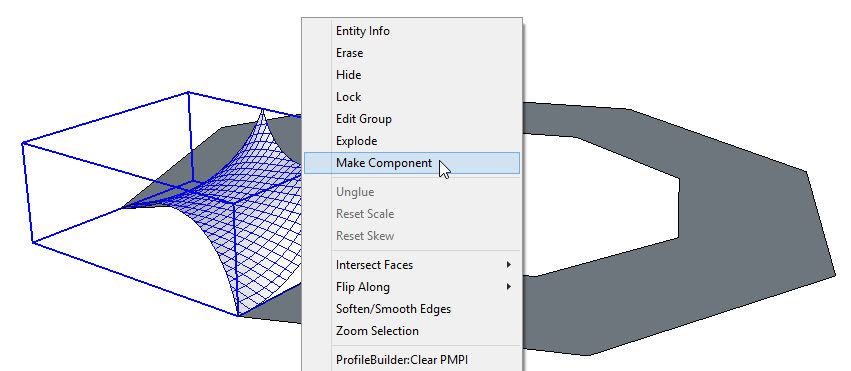
With the sail component still selected, activate Rotate (shortcut: Q). The protractor that appears should be placed in the center of the octagons. To find this point, you might have to hover your cursor for a second over one of the octagon corner points. 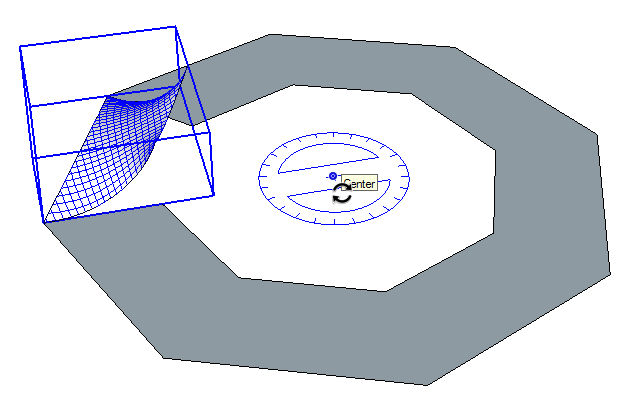
Rotate-copying requires two more clicks. First, press the Ctrl or Option key to start copy mode. Then click any two neighboring corner points of either octagon. This should give you a rotation angle of 45 degrees, placing one copy exactly next to the original. 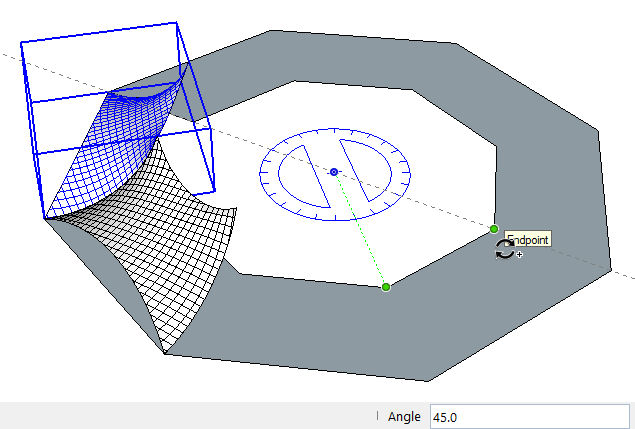
After that first copy is placed, type 7x and press Enter, for a total of 8 sails, all the way around. 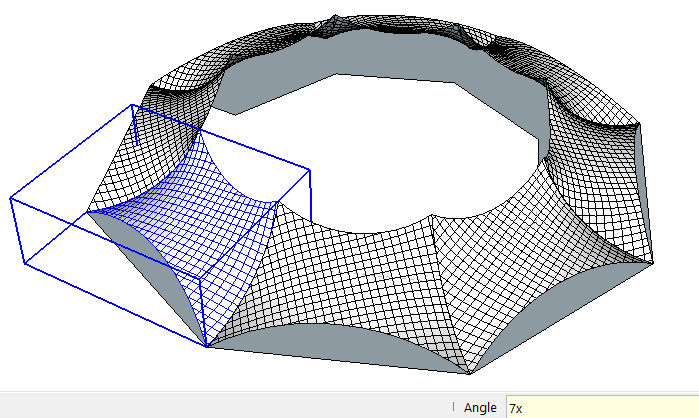
If you have edges to soften or hide, open one of the sail components and make the change.
Add Supports
To finish up, move all of the sails up 12′. I added two simple supports below one corner. Each support is a component; each was made by simply pulling up a circle. 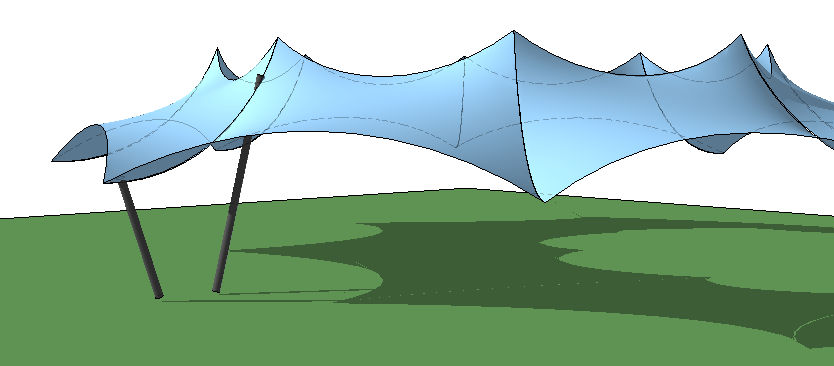
Here’s a neat way to copy these supports to the other seven corners. Select both supports and cut them (Edit / Cut). Then open one of the sails supported by those poles, and choose Edit / Paste in Place. This copies the supports into each component.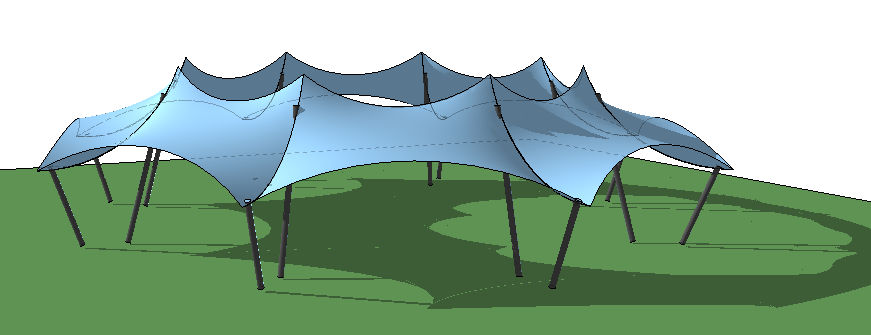
That’s it for this canopy modeling series. I’m sure I’ll add more of these in the future – these are some of my favorite things to model.

