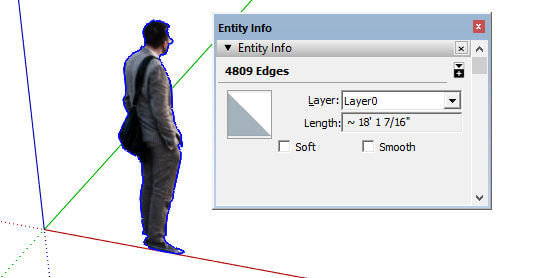
In Part 1 of this series, I showed how to use the Image Trimmer extension to make a stand-up component from a PNG image. Here’s where I left off: a face surrounded by hidden edges (over 4800 of them!)
Component Location
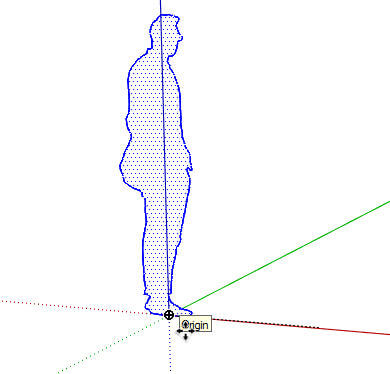
So we have a couple of issues. First, the man’s feet should be right at the origin. This means when he’s brought into another model, his feet will be at the cursor. But here’s what’s weird, and I don’t know why it happens. For some reason, the PNG image that’s painted on the face doesn’t move. When I move the man to the origin, the image doesn’t follow.
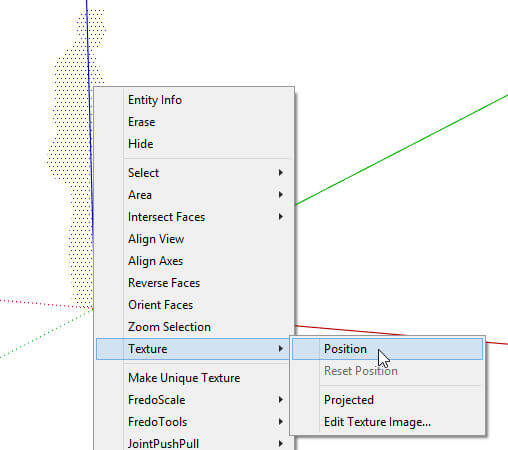
Not knowing another way to fix this, I right-clicked on the blank face and chose Texture / Position.
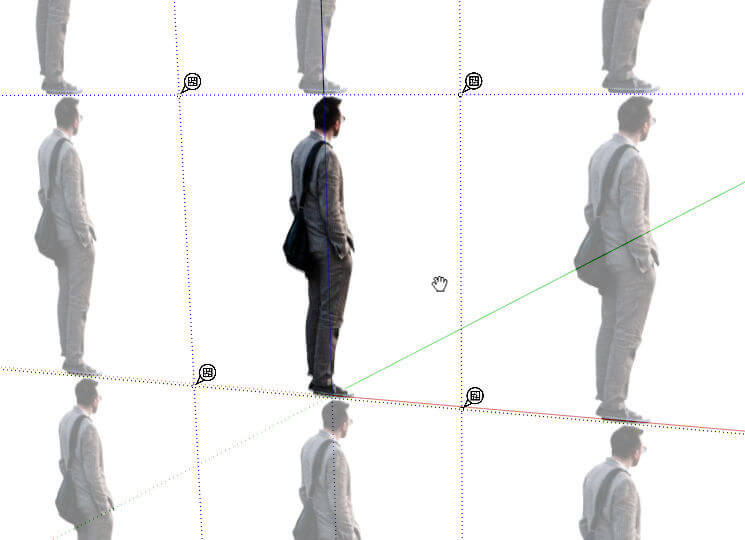
In positioning mode, I dragged the image to more or less fit inside its face. Then I zoomed in very closely to fine-tune the image location.
Face Camera
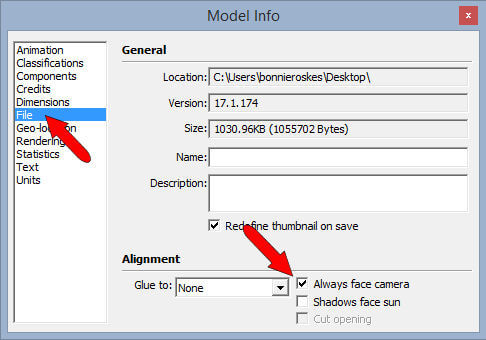
Second issue: this is not yet a face-camera component. If you orbit around, the man is clearly a cardboard cutout. I already exploded the component, so I can’t adjust this property as a component. But I can adjust the properties of the overall file.
In the Model Info window, File page, there’s a box for Always face camera.
As I said in Part 1, I like to keep each bit of entourage in its own file, so I saved this file with just the man inside.
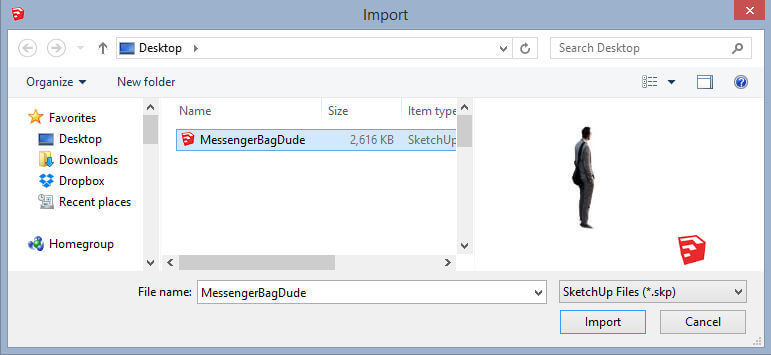
Now for importing. I have a cafe model (which will look familiar if you’ve been reading this blog). I chose File / Import, this time looking for SketchUp files.
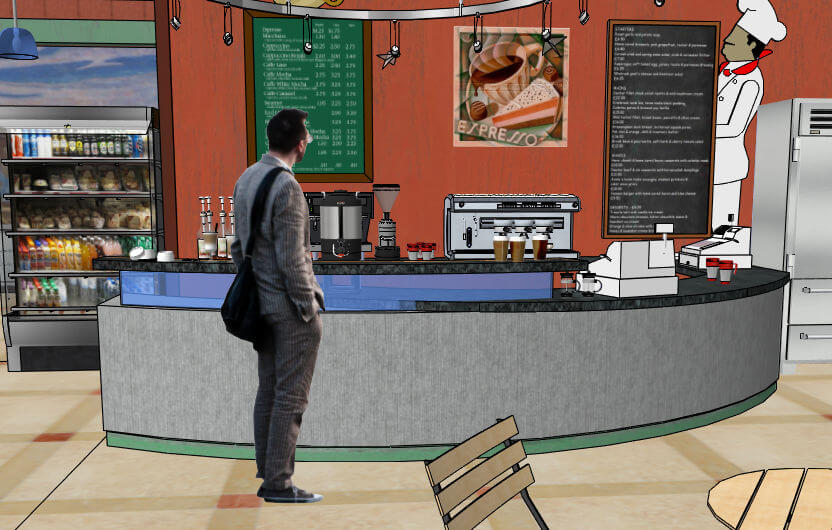
Here’s how he looks when imported. Up close you can see some white bits around his edges, but from a distance he’d look pretty normal.
And orbiting around the model doesn’t change the way he’s facing.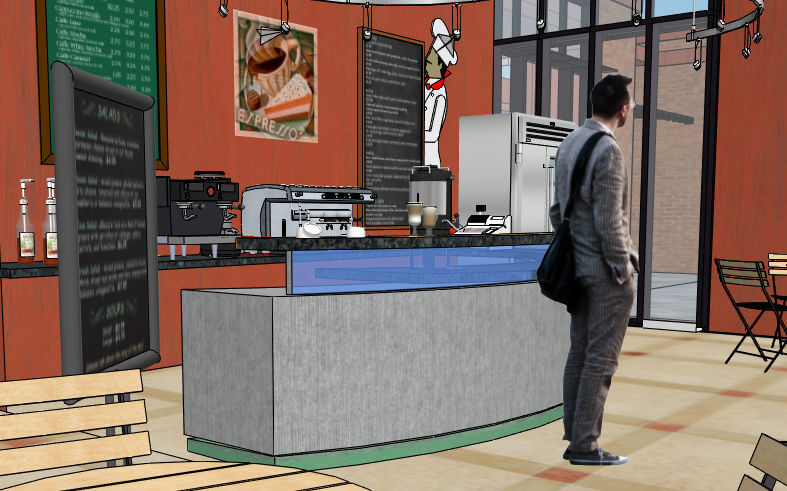
Now if I could only solve that edge problem. Anyone know a good solution to simplify these edges?


