A few weeks ago I posted a four-part series on making realistic-looking pillows. You can find Part 1 here. It’ll be helpful to read that series before trying these examples, to get familiar with projected textures and material sampling.
Blog reader (and 3DVinci book customer) Jorge Lopez is a professor of Architectural Technology at Kirkwood Community College. He recently sent me a couple other ideas for making pillows in SketchUp.
Repaint an Existing Pillow
Start with a pillow found in the 3D Warehouse, even one whose material you hate.
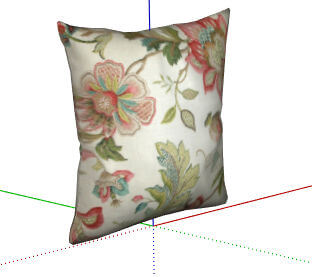
Explode as needed until it’s no longer a group or component.
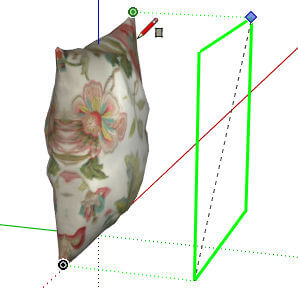
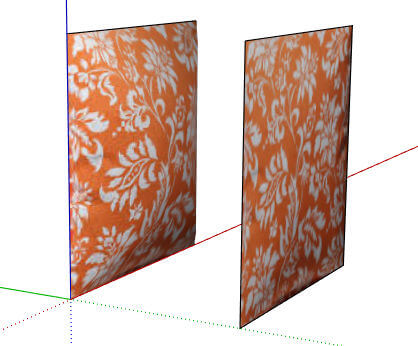
Draw a rectangle that exactly covers the front of the pillow. One easy way to do this: start by pulling away the first corner from the lower corner of the pillow. Press the Left arrow to lock the green orientation (or Right, if your pillow faces the other way). Then click the opposite corner of the pillow to complete.
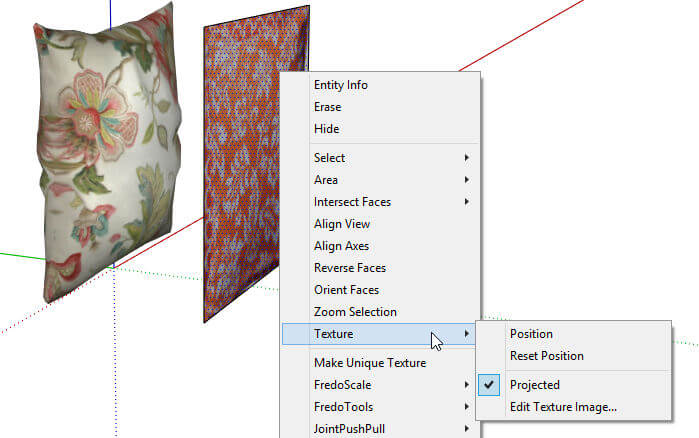
Paint the rectangle with a material you like, and make sure it’s projected.
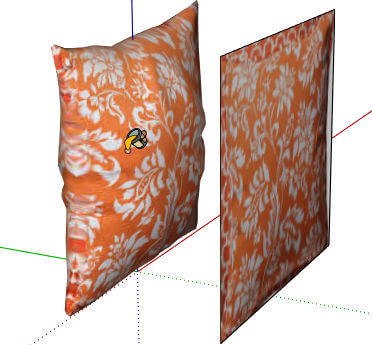
Use the eyedropper to paint the 3D Warehouse pillow. Easy!
Build Your Own
Jorge also suggested this easy way to model a puffy pillow face. It’s based on a square, so you don’t get those pulled corners you often see in pillows. But as an approximation it works great, and it’s low-poly to boot (not a lot of objects = low file size).
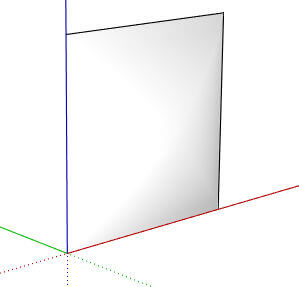
Start with a square and draw two identical vertical arcs along adjacent sides. (Mine is lying on the ground – you could do this “standing up” as well.)
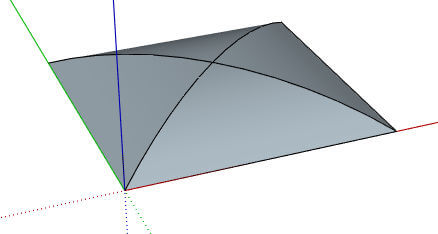
Use Push/Pull to pull out both arcs to the opposite side.
Select everything and run Intersect Faces, to get edges where the two curved faces meet.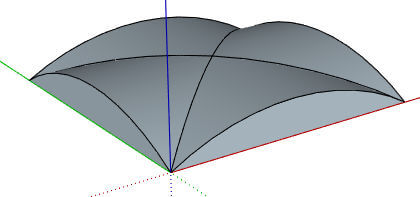
Erase the parts that overhang.
Use the Eraser with the Ctrl / Option key to soften edges, and reverse the face if needed. If your pillow is on the ground, rotate it to stand up.
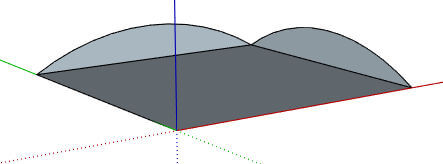
Copy, scale, and join, to complete the pillow.

Painting works the same way as before – add a rectangle directly in front, paint it, project it, sample it. Get the back side as well.
Still to come – a series on using the Soap Skin & Bubble extension for yet *another* way to create a pillow.

