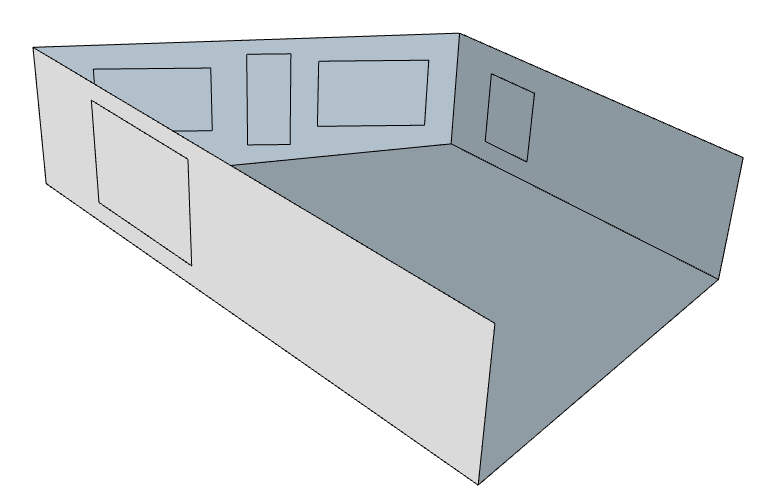
In Part 1 of this series, I ended with the distorted room that would house the illusion itself. It looks like this:
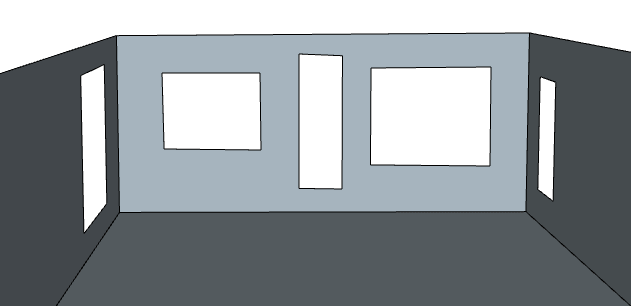
But in the saved view, the back of the rook looks more like a regular room:
In this post, I’ll show how to set up the room to work in MSPhysics, and how to create the person who will “walk” back and forth.
The room as it is now is made of 2D (flat) walls. But to be recognized as a MSPhysics object, it needs to be solid. That’s what the Joint Push Pull extension will help with – it can pull out multiple walls at once.
Select all of the walls, and click the second icon on the JPP toolbar.
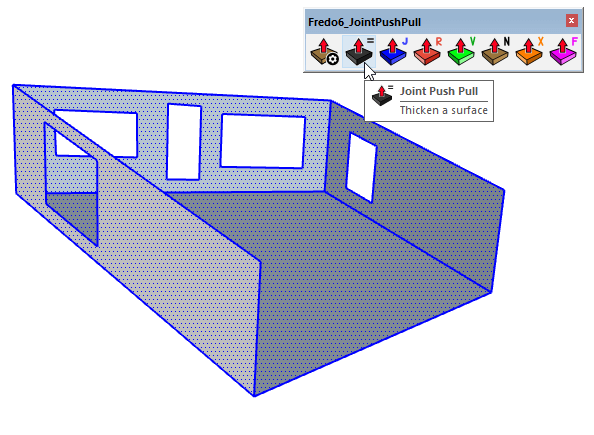
Click any wall to start the pull, and move outward.
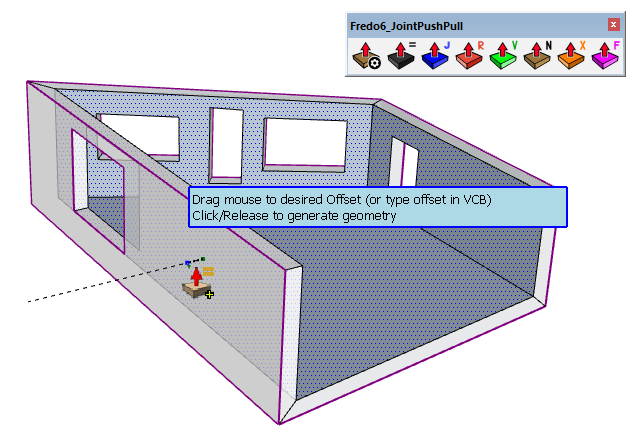
We don’t want the walls *too* thick since you’ll be able to see a bit of distortion through the open windows. I entered 2″ and the walls snapped to that thickness. Then clicked outside the room to exit.
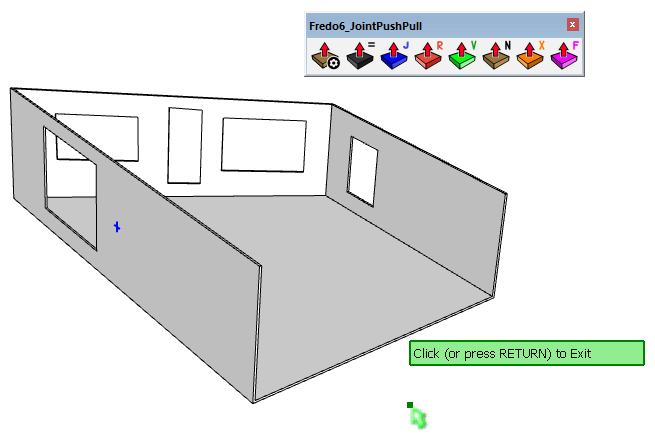
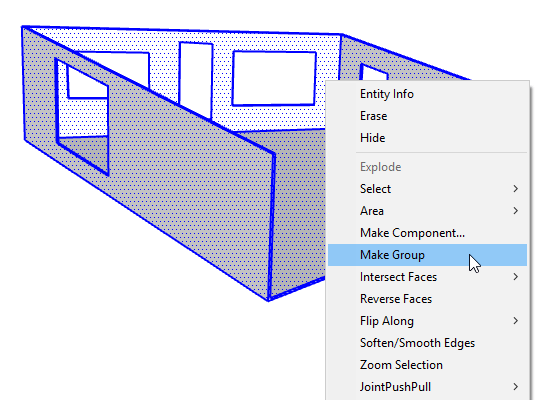
Everything in MSPhysics has to be a group or component, so make the room into a group.
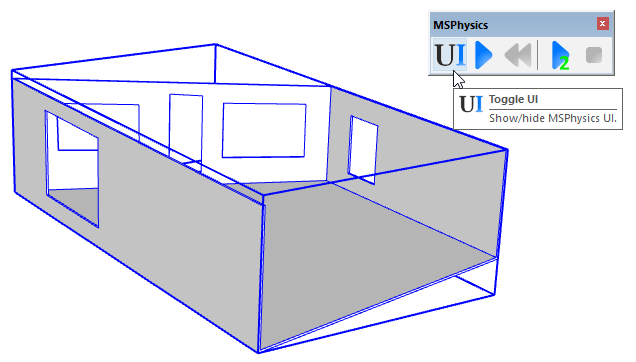
Now the room group has to have its properties defined in MSPhysics. To do this, select the room group and click the UI icon on the MSPhysics toolbar.
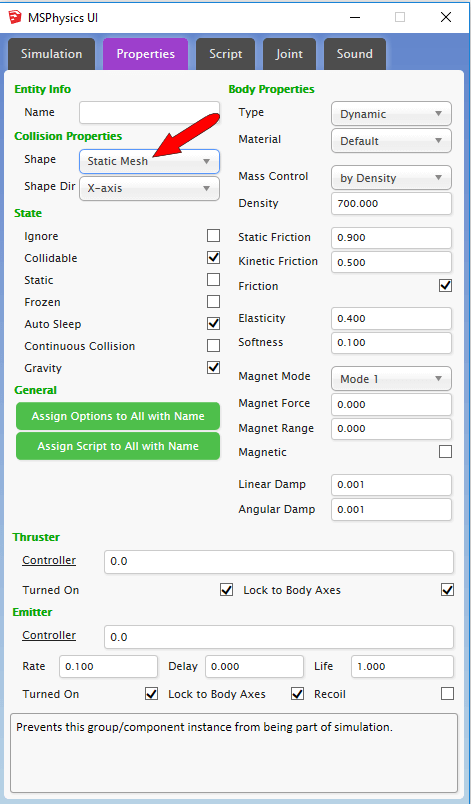
The room should be a static mesh, so that it won’t move.
And this step isn’t crucial, but I edited my room group and added some materials.
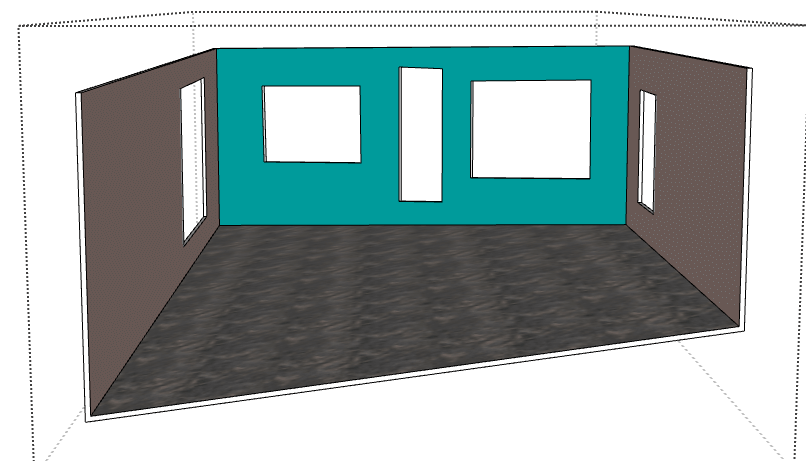
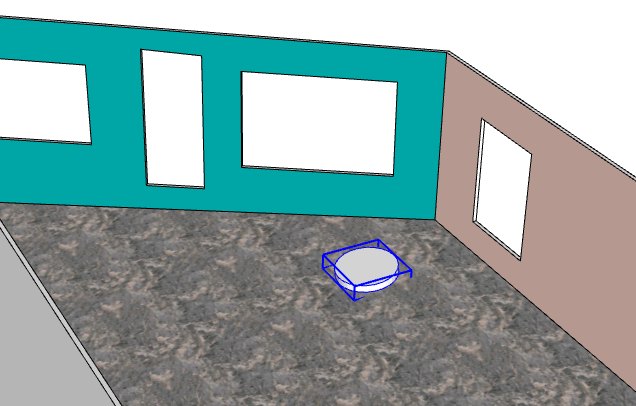
Now the room is ready for its person. Because the floor is actually sloped, I created a little pedestal first. (A 3D person standing on this floor without a pedestal would topple right over once MSPhysics starts.) Make your pedestal a group.
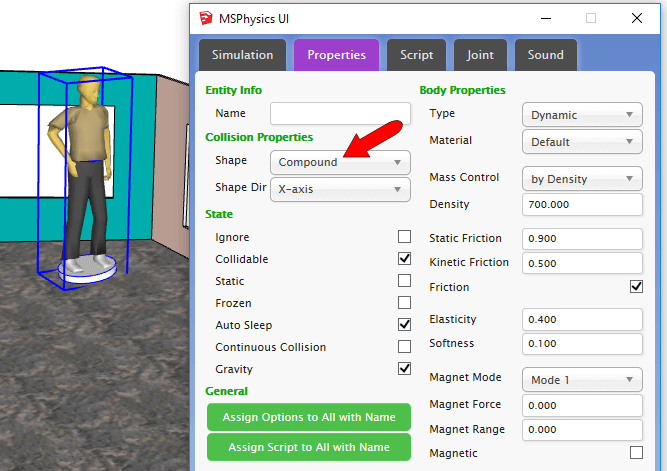
Then find a 3D person in the 3D Warehouse and place him or her atop the pedestal. Make a combined group of the person and pedestal. Check the group’s properties in the UI window – it should be defined as a compound.
Now that we have our room and person ready to go, we can start the simulation in MSPhysics. Stay tuned for Part 3!


