I LOVE this four-part series on SketchUp paper houses. And so did my kids, and so will yours. Teachers, take note – these projects are fabulous for spatial thinking (geometry) as well as artistic creativity.
Part 1 shows the easiest method – printing a blank house and coloring yourself.
Part 2 shows how to edit texture graphics from within SketchUp.
Parts 3 and 4 show the most sophisticated project – designing the entire house in SketchUp, and painting it with a matched photo. (My favorite method.)
Get the Flatten Extension
For all of the projects in this series, you’ll need to install the Flatten and Unwrap Faces extension by Alex Schreyer. This extension comes from SketchUp’s Extension Warehouse – see our post on how to get extensions from here.
The beauty of this extension is that if you don’t like your results, run it again to get a different set of flattened faces.
Model a Simple House
I tried out the flattening with some rather complex house shapes, as well as some geometric objects. The results were mixed – often there was face overlap. You can sometimes have better luck flattening models in chunks rather than all at once.
But I wanted to do it all at once, so I’m using a simple L-shaped footprint. I added two ridge lines along the top.

I selected and moved up both ridge lines to make the roofs.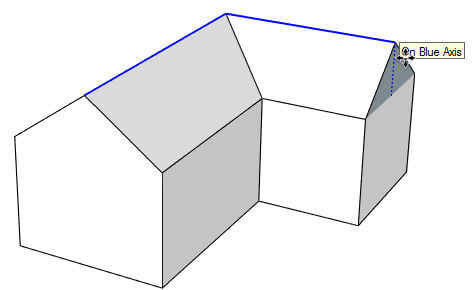
Flatten the House
The extension is used to get the “net” – the series of connected, unfolded faces that comprise the house. I selected everything, and got to the Unwrap and Flatten tool via the right-click menu. 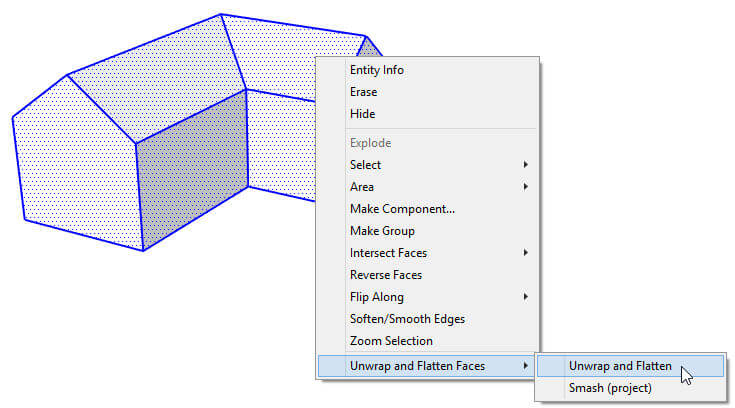
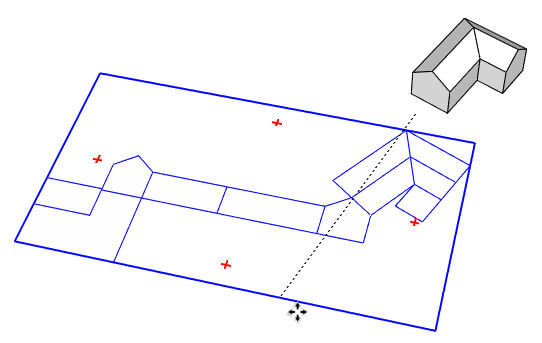
Here’s the first attempt. The entire unfolded net is a group – easy to move, delete, etc. This looks good; there’s no face overlap. But printed on a single sheet, each of these faces would be pretty small.
Here’s my second attempt. No good this time – some of the faces overlap.

After a few more tries, I got this net. No overlaps, good proportions for printing.
I switched to Top view . . .

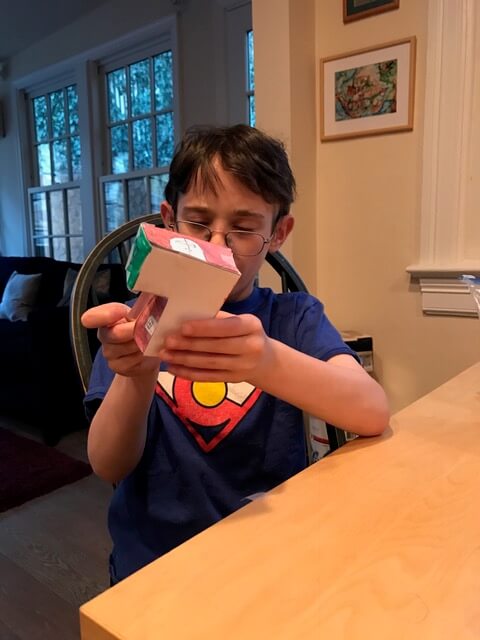
. . . and printed. Here’s my 10 year old, with the printout he trimmed with scissors. Ready to start coloring and folding.

Finishing the House
This is a great exercise in spatial reasoning. It’s hard to know how to color without knowing which face goes where. So we started by folding and loosely assembling the house.

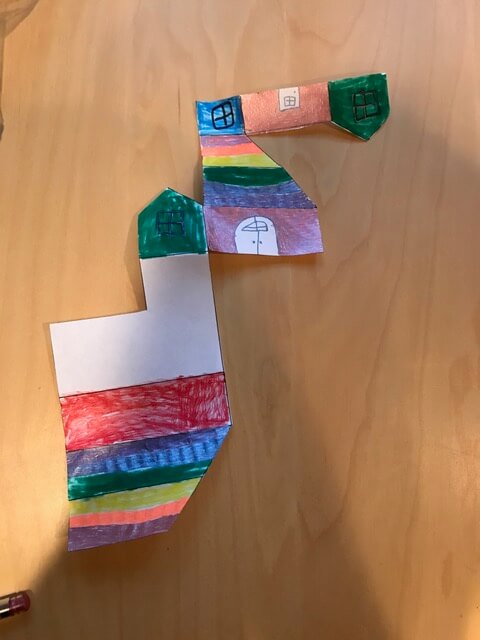
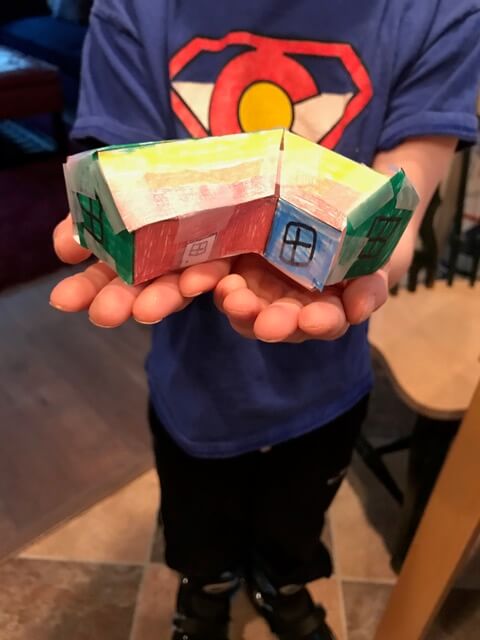
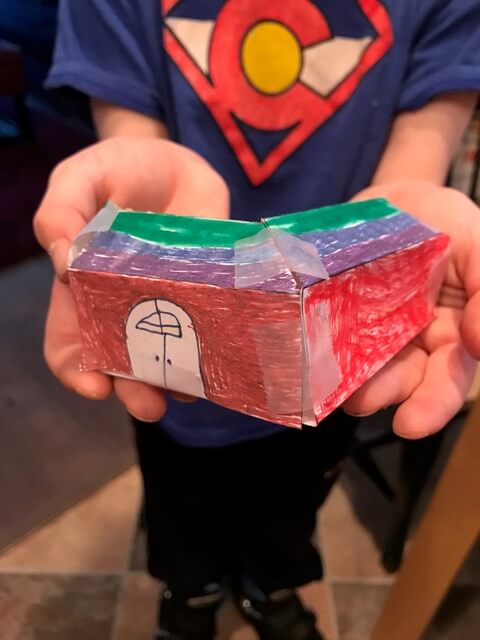
Then my son used markers to add his windows, doors, and rainbow roof.
Assembling with clear tape took some concentration and precision . . .
But he was very pleased with the result.
 |
 |
We just have regular printer paper. But this would be really cool with thicker paper, like card stock.
Next, in Part 2, I’ll show on way to add colors and textures BEFORE printing.

