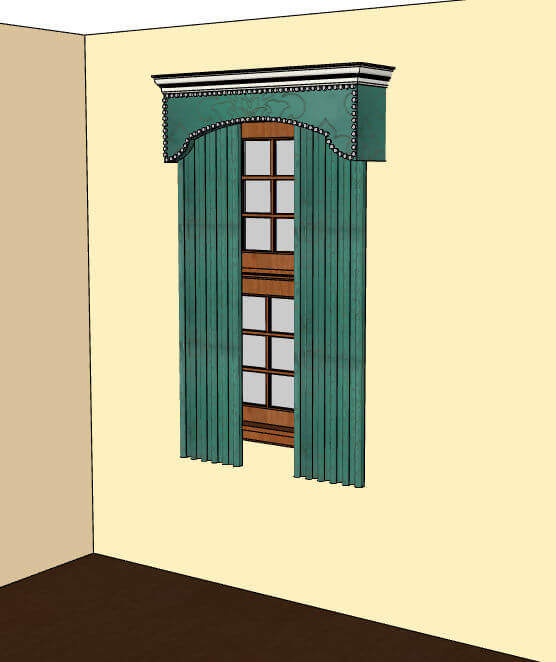
I recently helped a training client who wanted to model a window valance like this one:

Notice the cool metal studs placed evenly around the border.
So I thought I’d use this as an opportunity to demonstrate the PathCopy extension. Actually two extensions are needed here, both by Smustard, both available in the Extension Warehouse:
(Weld is an oldie but still works. In fact, neither of these are updated for 2018, so you may have to agree to install anyway. And if either doesn’t work, check your Extension Manager for permissions.)
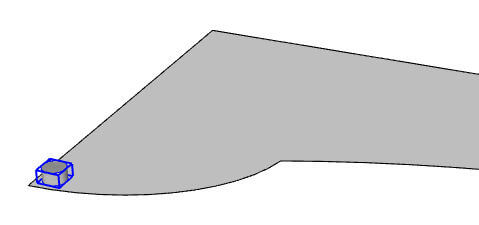
I started with this model from the 3D Warehouse:
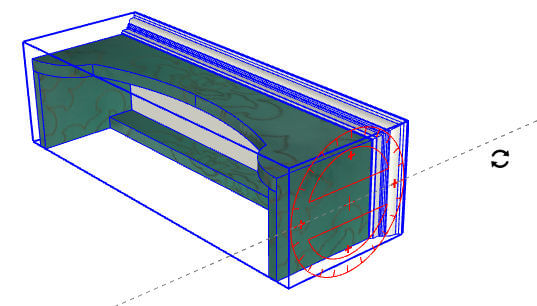
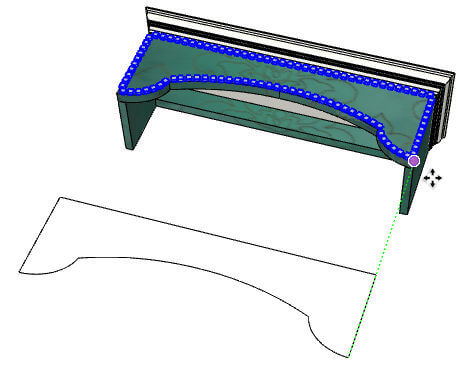
PathCopy was originally intended as a landscape-element extension, so it’s designed to work when the path is in plan (top) view. So I rotated the valance to sit like this, with the front facing up.
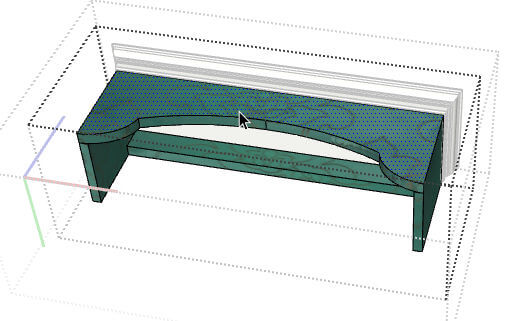
To establish the path, I needed to get the set of edges that surround the front face. So I drilled down into the component (editing components and sub-components), until I could select the face I want. Then I copied it.
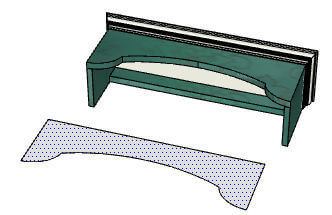
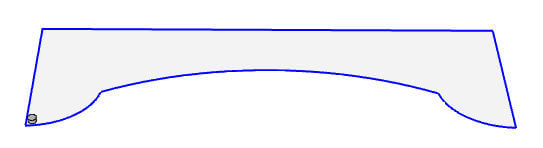
After closing all components, I pasted the face on its own, in blank space.
On this copied face, I added a simple cylinder for the metal stud. I made this stud into a component.
For PathCopy to work, the path itself has to be a single object – a curve, a line, or a connected string of either. That’s what Weld is for. I selected the edges of my copied face, and used Tools / Weld to join them into what Smustard calls a polyline.
That path stays selected.
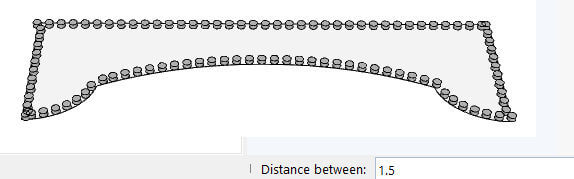
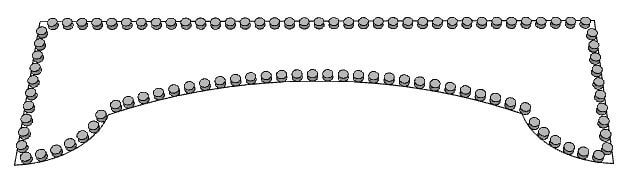
Then I chose Extensions / PathCopy, and clicked the stud. The spacing was adjusted by just entering the distance. The results are pretty good . . .
. . . though there were some misplaced studs in the corners.
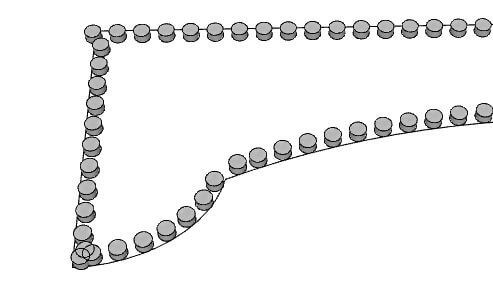
Easy fix – just delete the extras. Even if the spacing doesn’t turn out exactly as you’d like, in a case like this it’s really no big deal. Who looks that closely at the valance in an interior model?
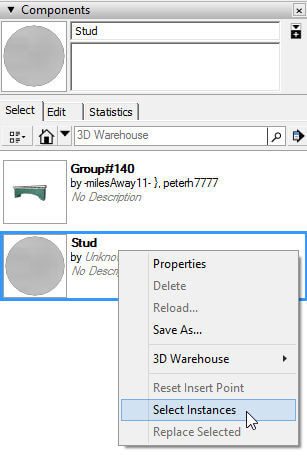
The next step – copy all of the studs over to the valance. In the Components window, “In Model” tab, the right-click window has an option to select all instances. Much easier than selecting one by one or dragging windows.
With all studs selected, I used Move to get them into place. Clicking two relative move points made this a snap.
Then I flipped the valance back over, and it’s ready to go.
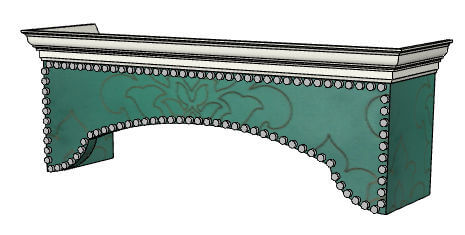
Fancy!