Anyone out there use SketchUp’s Position Camera tool? It’s essential for presenting your designs, but precious few people know about this tool.
I’ll demonstrate using this model, which is used in my new book on SketchUp for Entertainment Design. To download it, click the “3D Warehouse” logo at the bottom of the image below.
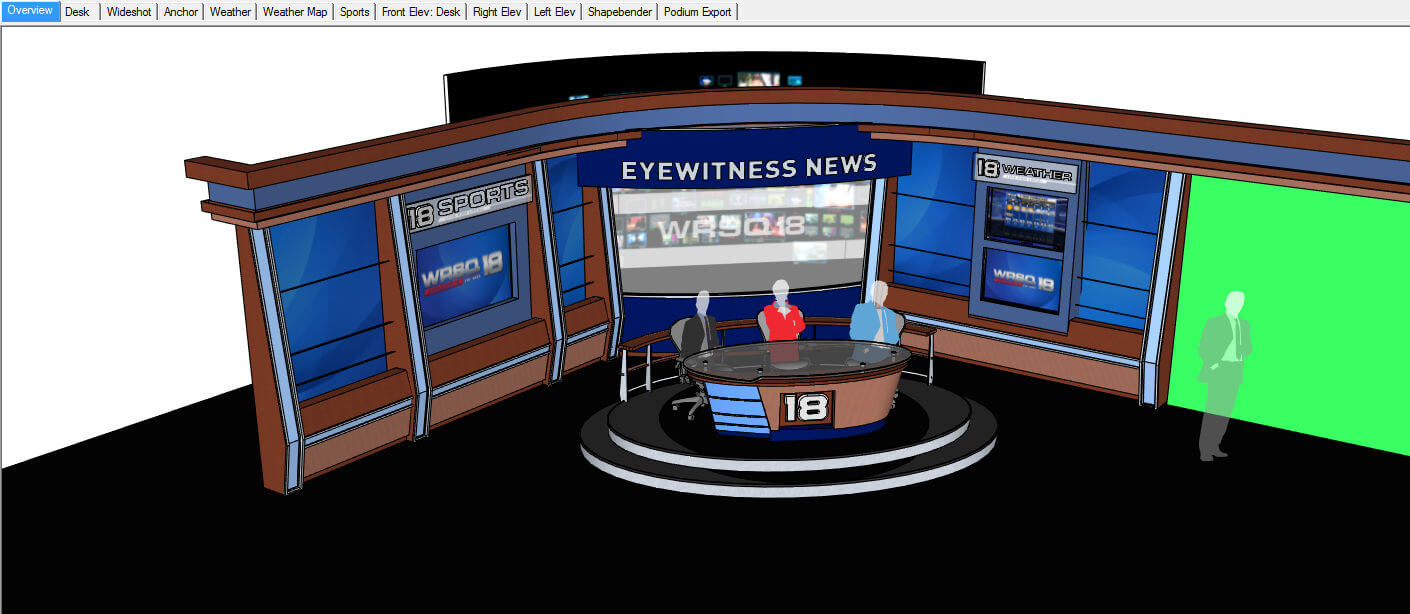
The model opens in this view, with the entire studio visible. There are a dozen screen tabs across the top – you can click on these for different views of the set. The Position Camera tool was used to save some of these scenes.
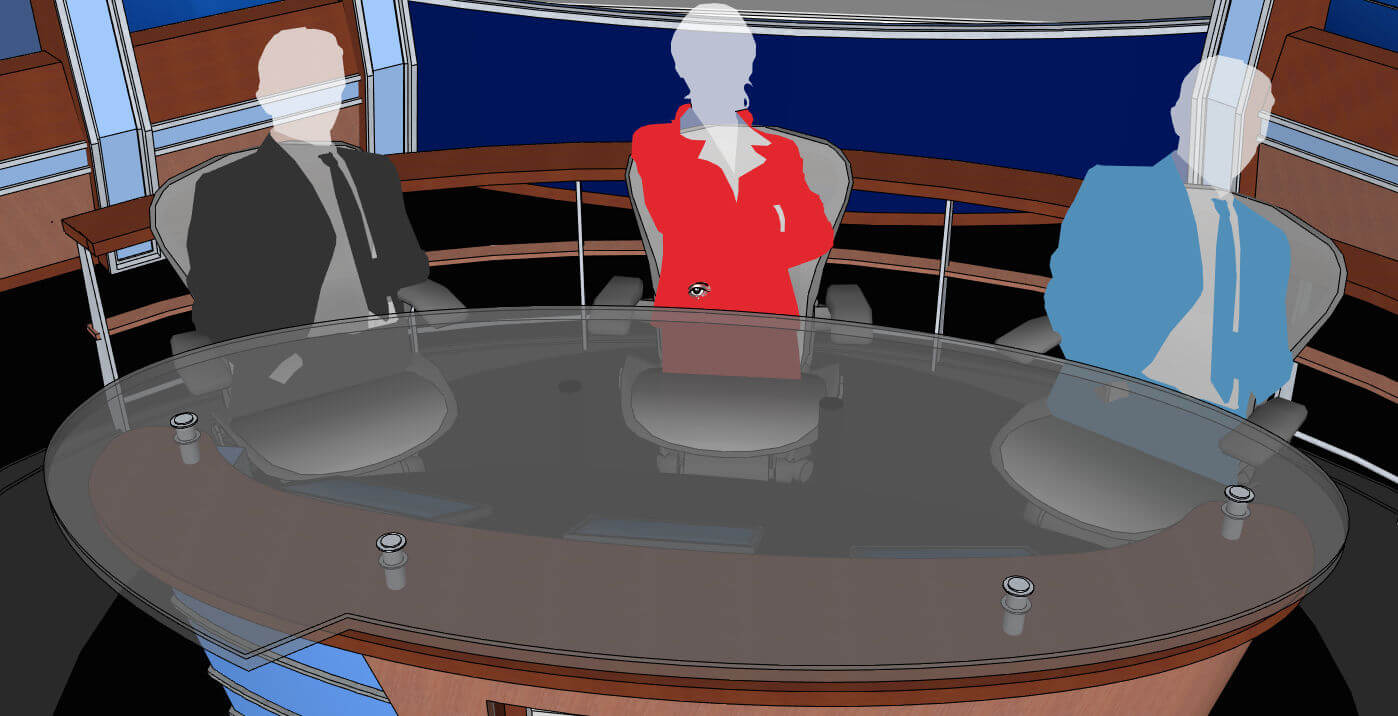
Click the “Overview” tab (the first one) – this is where we’ll start. The view isn’t exactly head-on, we’re looking toward a point somewhere between the anchors in red and blue.
Let’s start with a view you’d see standing in front of the news desk, facing toward the studio. Go to the main menu and choose Camera / Position Camera.
The Height Offset field is where you set the camera height, or the height of your eyes. I’m using 5′-6″.
![]()
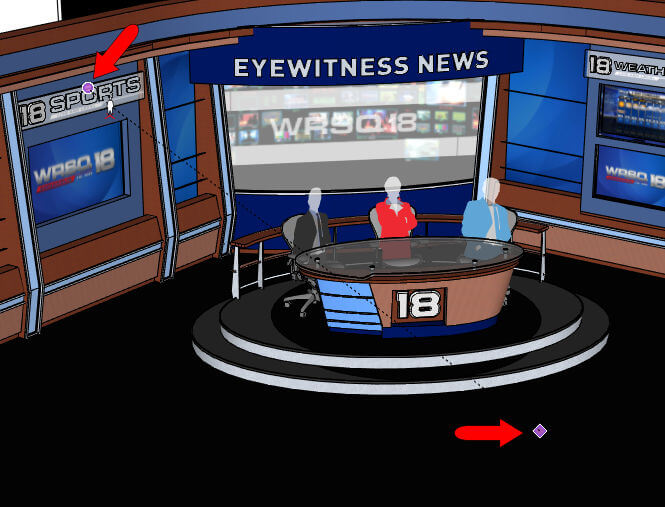
The next step is to click on the floor where you want to be standing (or where you want the camera).
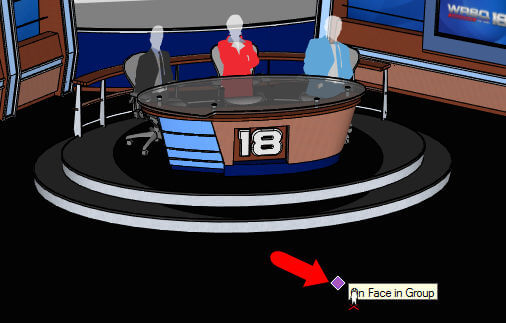
The view changes to what you’d see from this angle and location. The direction you were facing remains the same, but you’re closer to the action. The cursor symbol is an eye, which means you’re now in the Look Around tool.
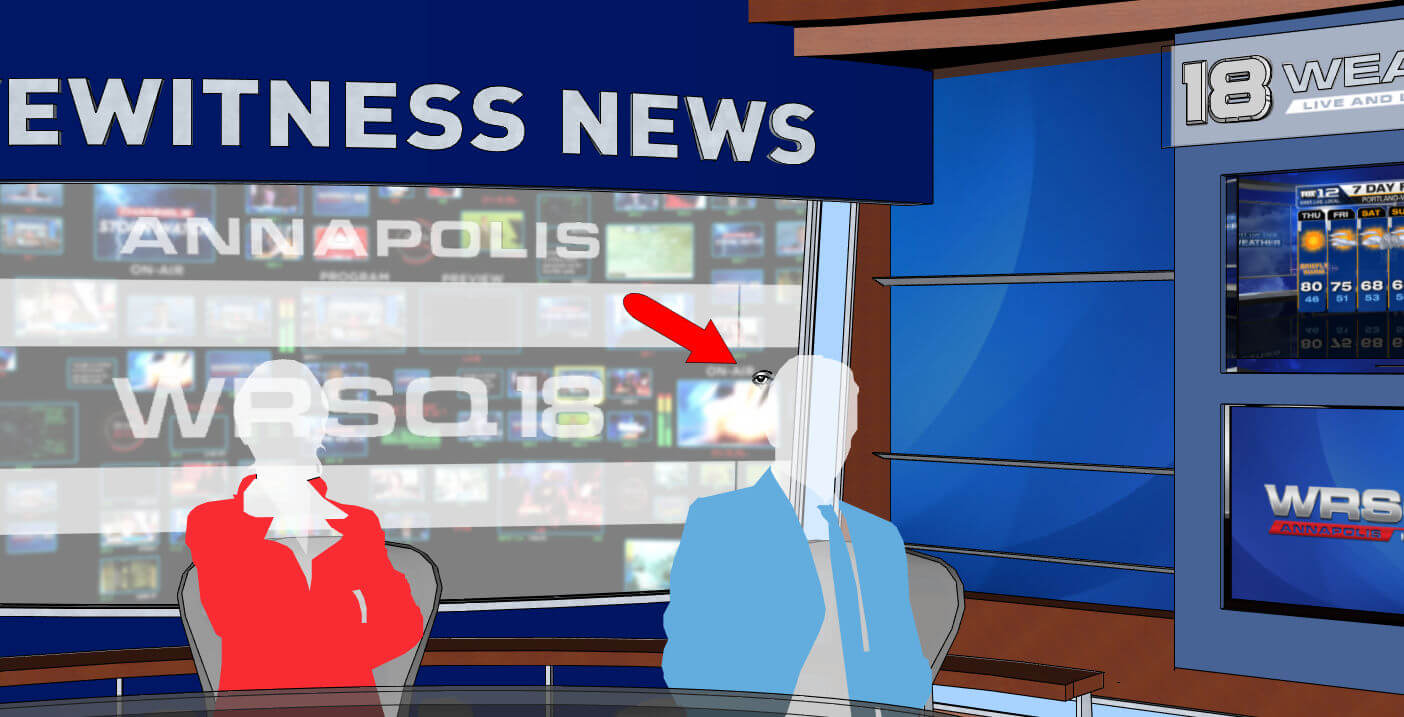
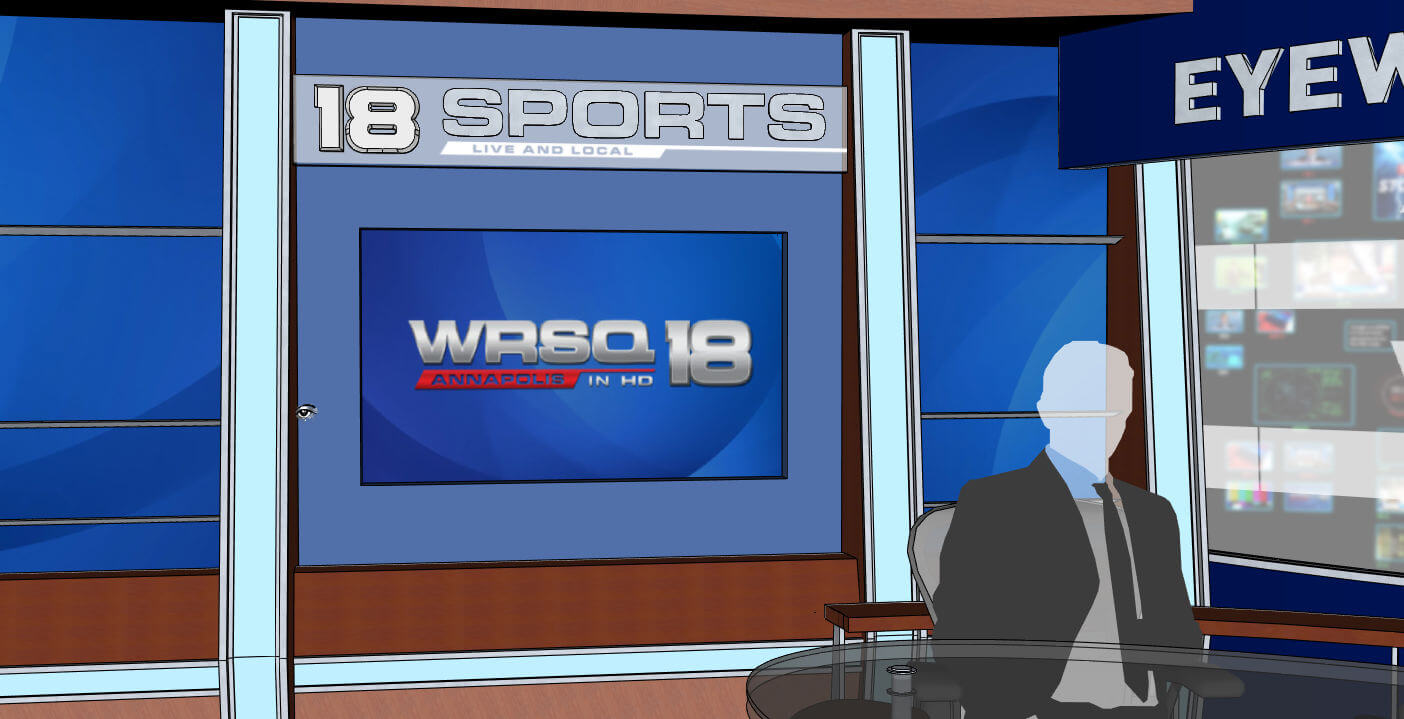
Look Around is like standing still while turning your head. Drag the mouse directly to the left to face the sports screen . . .
. . . then drag to the right to see the weather.

If you drag the mouse up or down that’ll be like looking up and down.
Drag back to face the center anchor. And change the eye height (just type the measurement) to 9′ or 10′. Drag down to see the desk again – this would be a view from a high camera, maybe a ceiling camera.
Now say we want roll the camera backward a bit, to view more of the studio. This is done with the Walk tool: Camera / Walk. The cursor is now a pair of feet.

Drag the mouse down to walk backward. Now you can get into the Look Around tool by pressing and holding the middle mouse button. Making it easy to get to a view like this:

When you have a view you want to save, open the Scenes window and click the “plus” sign to add the new scene. Make sure Camera Location is checked. Easy.
Next, in Part 2, I’ll show another way to use Position Camera, in which the view is both positioned and targeted.

