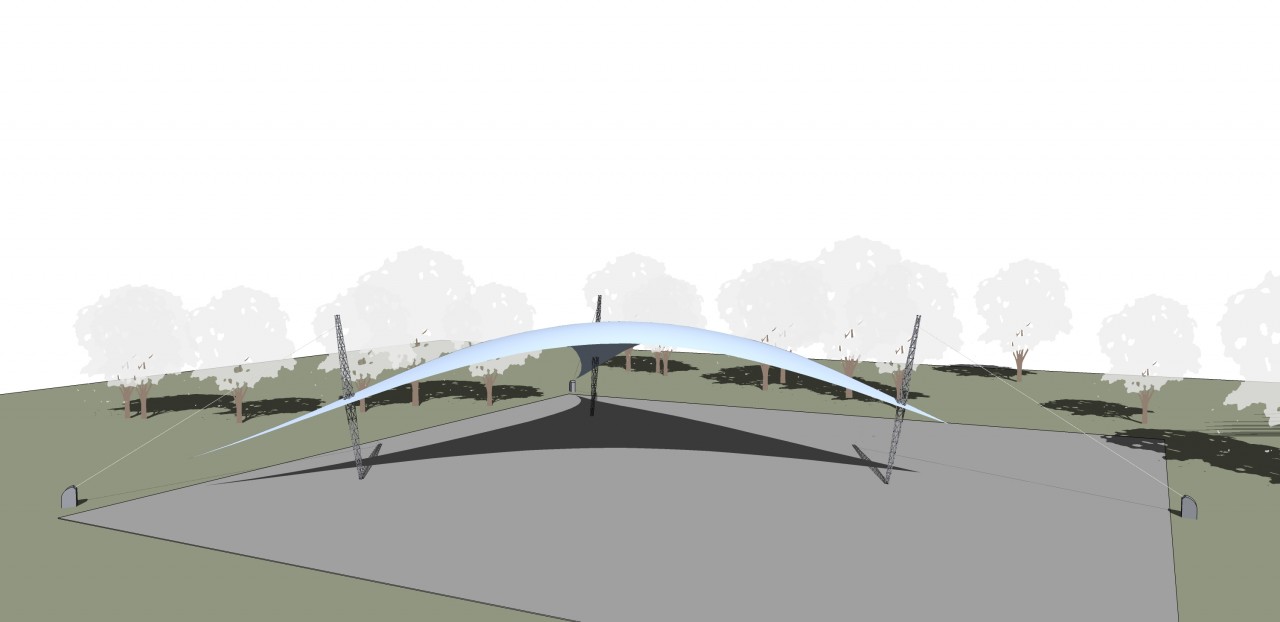
In Part 1 of this series, I demonstrated how to model the surface of a sail canopy in SketchUp. In this post, I’ll model the sail canopy supports – the three tall, tapered truss structures in the three corners of the sail:
Extensions You’ll Need
From the Extension Warehouse, you’ll need these three:
- Profile Builder (get the 30-day trial, then you might want to buy the amazing full version)
- FredoScale (which also requires the accompanying library “LibFredo6” extension)
- Selection Toys (which you should already have from Part 1)
On SketchUcation you can find the Mirror extension. (See this post on using SketchUcation extensions.) However, if you know how to make mirrored copies with Move and Scale, you can skip the Mirror extension.
Support Truss
The modeling process for the support trusses looks complicated, but if you follow along you’ll be surprised at how easy it is. And once you can do this, you’ll probably be able to think of other things that can be modeled by combining these extensions.
Let’s get started.
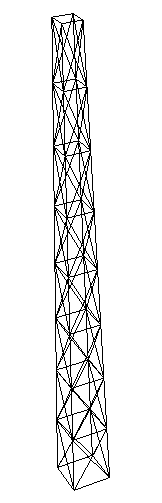
Draw a 2′-3″ square and pull it up 3′-5″.
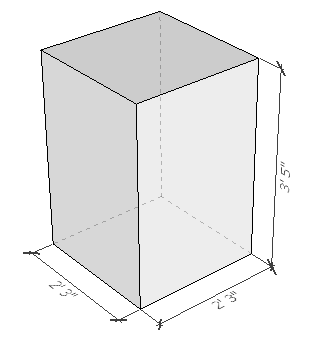
On the four vertical sides, add crossing lines.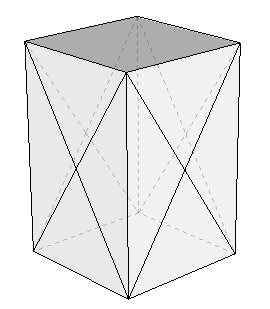
Select all edges and faces of the box. Use Selection Toys to select only the faces.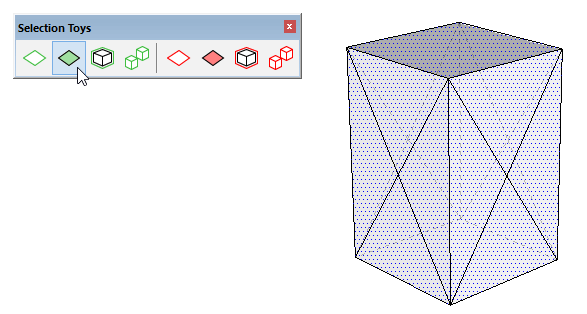
Erase all the faces, leaving only a wire frame of edges.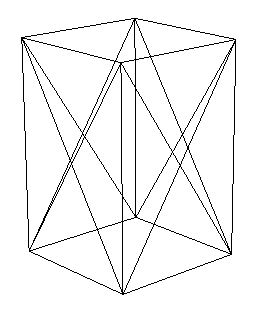
Select the wire box and copy it end to end, then enter 7x for a total of eight boxes. Make the entire set of boxes into a group.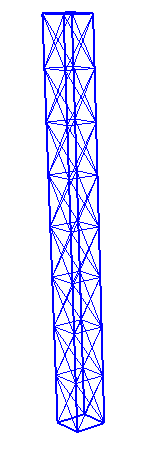
(Yeah, you could have done this with SketchUp’s native Scale tool, but Fredoscale is much more fun.)
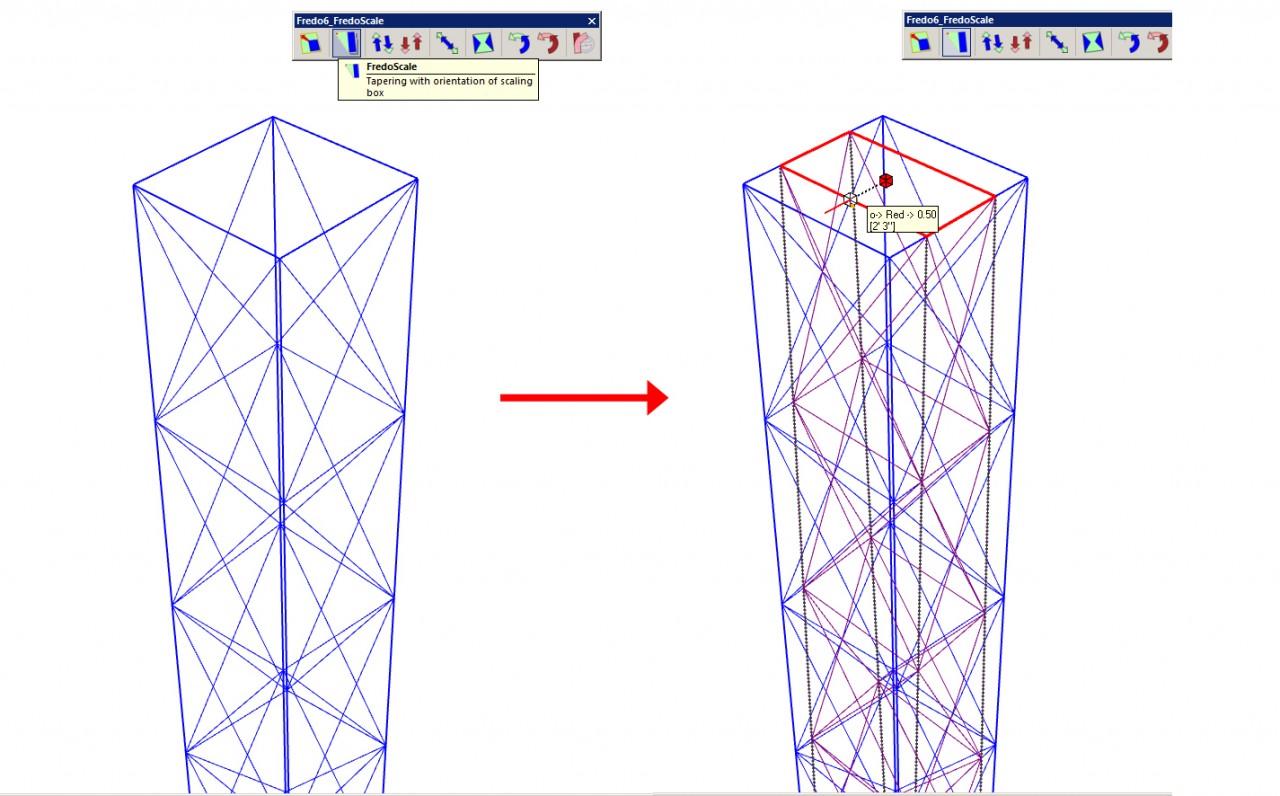
Add Tapering
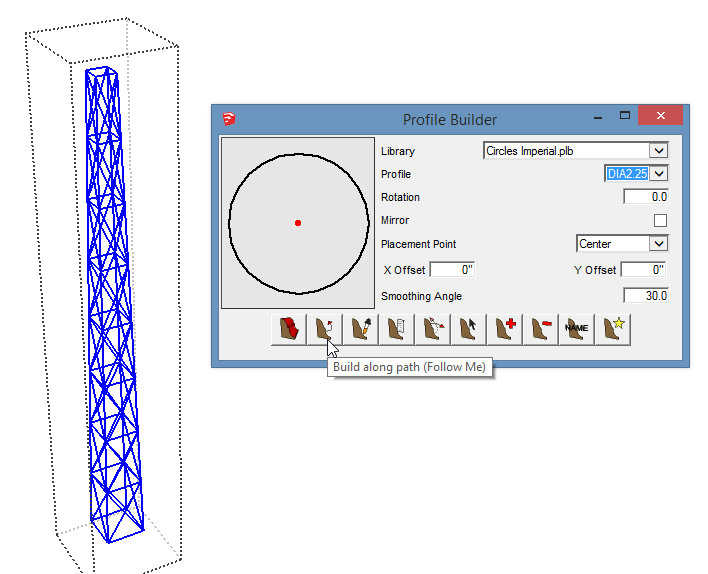
Keeping the group selected, we now want to use FredoScale. Click the Tapering icon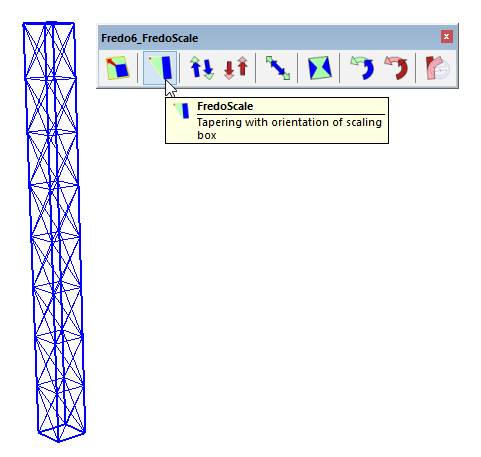
Zoom in on the top of the group, and grab one of the side handles so that the top face highlights. Pressing Ctrl or Option to scale about the center, scale the box inward 50% in either the red or green direction. Click again to finish.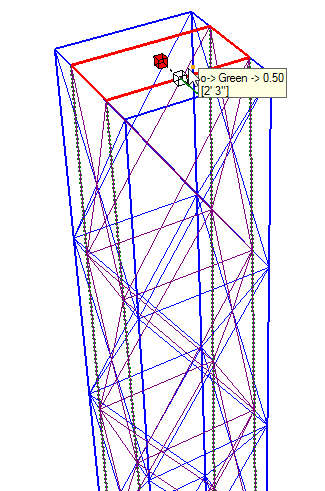
Activate Taper again and scale the same top face in the other (red or green) direction.
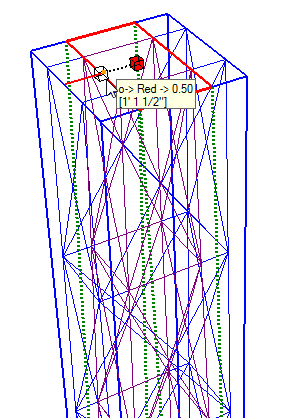
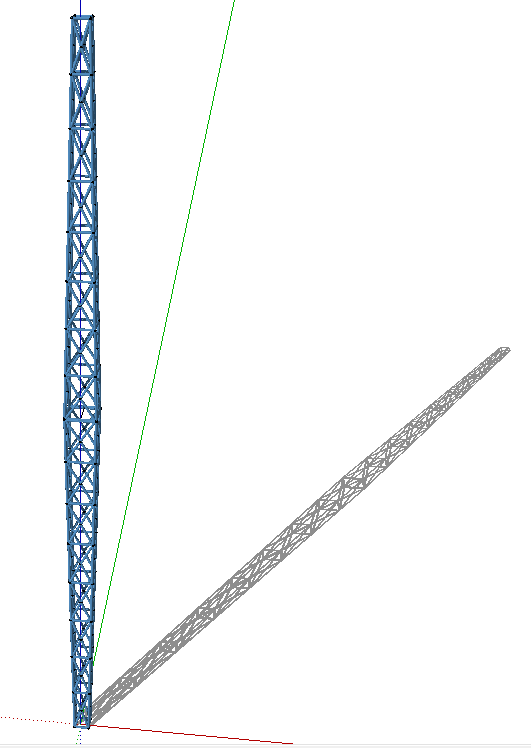
Now the entire tower is tapered from bottom to top.
Profile Builder
Now it’s time for Profile Builder, which its developer accurately calls “the Follow Me tool on steroids.” Open the wireframe group, select all edges, and activate Profile Builder. For Library, choose “Circles Imperial” to make pipes along all of the edges. For Profile, use 2.25″ diameter. Finally, click the second icon along the row at the bottom: Build along path. Click Yes to proceed even though there’s more than a single path.
The calculation might take a minute or two, but all edges are now enclosed by pipes. Close the group.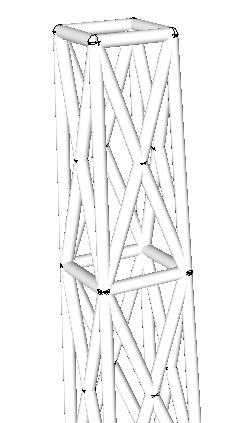
This is half of the tower – the full support tower is widest at its center. So we want to mirror this tapered tower over the bottom. First, we need to create an edge we can use as a mirror reference.
Turn off all faces by choosing View / Face Style / Wireframe. Then at the bottom of the tower, draw a midpoint-to-midpoint line.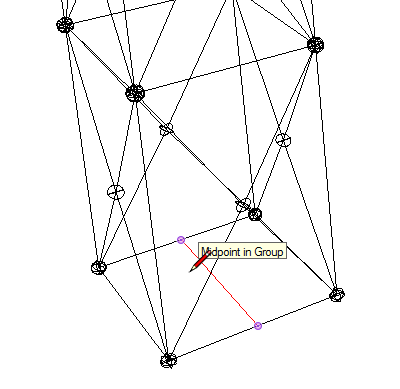
Turn faces back on (View / Face Style / Shaded with Textures) and select the tower group. Activate the Mirror extension, and click any two points along the line you drew earlier, to define the mirror line. Then press Enter. Keep the original selection.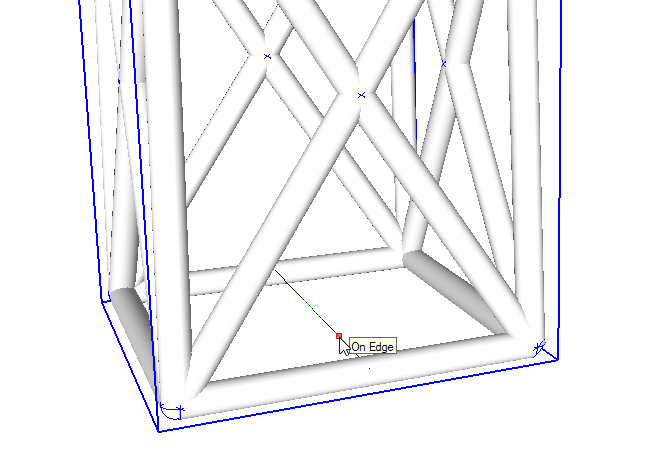
Here is the result, after painting both tower groups and moving them so that the bottom sits at the origin.
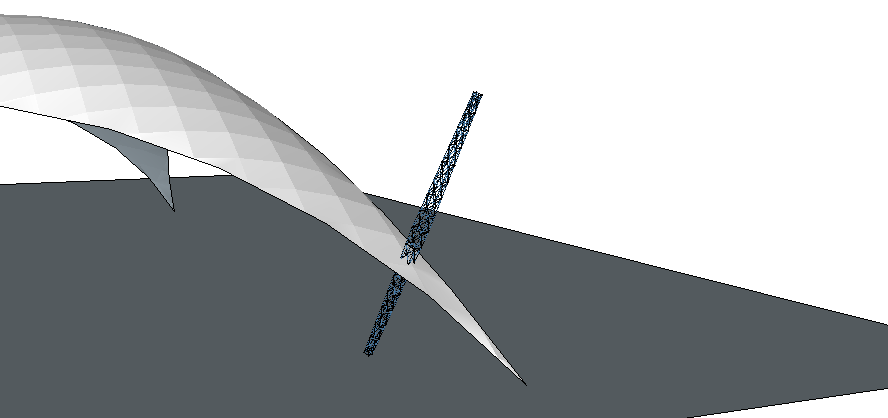
Here is the sail model from Part 1, with one of the supports brought in (File / Import). I leaned the tower over using one of the rotation tools in FredoScale.
If you like this sort of modeling, stay tuned for Part 3. I’ll demonstrate how to model a fluid sail canopy.

