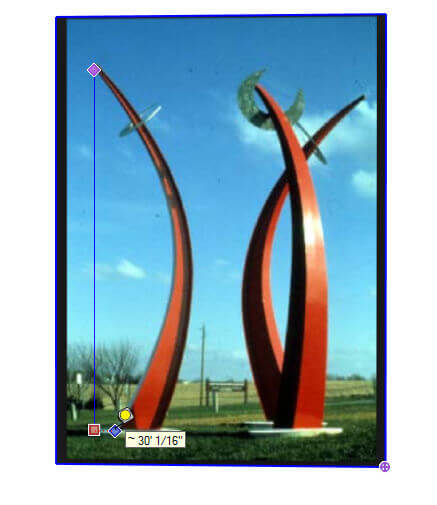
I recently had a fun design job with a local architect. The idea was to make a conceptual model that loosely resembled a specific sculpture. The sculpture model would be placed in a SketchUp model of a new, mixed-use project, to show in context what a similar art installation would look like.
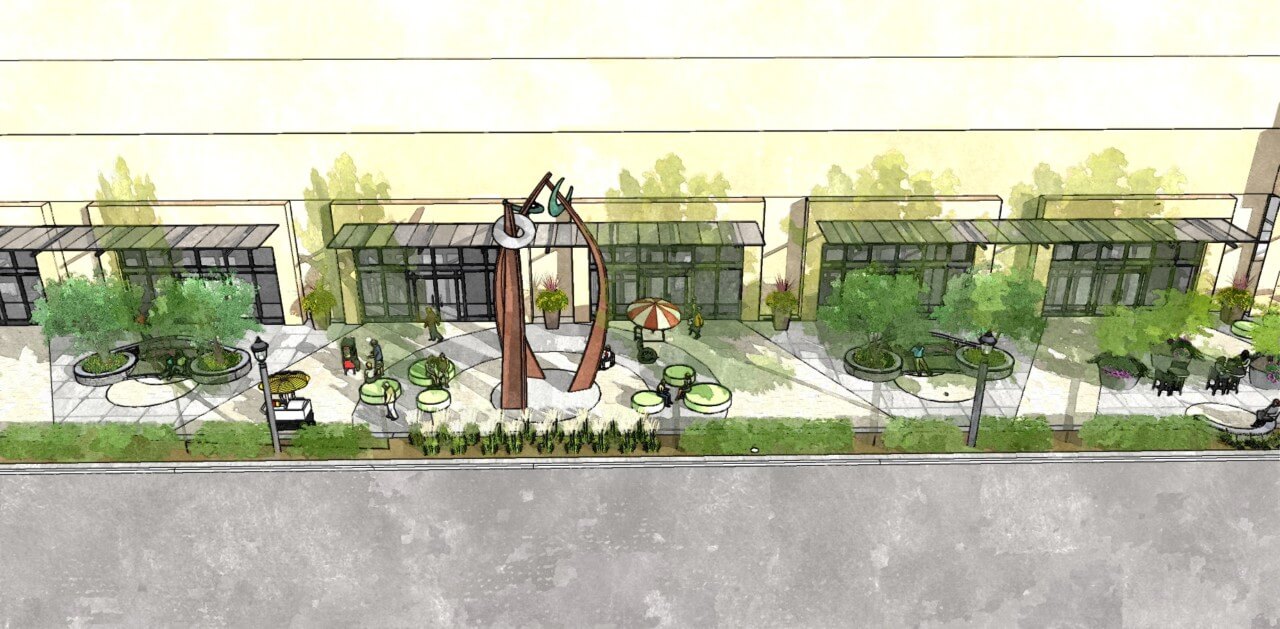
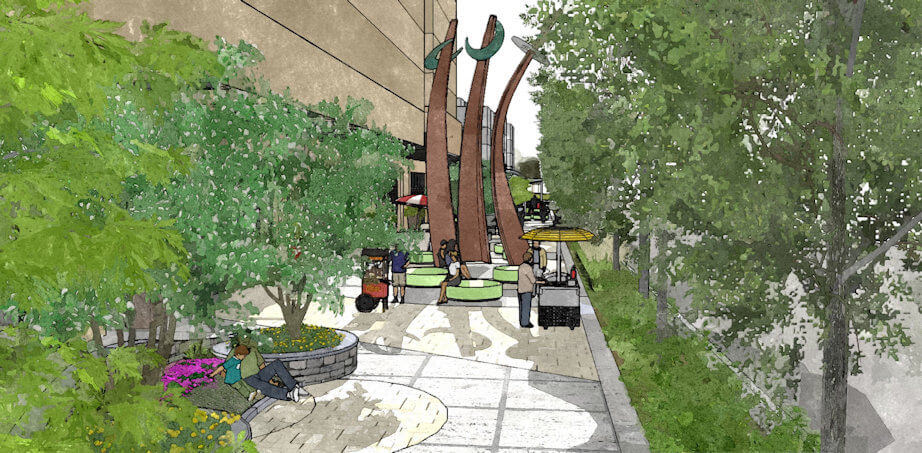
(The renderings above came straight from SketchUp – just with watercolor trees and shadows turned on.)
I was given two pieces of information:
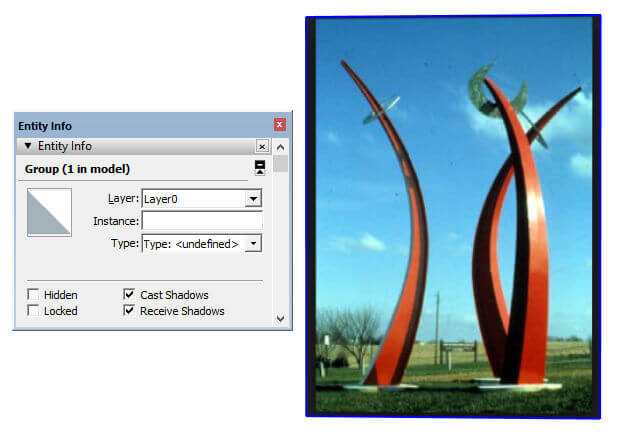
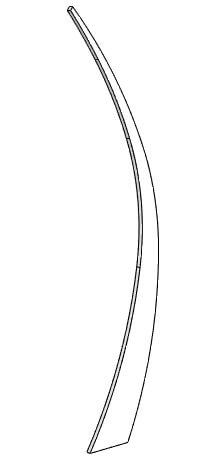
This picture:
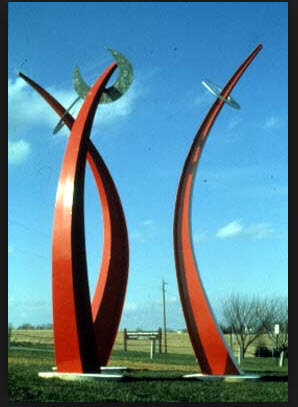
And an approximate height of 30 feet.
So here’s how I did the model:
I started SketchUp in Front view, and used File / Import to bring in the picture as an image (not as a texture).
I exploded the image, then made the painted face into a group.
I used the Tape Measure tool to resize the model so that the measured height of the sculpture became 30′.
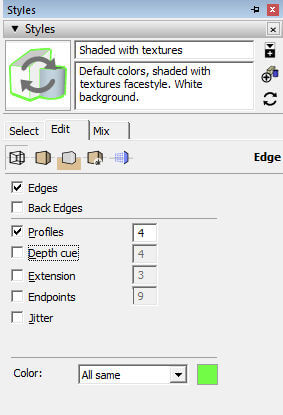
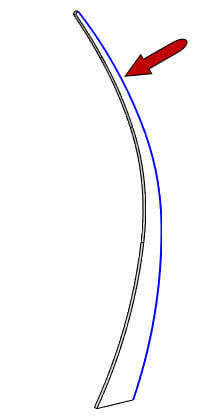
I changed the style to have thick, green edges – this made tracing on the photo easier to see.
I used the 2 Point Arc tool to trace along part of the image. Connected arcs were made tangent to the ones before.
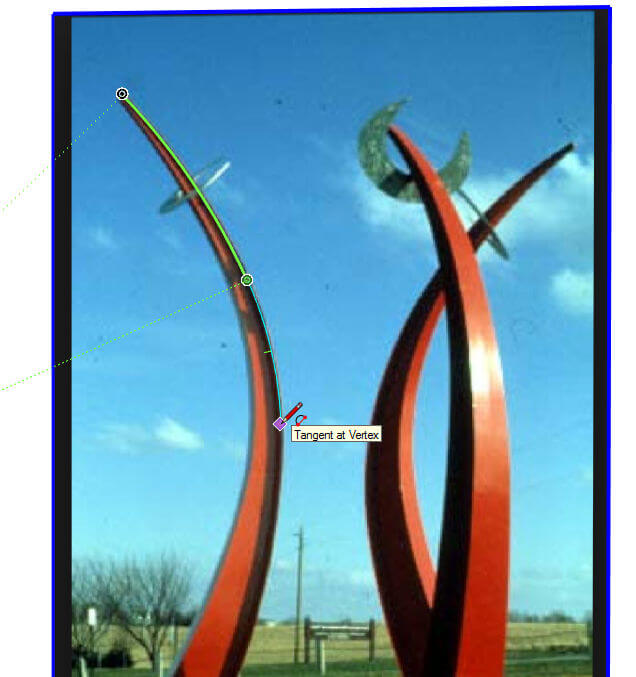
When the tracing all around was finished, I hid the image, and changed the style back to regular black edges. (If you don’t save a changed style, you can just click the style again to revert to its original definition.)
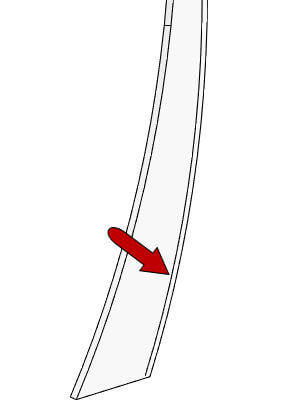
I used Push/Pull to give this flat piece some thickness.
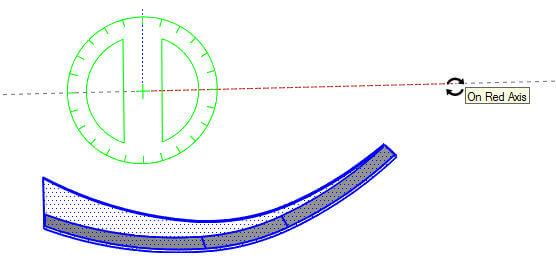
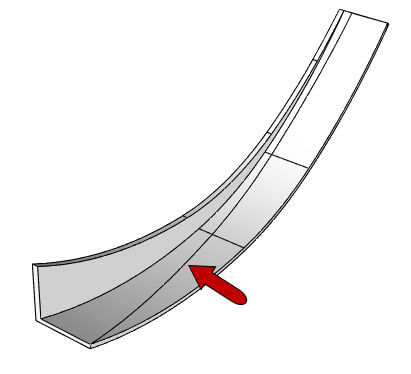
I selected all of the edges that made up the outer arc on the front.
I used Offset to bring another set of arc edges inward. There were little bits that had to be added and erased at the top and bottom.
I pulled out the narrow offset face.
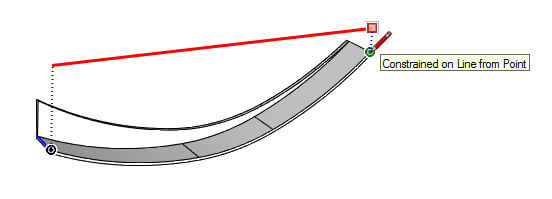
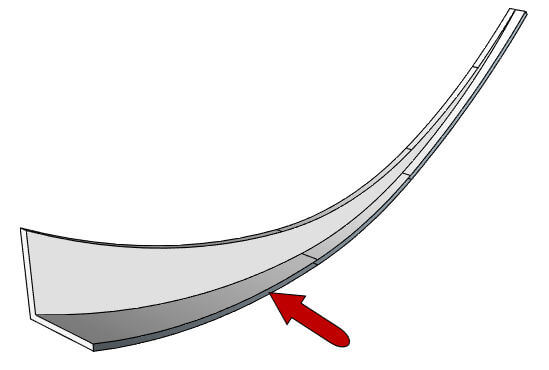
The part that I just pulled out is also supposed to follow an arc shape, tapering toward the top. There are a few methods I know of to project an arc onto a non-flat surface, and they all involved projecting downward. So I used Rotate to turn the object on its side, lying down.
I thought to use the Tools on Surface extension, but that gave me some strange results. So I switched to SketchUp’s Drape tool, one of the Sandbox tools. This involved creating a flat surface just above the curved one, where the arc to be projected would be drawn. For this rectangle, I started with the long edge, placing both endpoints directly above corner points.
Here’s the completed rectangle:
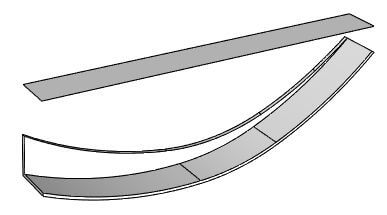
And here’s the arc to be projected.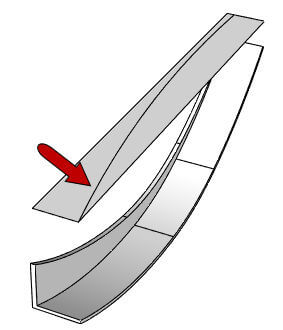
And here’s the projected arc resulting from Drape:
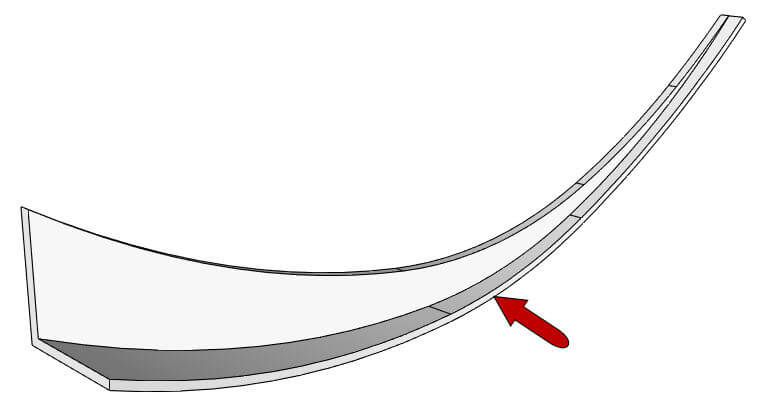
After trimming away the extra bits past the projected arc, this narrow strip was left without a face covering it. (Which shouldn’t have bothered me since nobody would notice this little missing face, especially in a concept model. But I can’t let these little things go.)
So I used Curviloft, with the Skin Contours option. In this interaction, you select edges one by one, then with one click . . .

. . . a face is filled in. Where would we be without these amazing extensions. That face was created as a group, which I exploded.
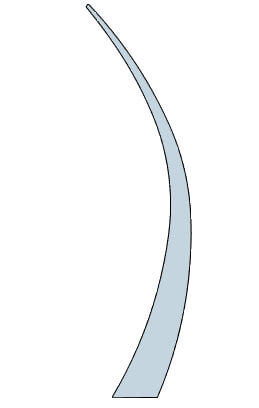
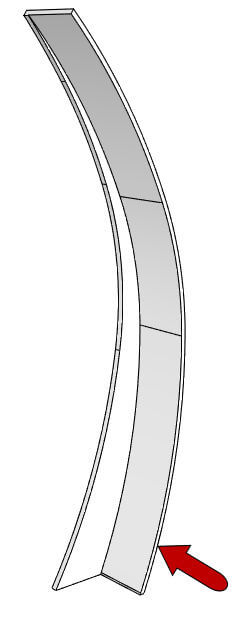
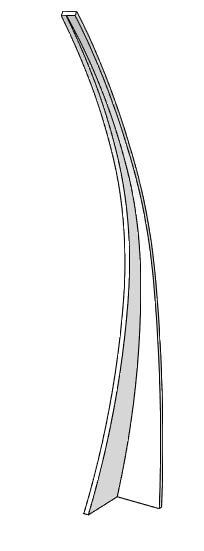
So now here’s one of the tall, arcing pieces of the sculpture, after rotating back to be vertical and smoothing some edges:
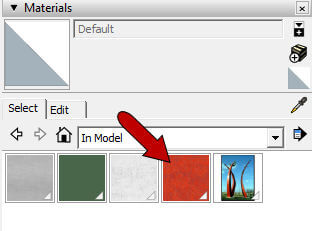
I found and imported a nice reddish weathering steel material image.
And here’s the final model, with two other identical pieces, sitting on a round base. I added the little moons and circle as flat faces, loosely based on how the photo looks.

There was another sculpture that was part of this project, which I’ll show in Part 2.

