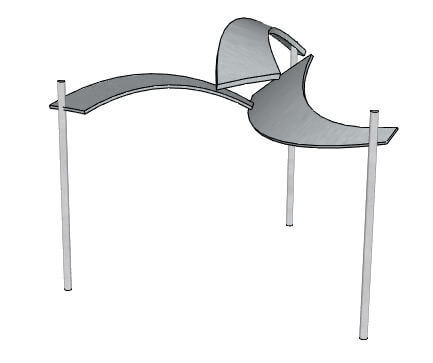
In Part 1 I showed how I modeled an organic sculpture using a few neat SketchUp extensions. That project consisted of two sculpture models, and here’s a description of the second one.
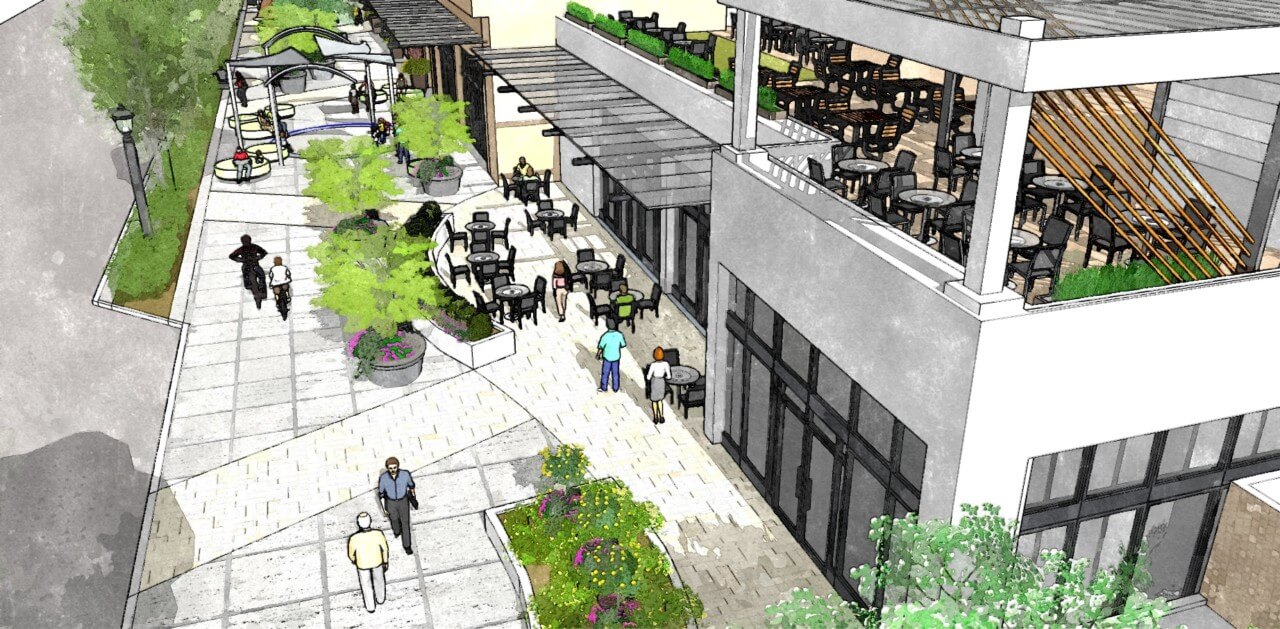
My model appears in this rendering – it’s at the top left corner, along the sidewalk.
The idea was that the sculpture was to look something like this:
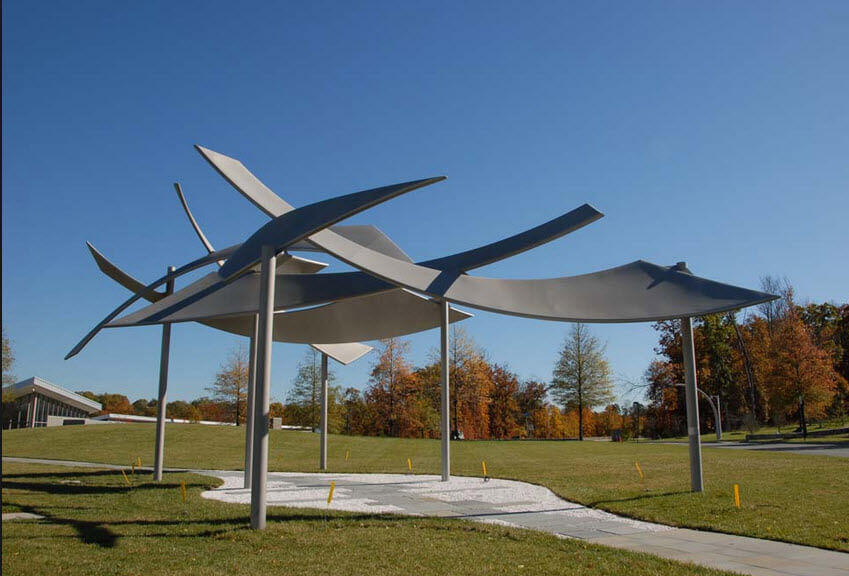
But instead of several varying pieces as shown above, this one would have just three long pieces, each about 12′ long, and each on its own 12′ high post.
So I started in a similar way to the previous sculpture. I started in Front view, imported the photo, changed the edge style, and started tracing one of the pieces. I tried to estimate what a head-on view of the piece would look like, based on the face that it was turned a bit on its side in the photo. Switching to X-Ray view made it easy to see the photo underlying the traced face.
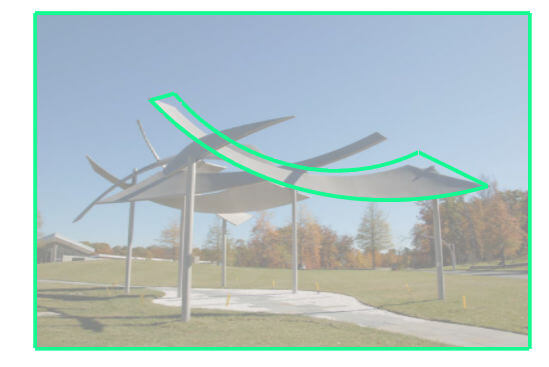
I erased the photo and switched back to the regular style.
Then I used the Tape Measure to resize the model so that the piece was 12′ long.
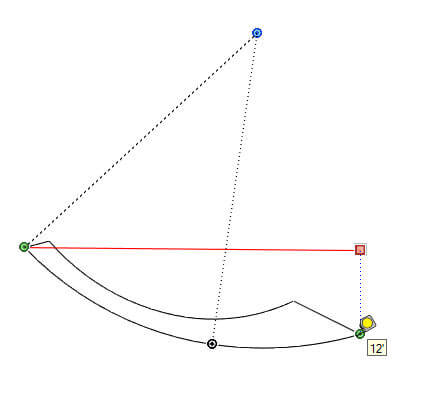
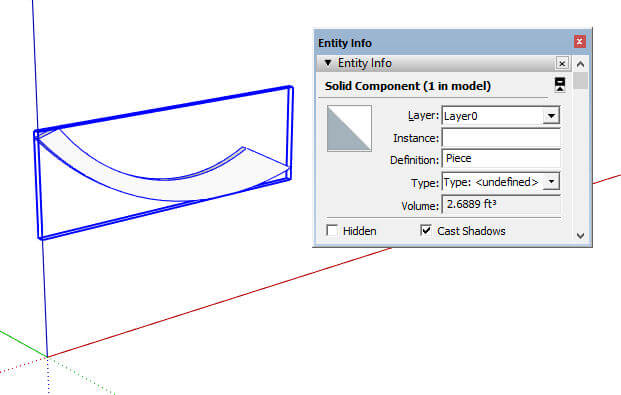
I gave the piece some thickness, and make it a component (a group would have worked also). I brought the piece over to the origin, raised it up, and oriented it along the red axis.
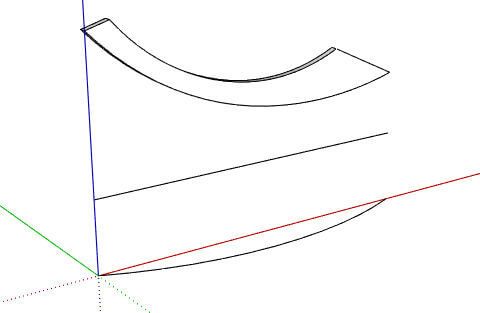
The extension I used to bend the piece is Shape Bender, which requires a group or component to bend, a straight reference line in the red direction, and a curve along which to bend, also oriented in red. Keeping the three objects stacked vertically makes everything clear and easy.
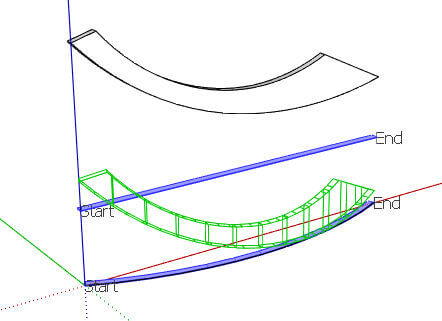
Here’s part of the Shape Bender interaction, which shows a preview of what the bent object will look like. Everything lines up and looks good.
(I’ve blogged about Shape Bender before – see here and here for more ideas.)
That’s pretty much it for the actual modeling. I attached the piece to a 12′ post, and rotate-copied about a center point. I used Scale and Move and Rotate to give each of the three pieces a slightly different look.
