Has this happened to you? You’re happily working on a large SketchUp model . . .
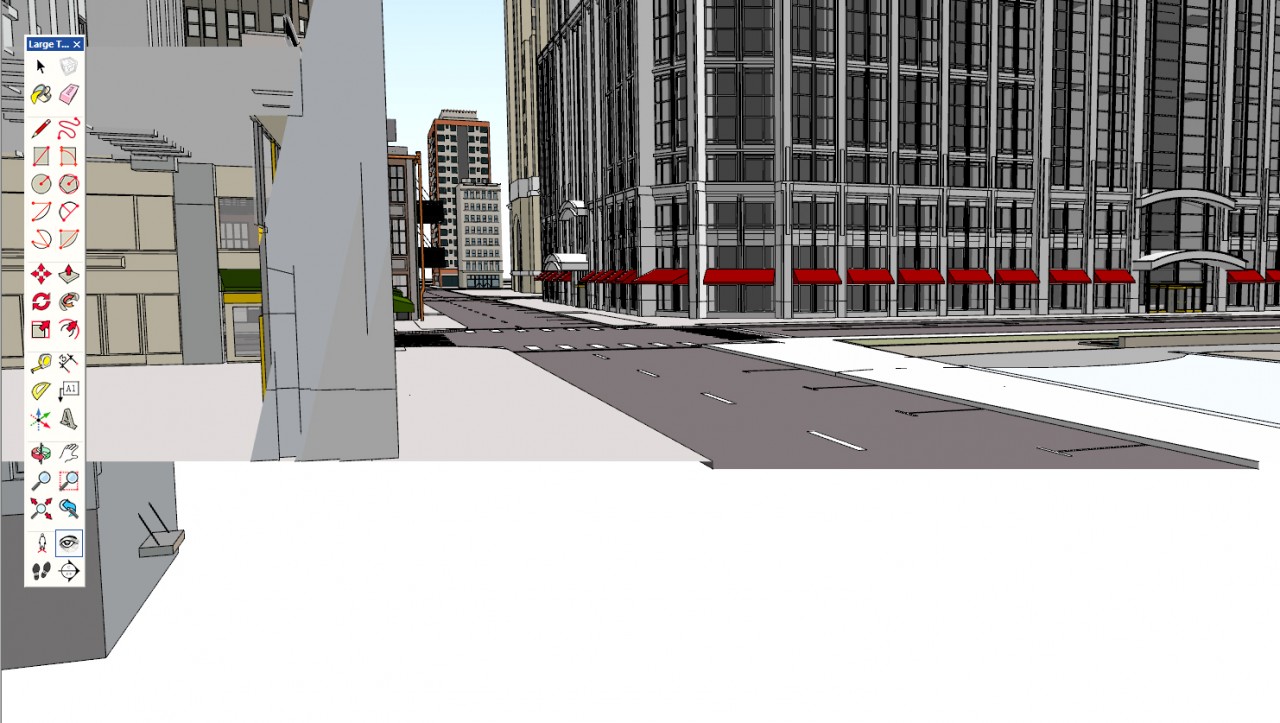
. . . and you start to zoom in on some detail – maybe to clean up an edge or change a material. Suddenly, your model starts to disappear – note the big chunk of empty white space in the image below. This is most likely to occur with a large, complex, or spread-out model.
Before you know it, only part of your model is visible, and the specific area you were gunning for – poof! Gone. Not only that, your mouse is now behaving badly, jumping around and unable to zoom in anywhere.
You shake your head and wonder what happened, and then you start muttering bad things about SketchUp and 3D modeling in general.
You have encountered…… the dreaded ……. SketchUp clipping plane.
For me, even after more than a dozen years using SketchUp, I still go ballistic when this happens.
Why the $%^# Does This Happen?
Here are three typical reasons why the clipping plane is ruining your life. And some solutions.
By the way, if any SketchUp employee is out there reading this, PLEASE, PLEASE fix the clipping plane 🙂
- The model is far away from the origin point (the point where the red, green, and blue axes meet). This can happen when importing a CAD file that is based on a coordinate system set far from the SketchUp origin point. This is a very common occurence when importing models with metric units.
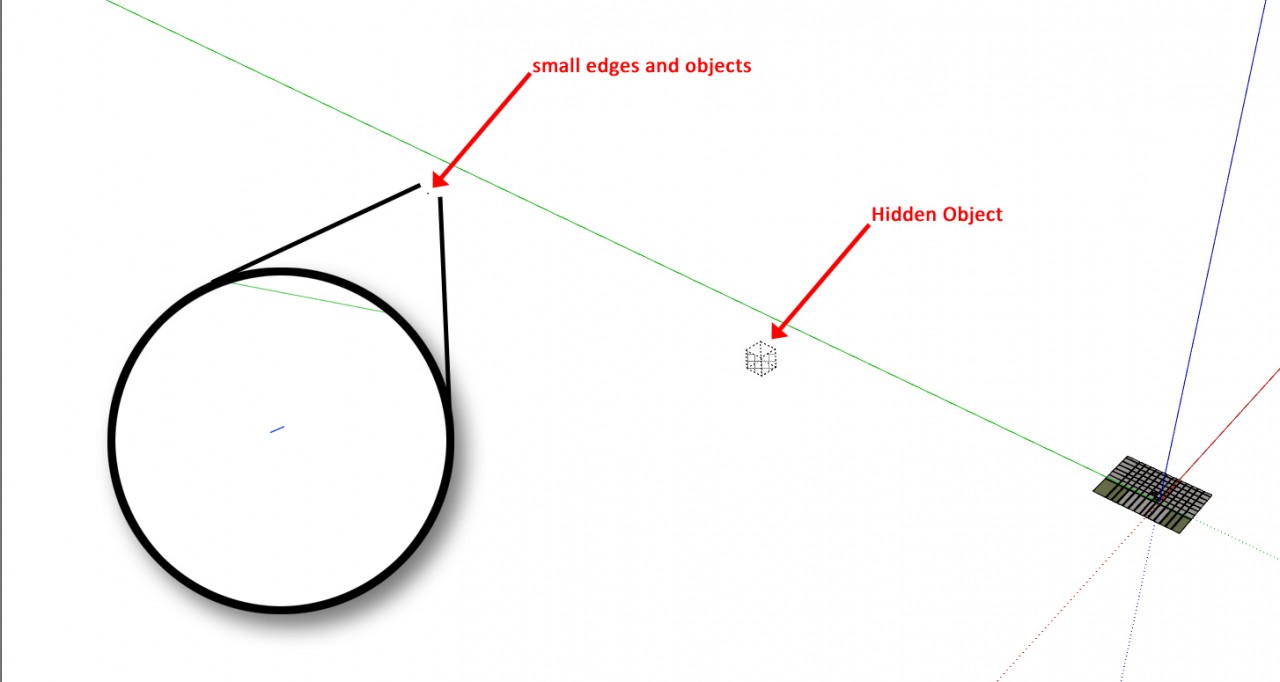
- Your model has objects that are hidden, or placed on a hidden layer. When hidden objects are far from the main model, they’re very hard to find and can affect zooming.
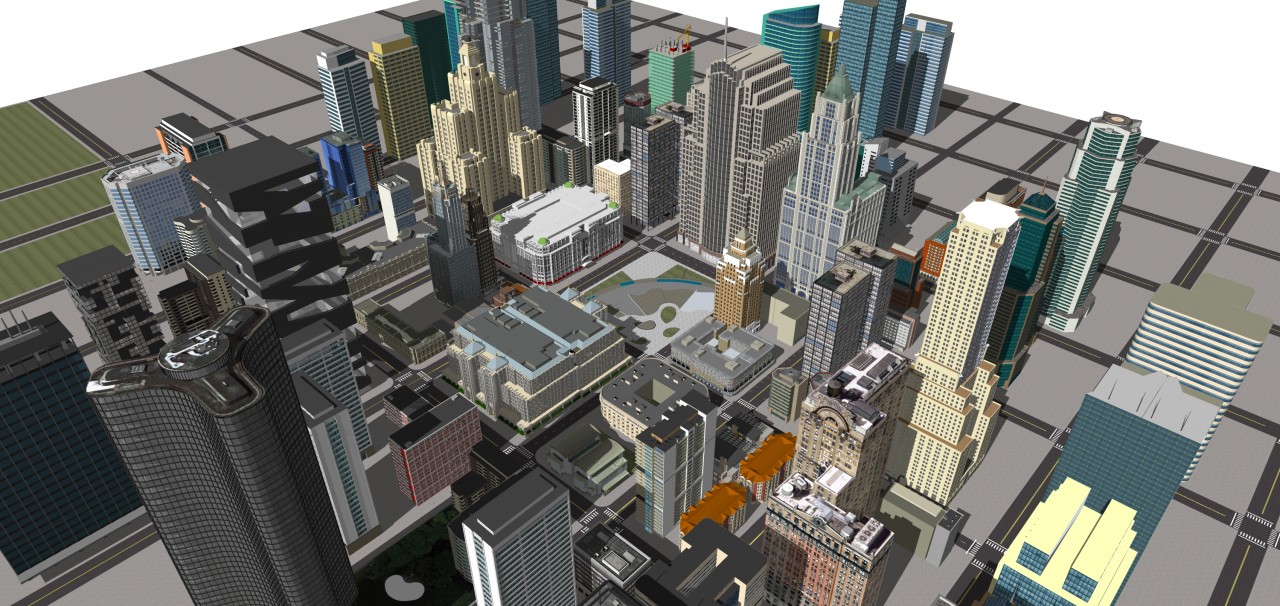
- Small vs. large: You’re working on a building and you’ve imported a relatively huge aerial image from Google Earth. Or you’re working on a tiny part of a large object, like one small gear in a complex robot.
Clipping Plane Solution 1
This clipping plane solution is the one I use the most often because it’s useful for large site models. But please note: for really detailed, object-heavy models, it can take some time to complete.
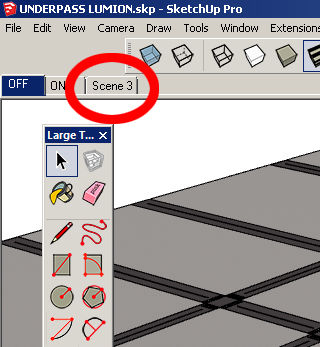
First, zoom out slightly to see your model as it was before the clipping plane attacked. Save a scene so that you can come back to this view if needed. Creating a scene is easy: Open your Scenes window and make sure the Camera Location option is checked. Click the “plus” sign to save the scene. Scenes can be accessed by scene tabs at the top of the SketchUp window.
Just in case, save your model. Crashes do happen.
Make sure your all of your layers are visible, and show hidden geometry as well (menu: View / Hidden Geometry).
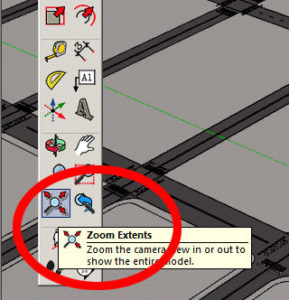
Next, do a Zoom Extents (menu: Camera / Zoom Extents).
This brings your entire model into view. If your model is large, your view might rocket out very far, making it difficult to get back to the location you were focusing on. But that’s why you saved the scene – you can click the scene tab to get back to that location.
Also, processing time can be long, or a crash can occur, if there is an object super-far away from the origin point. Which is why you saved the file. If you have a crash, or have to force-quit, just re-open the saved file.
Look for stray edges or hidden objects that might be causing the clipping issue. Deleting these stray bits will usually fix the problem.
Clipping Plane Solution 2
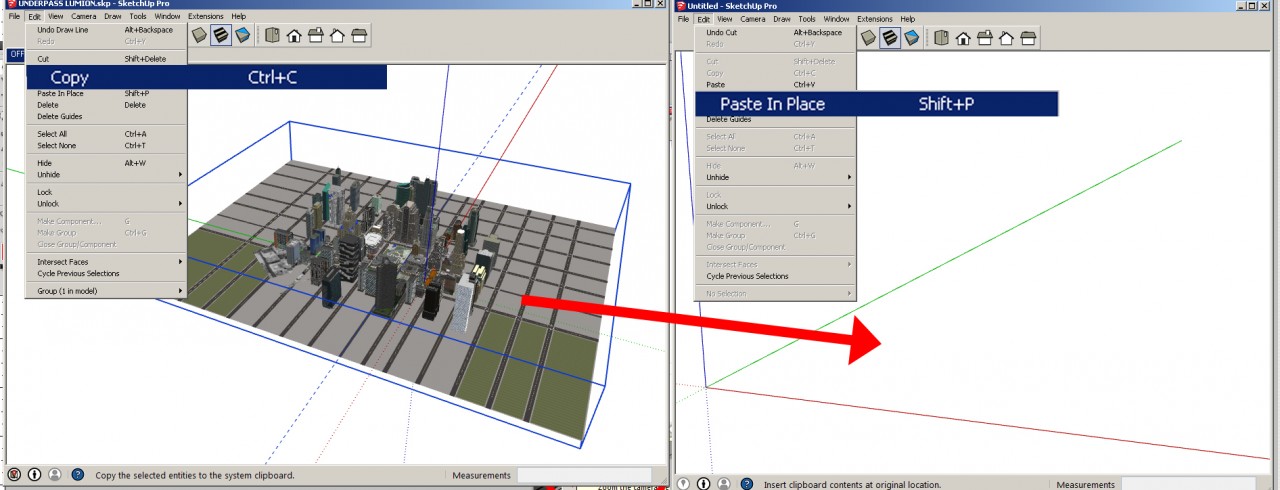
If Solution 1 above doesn’t work, the next thing to try is this: copy and paste all the model geometry you want to keep into a new, empty SketchUp file. This method almost always works, but can take longer to complete, especially for large models.
Open a new, blank SketchUp file. You should now have two SketchUp files open.
In the problematic file, make sure all layers and hidden geometry are displayed. Select all of the objects in your model that you want to keep. Make all selected objects into a group (this can take some processing time).
With the group selected, choose Edit / Copy. (Cutting would also work instead of copying. The advantage of cutting – having objects disappear from the model – is that you’ll know what, if anything, is left in the problematic model.)
Now go to the blank SketchUp file. You have two options:
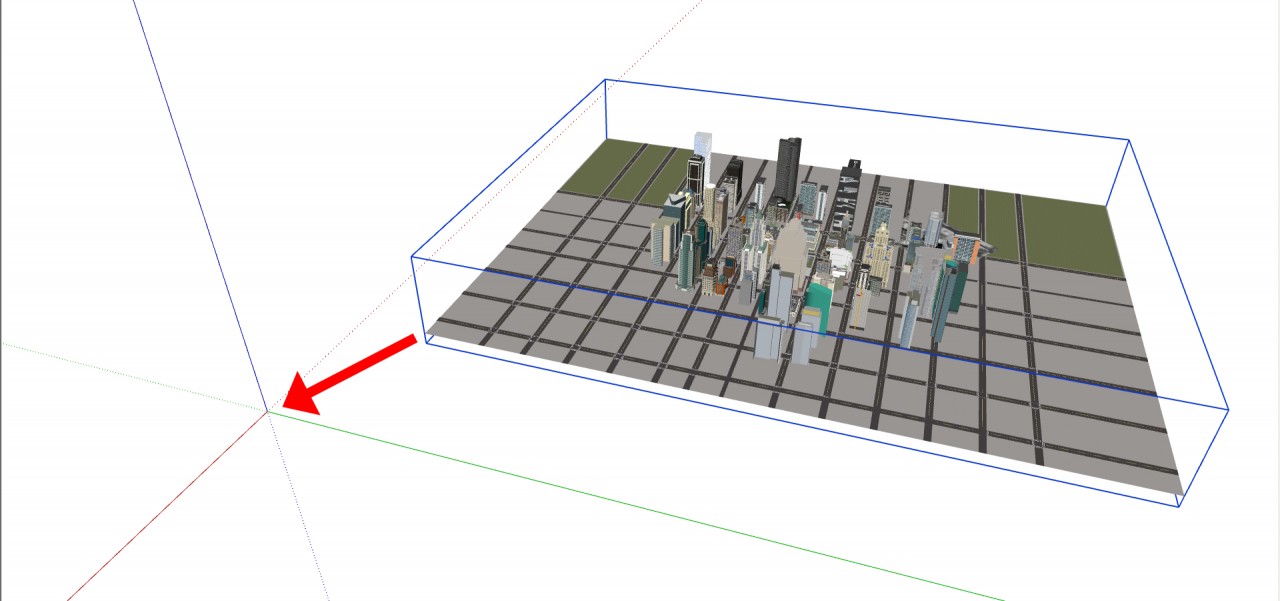
- Edit / Paste In Place: This will paste your grouped objects into the same exact location that they had in the original file. This is useful for obvious reasons – maintaining reference points and geo-locations, etc. However, this might not solve the clipping plane problem if the objects remain far from the origin. Once everything is pasted into the model, do a Zoom Extents. To see if the clipping problem still persists, try zooming closely on something. If you have the same problem, try the next option.
- Paste at the origin: This is done manually: go into the empty SketchUp file, choose Edit / Paste, and move the copied objects to the origin point – the point where the red, green, and blue axes lines meet. You will lose your reference points and geo-location as a result. Try Zoom Extents again and zoom into your model.
Be patient with both of these options – large, detailed models can take time to copy and paste. If your clipping issues are still not solved, check back for Part 2 of this series, where I’ll discuss a few more options.


Permalink
Thanks Daniel
Figured this out some years ago and agree that after fifteen it so versions of SketchUp, it’s ridiculous to still be struggling with this. Good to let new users understand and fix this PITA. Thanks for your good work.
Permalink
Another ‘glitch’ is when you attempt to import a *.skp file into Layout. While the whole model was still selected and I was deciding where to place it in Layout, I deleted it, thinking I’d go back to SketchUp and change how the viewport looked.
Poof! The whole model was gone, (deleted) but the *.skp file remained, but with 0 Bytes in it. A phantom file now exists on my drive. It seems windows can’t find a file name when the file is empty, or has no data. Windows can’t find my House_Plan file but I can, right where I left it, but with no data in it. Can’t delete it either.
Permalink
omg you saved my life! i used the zoom extent. Turns out thre was a CAD drawing far away…. once i deleted that, i am immediately able to view my models!!…thank you so much!!!!