The SketchUp STL extension I discussed in Part 1 of this series can be used to export your 3D printable model in SketchUp into STL format, to be read by a 3D printer. This extension can also be used to import STL files into SketchUp.
This example will show how to find a generic box in STL format, bring it into SketchUp to personalize it, and export it back into STL for printing.
Import STL
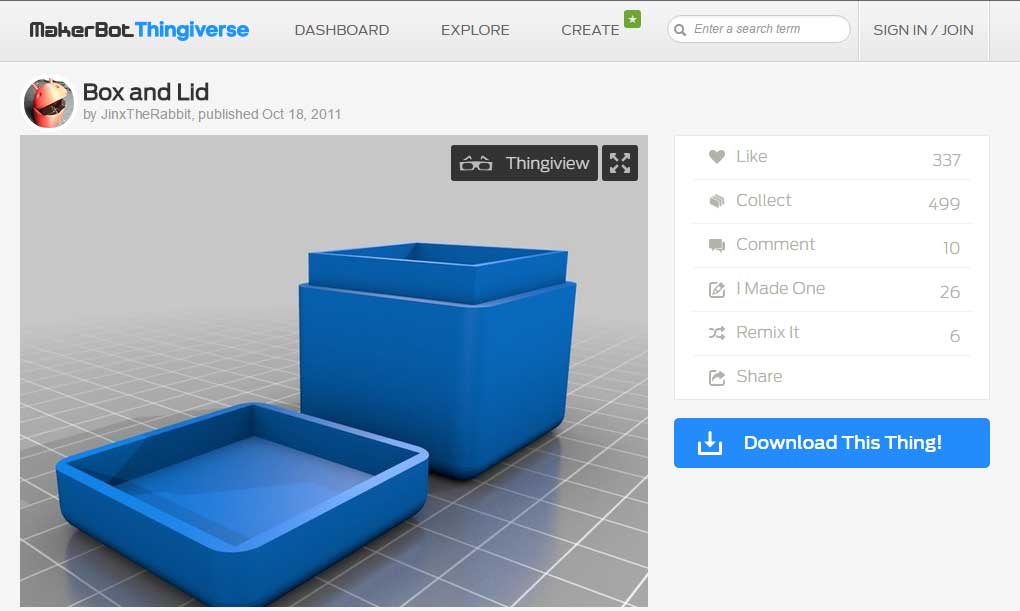
As an example, I found this simple little box on Thingiverse. (If you ever need 3D printing ideas, you can’t beat Thingiverse for range and scope). There are lots of things you’d want to print as they are, but what if you want to personalize a model you find? To get the STL file (or files, for multi-part models) from Thingiverse, click the “Download This Thing!” button.
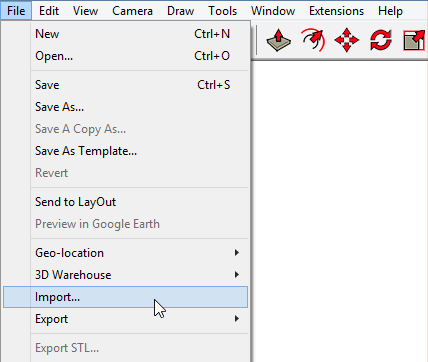
Download the STL, and in SketchUp, choose File / Import.
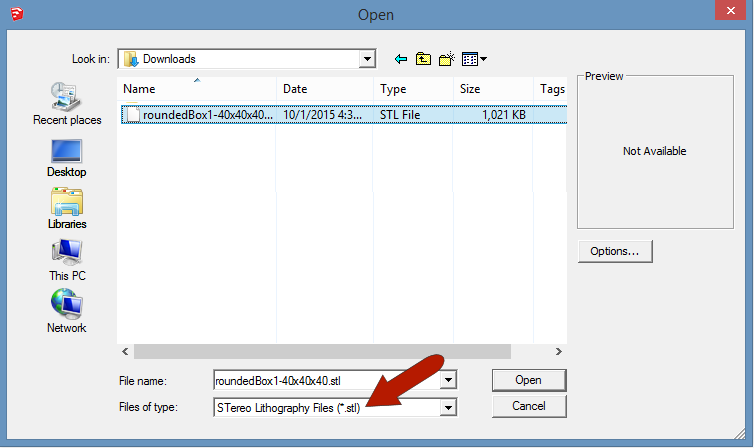
Make sure you’re looking for files of STL format, and bring in the downloaded model.
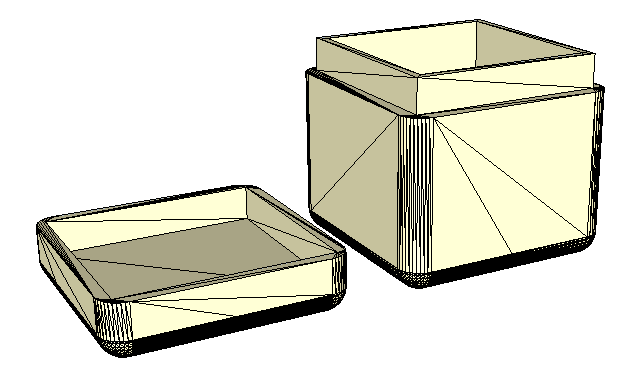
After a bit of computing, which can take a while for complex, curvy, high-poly models, the converted objects come into SketchUp. If your model template has a large scale, and you don’t see anything appear, choose Camera / Zoom Extents to bring everything into view.
The extra edges you see are due to triangulation; STL models consist only of triangular faces.
Personalize and Print
To hide the extra edges, simplifying your display, select everything and right-click on any selected face. Choose Soften / Smooth Edges.
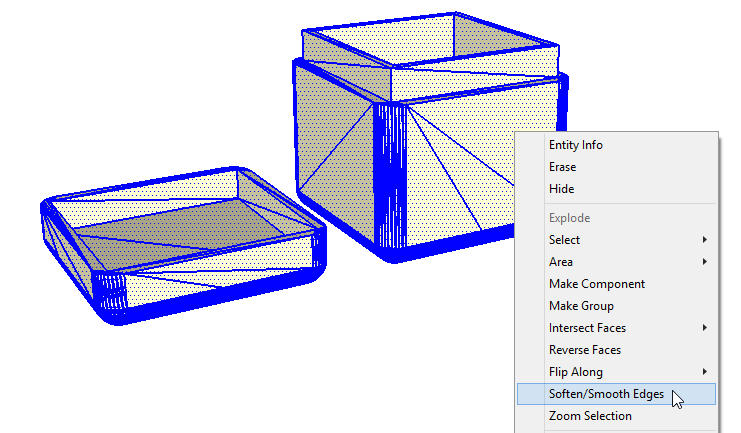
In the Soften Edges window, check both boxes and use the slider to hide all the extra edges.

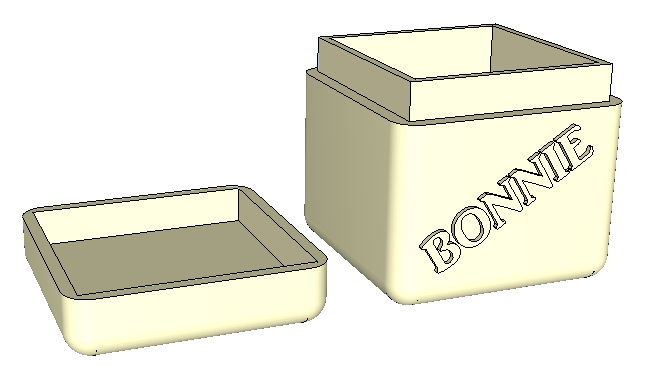
Now you can customize the model, such as adding some 3D text.
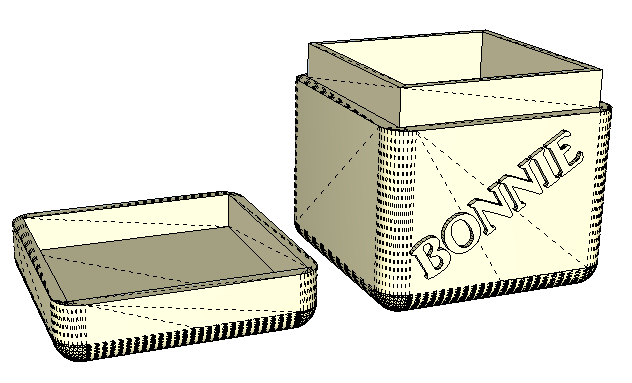
When making changes to your model, keep in mind that those hidden edges aren’t gone, they’re just hidden. You can still see them by choosing View / Hidden Edges. These edges could affect changes you want to make, such as punching holes through walls – Push / Pull won’t work on a face divided by hidden edges. If you’re finding yourself unable to do certain things on certain faces, try erasing edges instead of hiding them.
When you’re ready to print, use File / Export STL, and you’re good to go. Bringing the STL file into your printer software and printing – that part is up to you.
We’ll have lots more on 3D printing on this blog – check back often!

