If you missed Part 1 of this series, I went over the basics of how to change your model’s style. This post goes a little deeper, showing a few dos and don’ts.
Pro Style Tips
It’s rather fun to open SketchUp‘s Styles window and try out everything you see, to play with different face colors, backgrounds, watermarks, background images, etc. But after you try them all out, here are some tips on how the pros use styles.
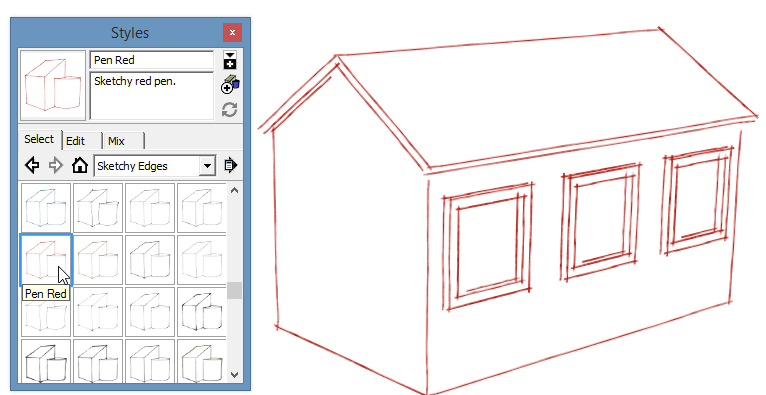
Sketchy Edges
These styles, which have their own collection in the Styles window, are neat to explore. Simply pick one from the list and it’ll be applied to the model, giving it the appearance of chalk lines, or charcoal, pencil, various types of markers and pens, scribbled lines, etc.
But everything in life has a price – using sketchy edges can affect model performance. SketchUp has to work a lot harder to constantly redraw chalk or marker lines, as opposed to basic (boring) thin edges. Which segues nicely into the next topic ….
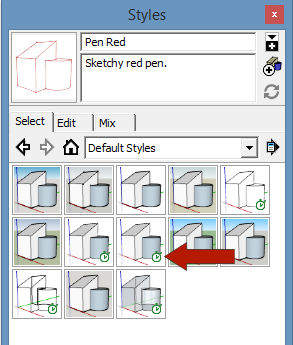
Fast vs. Slow Styles
You can make things move a lot more quickly when you learn to switch back and forth between styles. Use simple ones while working, use the sexier ones when exporting images. SketchUp makes it easy to tell which styles are “fast styles.” The little clock icon that appears on certain styles means they’re fast: simple edges, no background, no watermarks, etc.
When you get really good, you can save templates that have your favorite styles all ready to go, for easy style-switching. Look for this in a future post.
Hiding Edges
A model that has just the right composition of edges will yield the nicest results. Think of this as you would with a hand drawing: every pencil stroke makes a difference. So be deliberate with your use of edges. You can hide edges by pressing the Shift key while using the Eraser. Or you can soften edges (smooth faces on either side of an edge) by using Ctrl or Option with the Eraser.
Hiding (or unhiding) edges just within certain components can make a big difference. A great example of this is vegetation components. Hiding edges of complex 3D shrubs will give those shrubs a lighter look, and your model will perform faster, even when the rest of the model has edges displayed. Or use 2D “Face Camera” vegetation components – flat shrubs that always face you give the illusion of 3D while keeping your object count super-low. Some very nice 2D vegetation components can be found in the 3D Warehouse, including some nice ones by Yours Truly. (A future post on “Face Camera” is in the works.)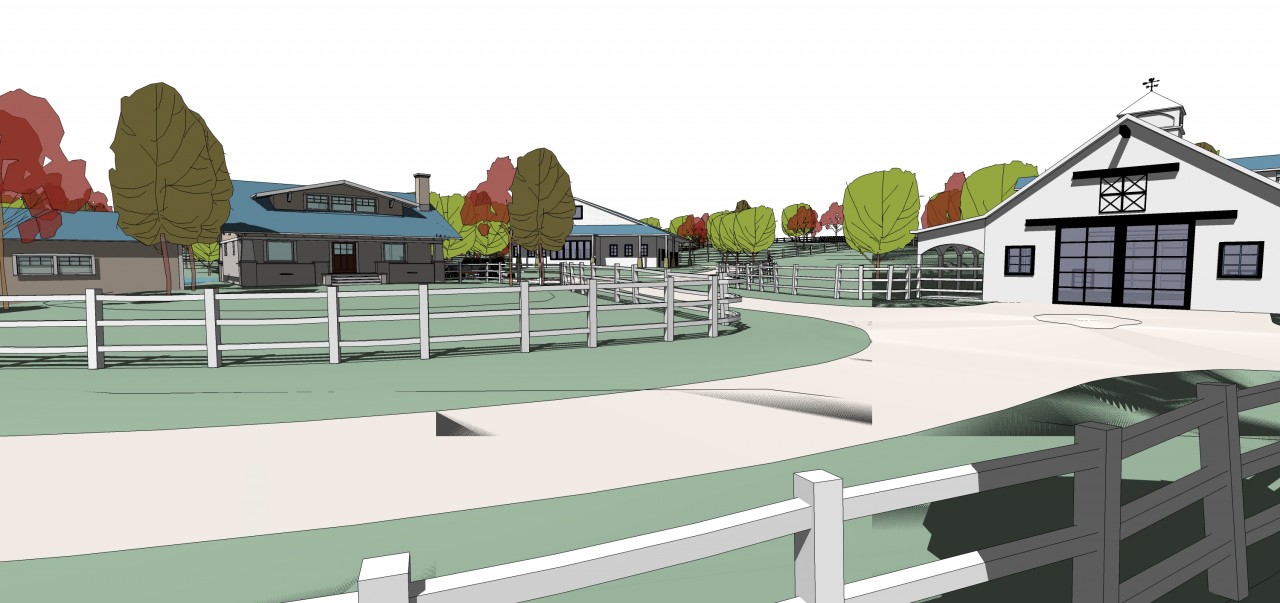
SketchUpArtists
If you’re even mildly interested in SketchUp styles, James Hannigan’s SketchUpArtists is a site you need to bookmark right now. They have dozens of professionally-designed, free presentation styles for download. If that’s not enough, they also post invaluable tutorials on rendering and presentation.
Textures
Images, materials, and textures that use bright, crisp, high-res graphics will look weird when your model style displays faces as a bit blurry or faded. You can edit and adjust textures to make quick NPR (non-photorealistic) styles.
My Favorite Styles
Here are a few styles I like to use, all of which are cobbled together from the styles that already come with SketchUp. I’ll explain how to make them.
Modified Light Grey Freestyle
From the Styles window, open the “Style Builder Competition Winners” collection and apply “Light Grey Freestyle.” This alone is a great way to get a loosely hand-drawn look.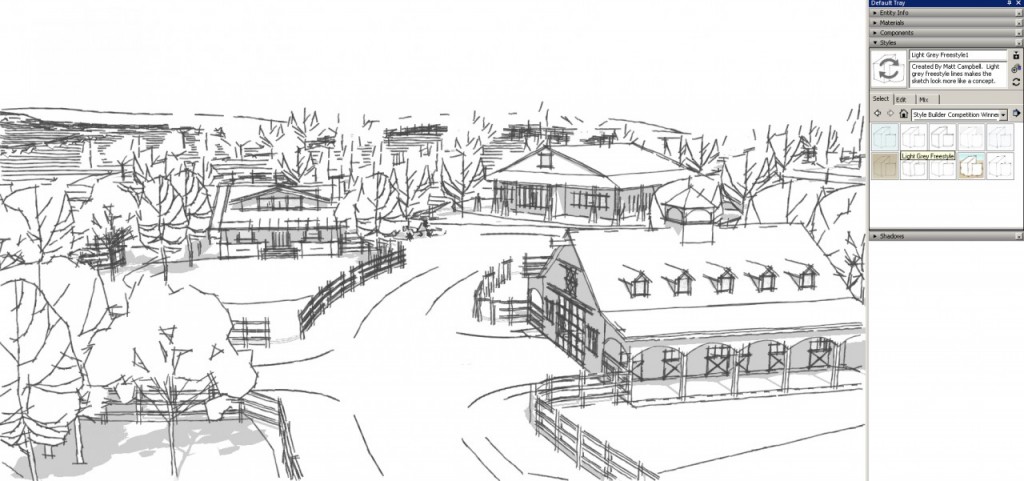
To make changes to this style, open the Mix tab. From the bottom pane, open the “Default Styles” collection and click the “Shaded” style thumbnail. Then click Face Settings, and now the faces from the “Shaded” style are applied to “Light Grey Freestyle,” adding some color. Muted textures work best with this style. You can mix and match different styles using this options.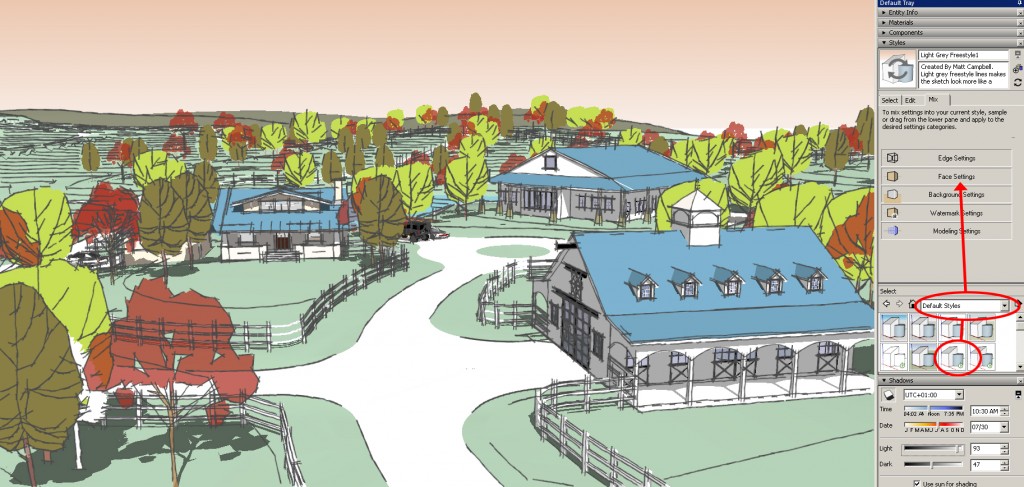
For another change, open the Edit tab and choose the Edge settings. Sliding the bar for “Level of Detail” adjusts the number of edges that appear when you zoom in and out.
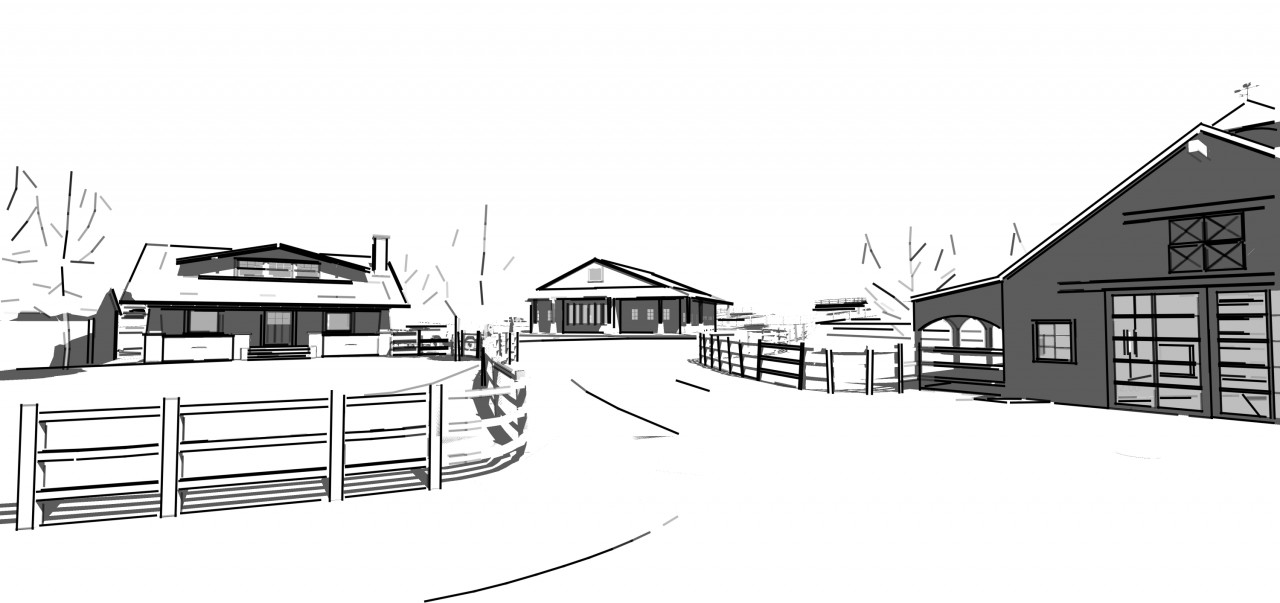
CAD Style
Here’s a nice way to give your model the look of a traditional, black and white CAD drawing.
- Apply one of the styles in the “Default Styles” collection.
- Edit the edges of this style.
- Make the edges 100% white.
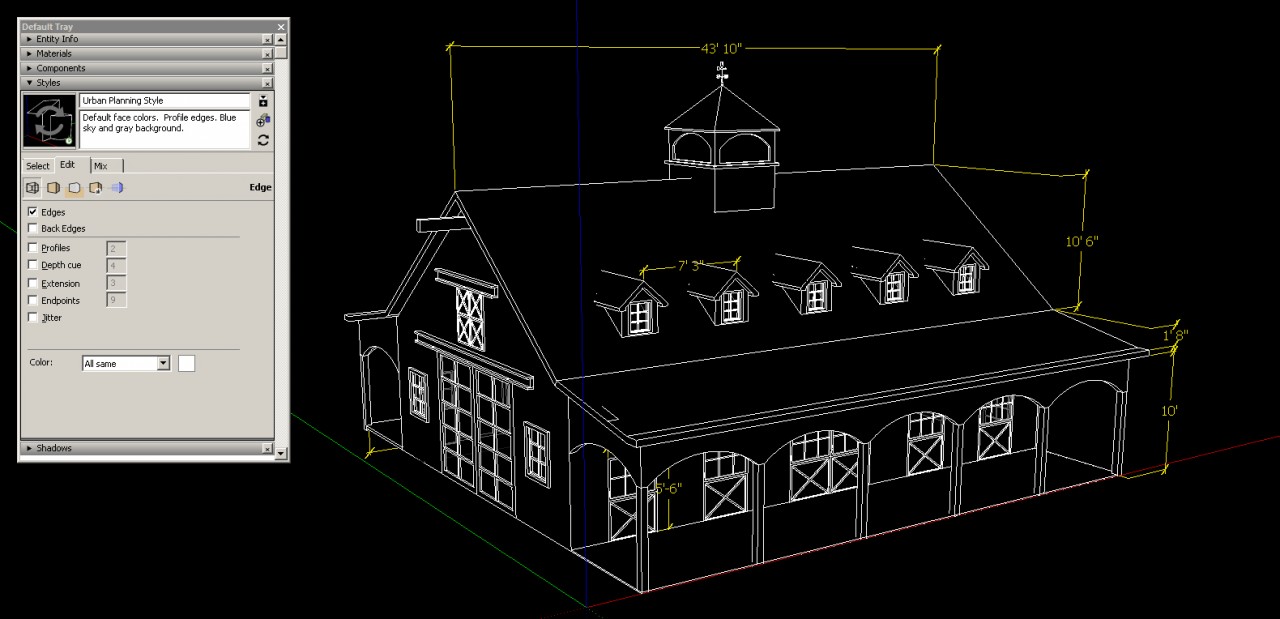
- Make sure that no option is selected other than Edges.
- Open the Background settings and make sure the Sky is turned off.
- If it isn’t already, make the background color 100% black.

- From the Styles toolbar, or the View / Face Style menu, turn on Hidden Line.
Straight Edge Style
Straight lines have their own collection in the Styles window, and they’re fun to work with. I prefer the thinnest line weight – “Straight Line 01pix.”
Turn on shadows (View / Shadows) and open the Shadows window. Adjust the Light and Dark settings to create some deeper contrast. I like the Light slider all the way to the right, and the Dark slider about 3/4 to the left.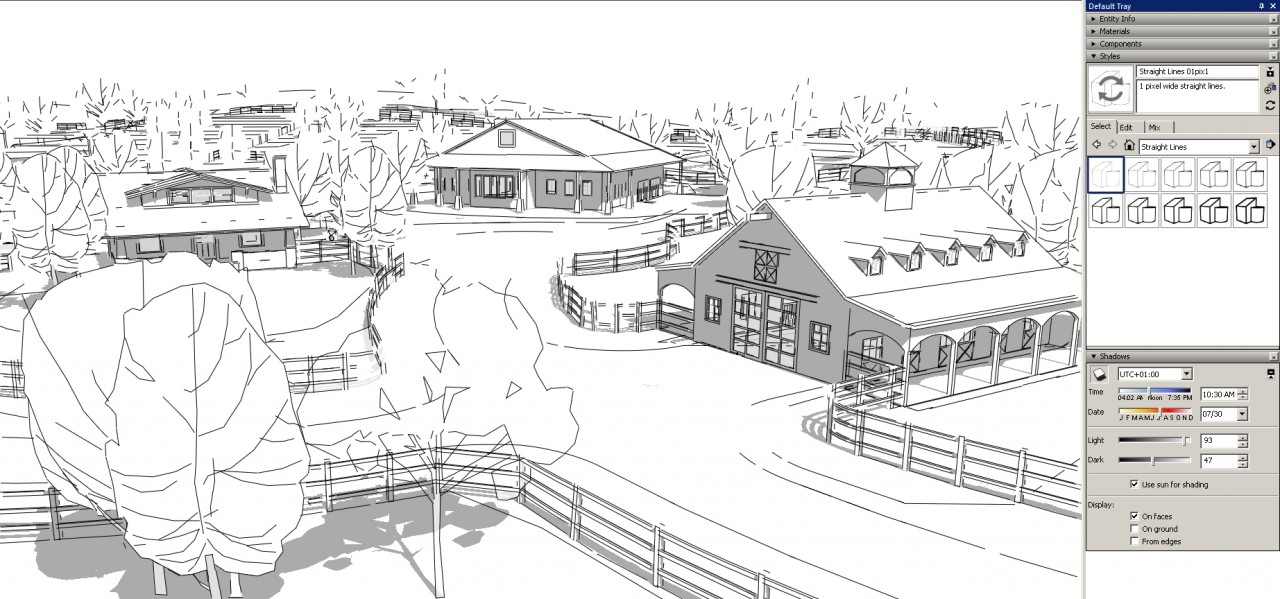
Here’s a revised version of this style, using thicker edges:
Incidentally, if you’re using SketchUp Pro, you may have noticed an accompanying program called Style Builder. You can use this little program to create your own edge styles, using scanned or handmade digital images. (Though you don’t really have to bother; SketchUpArtists has created so many sketchy styles for you to use or modify.)

