In Part 1 of this series, I showed how to use an imported image to create a wall poster or painting.
In Part 2 I showed how to adjust the component so that it will align to any wall.
In this post, I’ll show what I consider to be the best way to model art elements: creating a painting or poster in its own SketchUp file, set up to correctly align, then importing this object into a room model.
We left off with a room that has a painting on one wall. The other wall also needs something, in the empty space to the right of the cabinet.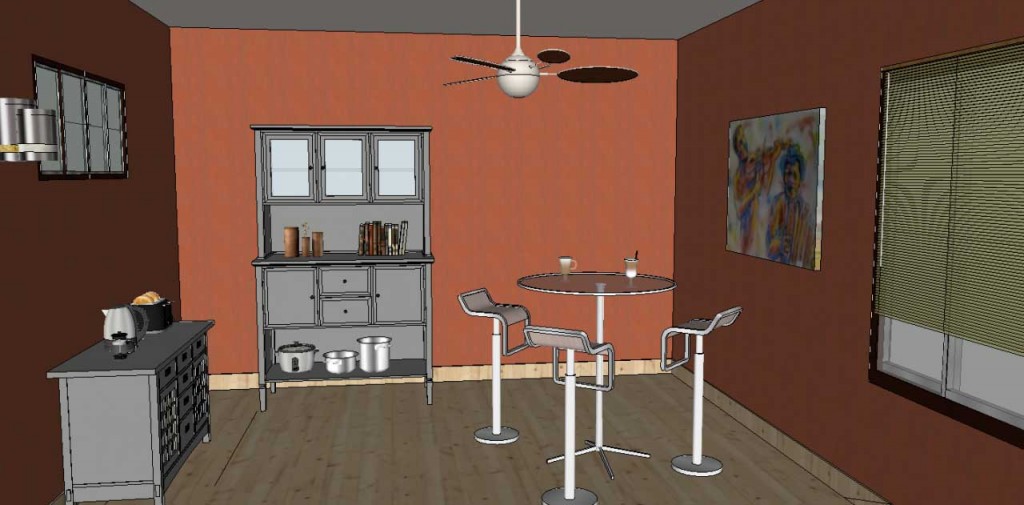
Painting Model
I found another fun jazz image online.

To create a SketchUp object for this painting or poster, I’m opening a new SketchUp file and using File / Import to bring in the image. The lower left corner of the image should go on the origin.
In Part 1, I sized the image by width, moving the mouse to the right of the first corner. This time I’ll size it by height, so I’m moving the mouse almost directly above the origin. This time the measurement listed is Height.
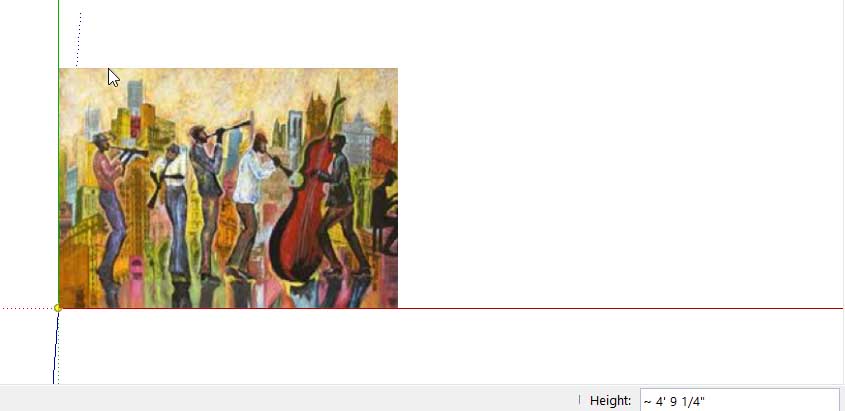
I’m entering 3′ for the height, and the image import is complete.
Next, the image needs to be exploded. 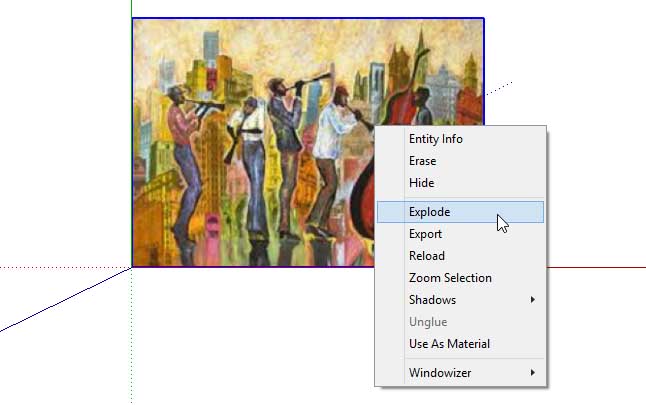
And the painting needs a tiny bit of thickness. Be sure to pull up, not down, so that the origin remains at the back of the painting. 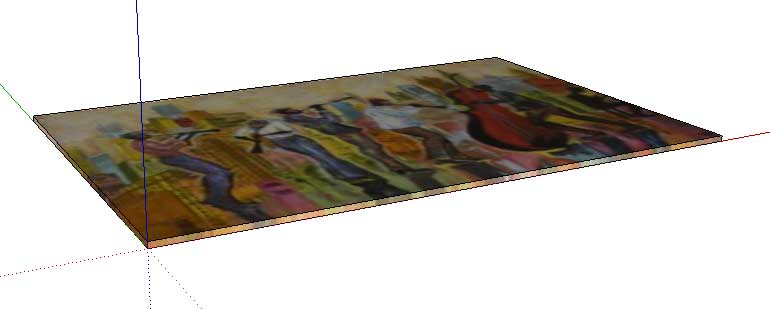
Set the Alignment
This model already follows the rules of alignment: its red-green plane is along the back of the painting, where we’d want to align this painting to a wall. So its size and location are perfect.
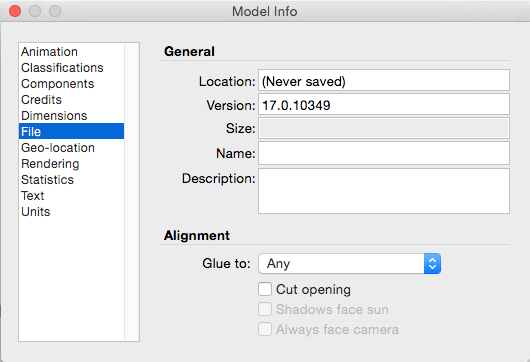
But before saving, I need to tell SketchUp that this model should align when imported. This is done in the Model Info window, File page. Here you can set the file to glue to specific faces (or cut an opening, in the case of a window).
Save and close the painting model. If you use decorative models like this often, you might want to set up a library chock full of painting models like this one, or perhaps several libraries for several genres of art.
Import
Return to the room model that has the wall that needs a painting.
Choose File / Import, as if you’re importing an image. But this time, for Files of type, choose SketchUp files. Find the saved painting model and bring it in.
Is the alignment set correctly? Once the model is attached to my cursor, I can align it to any face I pass over, even the floor. 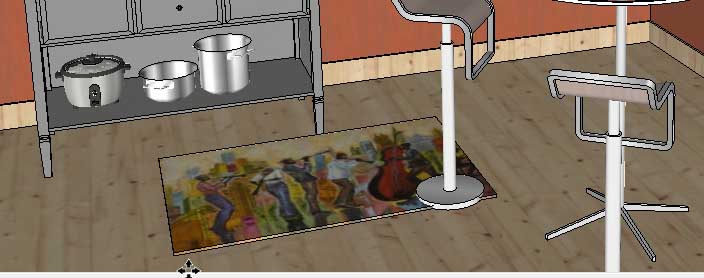
But perhaps the wall is better: 
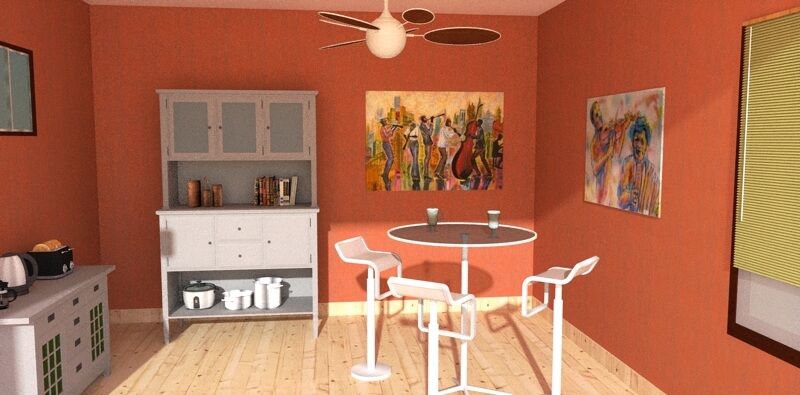
And here is the model’s Twilight Hobby render:
What about picture frames? Part 4 will show a quick way to add a frame around your painting model.

