I recently wrote up a kids’ project for Beanz Magazine on how to create the Ames Illusion in SketchUp. (If you have kids, or are a kid, check out my last Beanz project on jigsaw puzzles.)
What is the Ames Illusion, you ask? It’s an optical illusion in which a person appears to grow or shrink as they move across a room.
Creating the room itself is pretty easy, and I thought it would be fun to throw in some MSPhysics to show the illusion in action.
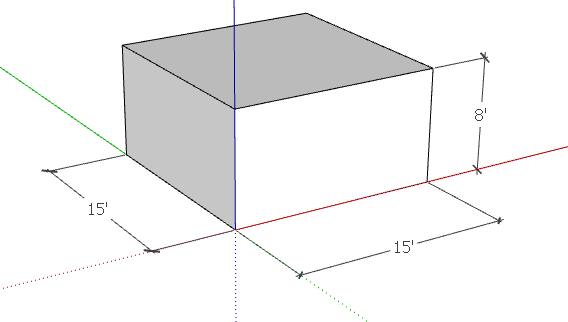
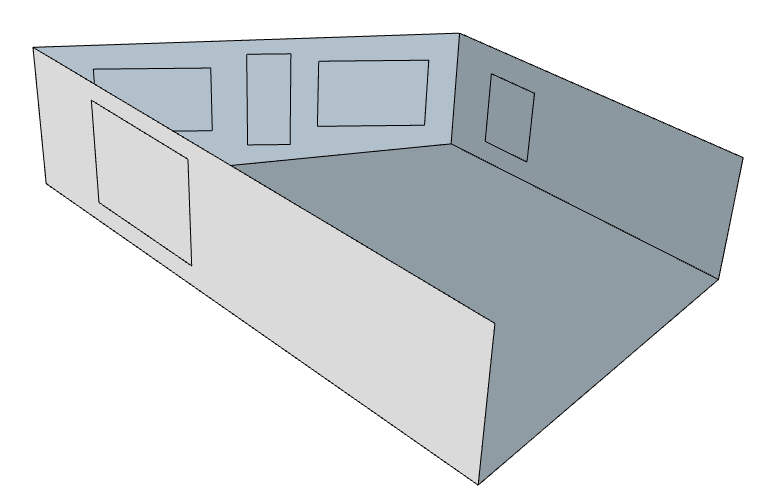
Here’s how my Ames room looks in SketchUp:
There are two extensions you’ll need if you want to follow along. Both are free.
- Joint Push Pull by Fredo 6. This is needed to “thicken” the walls of the room, so that the room itself is a solid object. This is available from SketchUcation, and here’s a post on installing extensions from their plugin store.
- MSPhysics by Anton S. This incredible extension applies real-world conditions to SketchUp groups and components, enabling you to simulate gears, motors, or just things falling. On my to-do list is an entire project book on MSPhysics, for when 6 extra hours are added to each day….
Here are the toolbars we’ll need from these two extensions:
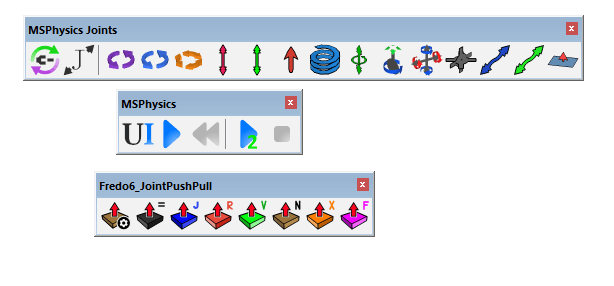
So let’s get started, first by completing the room setup.
Use Rectangle and Push/Pull to create a reasonably-sized room.
Erase the top front edge so that you can see into the room.
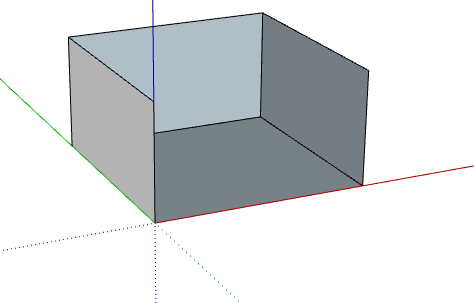
The illusion is made possible by distorting the room, though your eye won’t feel the distortion if your view is set up correctly. The first distortion step is to lengthen one wall. Activate Move, click the back left edge, and move it back along the green axis.

Now orbit to a view like this, in which you’re facing the back wall head-on, and the front of the room is behind your field of vision. In other words, in this view you should be standing inside the room, near the open wall.
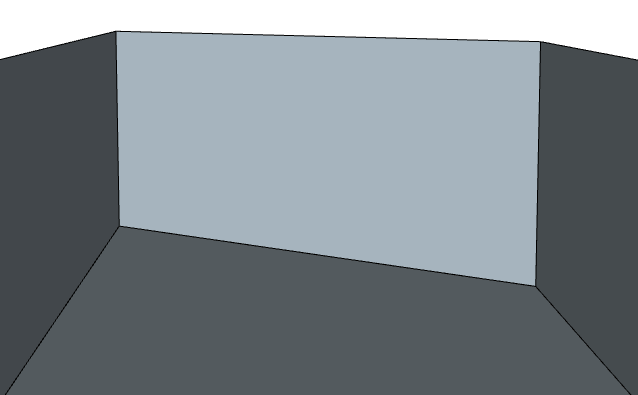
This view must be saved, since we’ll need to get back to it in order to see the illusion. So open the Scenes window and click the + icon.
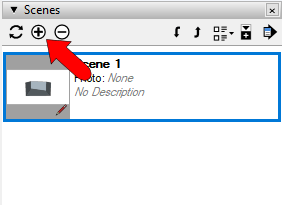
Now there’s a scene tab along the top of the SketchUp window. Clicking this tab will always bring you back to this saved view.
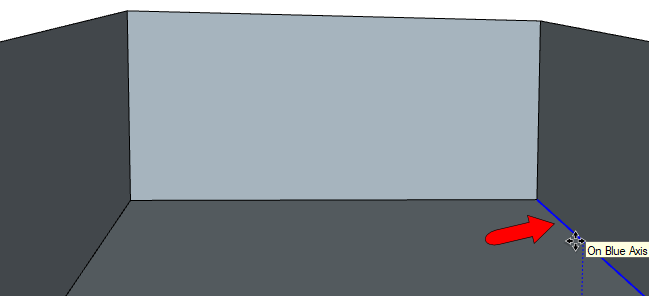
Now we need to make the back wall, which is really diagonal, appear to be straight. Use Move on the edge shown below so that the lower edge of the back wall appears horizontal.
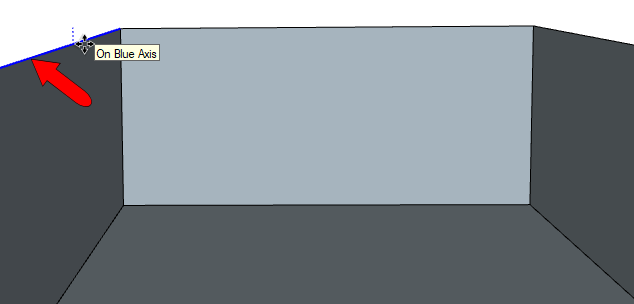
Move one of the top edges the same way, so that the top edge of the back wall appears horizontal as well.
Draw some rectangles for windows. The ones on the sides walls seem OK, but along the back wall they look distorted.

(Obviously these rectangles are fine, given the orientation of the wall.)
So back in the saved view, use Move to adjust the rectangle corners along the back wall.
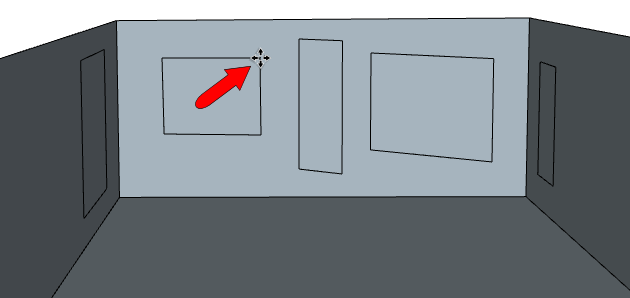
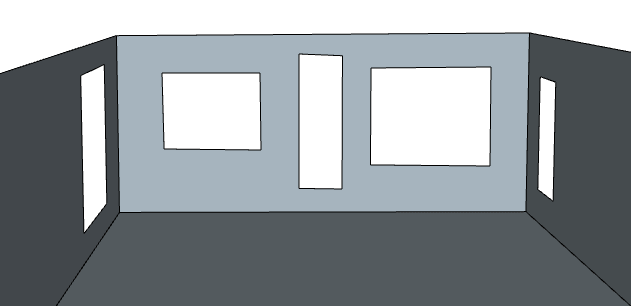
When the back windows look about right (don’t worry about getting each edge perfectly vertical or horizontal), erase their faces.
Next, in Part 2, we’ll set up the room and its person, to work in MSPhysics.

