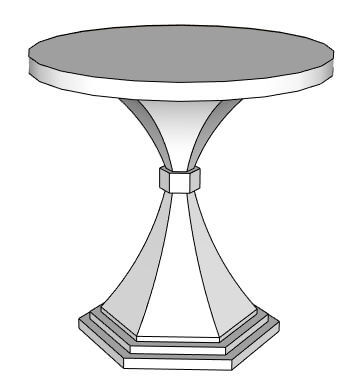
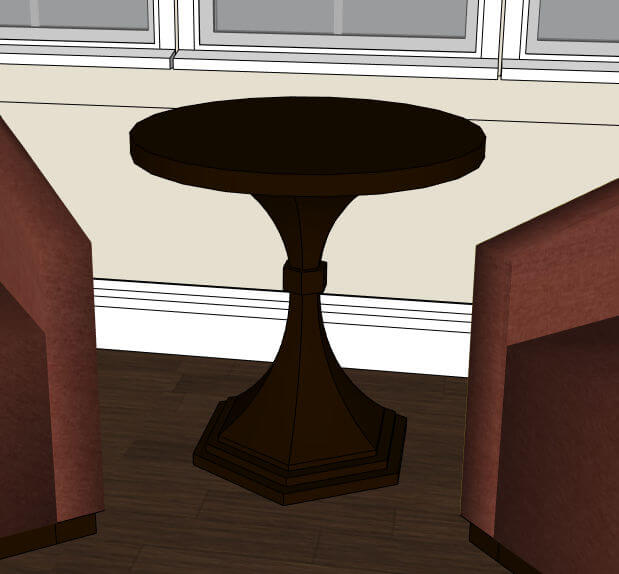
Part 1 and Part 2 of this series showed how to use the Soap Skin extension to create curved faces within a set of arcs and lines. The curved faces make up the base of this table:
In this post, I’ll show another extension that can be used for the same thing (and maybe does a better job in this case). It’s Curviloft by the amazing Fredo6. Read on!
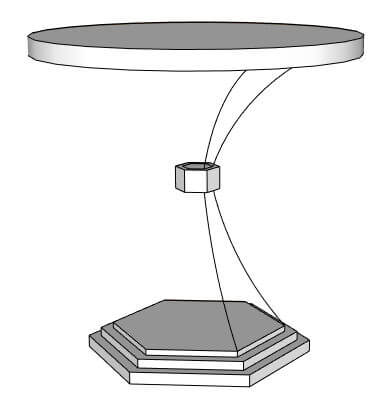
Here’s where I’ll start – the parts of the table that are easy to create. The four arcs that make up the faces of the base are added in the middle.
Curviloft is one of SketchUcation’s extensions. (See our post on how to get these.) In the Extension Store, use the search icon to find it.
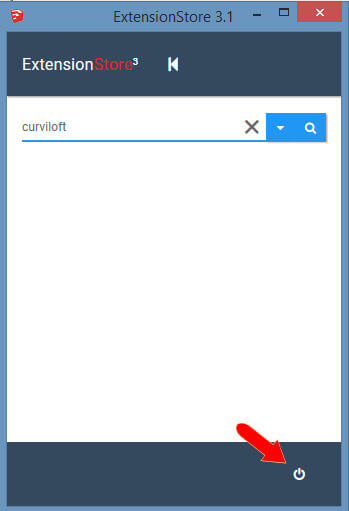
The extension description tells basically what it does, and mentions that you also need LibFredo 7.7. So if you don’t have this extension, install it as well. The red icon installs directly from the Extension Store.

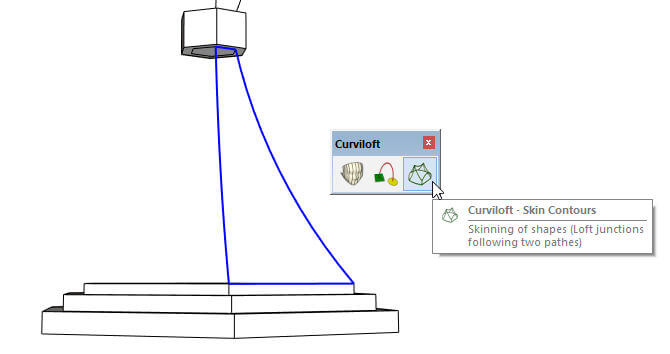
There are three different Curviloft tools – the one we want is Skin Contours. Start by selecting the curves and arcs that surround one face, and click this icon.
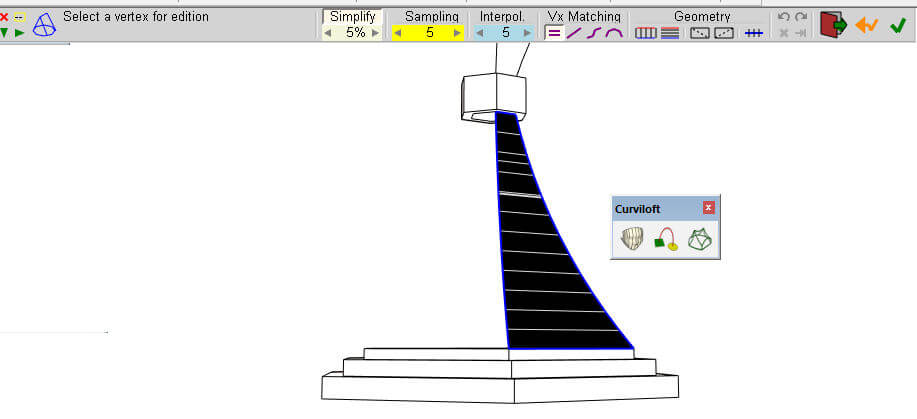
You get a preview of the face, as well as whole list of options across the top. I didn’t mess with the defaults, just clicked the green check-mark icon at the far right.
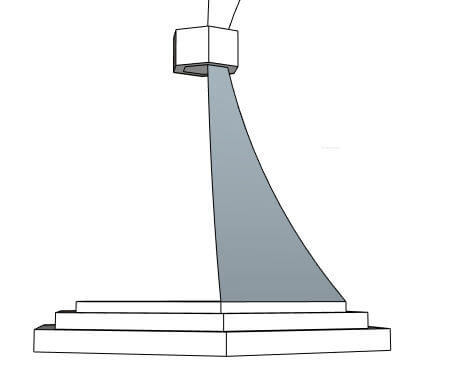
And that’s all there is to it. Unlike a soap skin, this one has no edges to soften.
If you’re curious about these things, you can display hidden edges to see how this face is comprised – a set of thin trapezoidal faces.

Complete the Curviloft faces at the top, and rotate-copy them all around. Done.