Hey, did you know that this our 100th post?
Anyway…..
I’m not an rendering expert. I like to just click a button and go. Without getting too much into material mapping, shadows, defining lights, etc.
For many of the renderings on this blog, I used to use Visualizer – it was fast and easy. But that app hasn’t been supported since SketchUp 2015. And Kerkythea is a popular free engine – also not supported but it still works.
This week I thought I’d try out Twilight Render‘s free version, called Hobby. You can download it here. On the PC, the downloaded EXE file installs directly into SketchUp as an extension. On the Mac, you get an RBZ file, which you have to install via SketchUp. (See our post on SketchUcation, which explains how to install an RBZ.)
Once installed, Twilight Render is found in the Extensions menu.
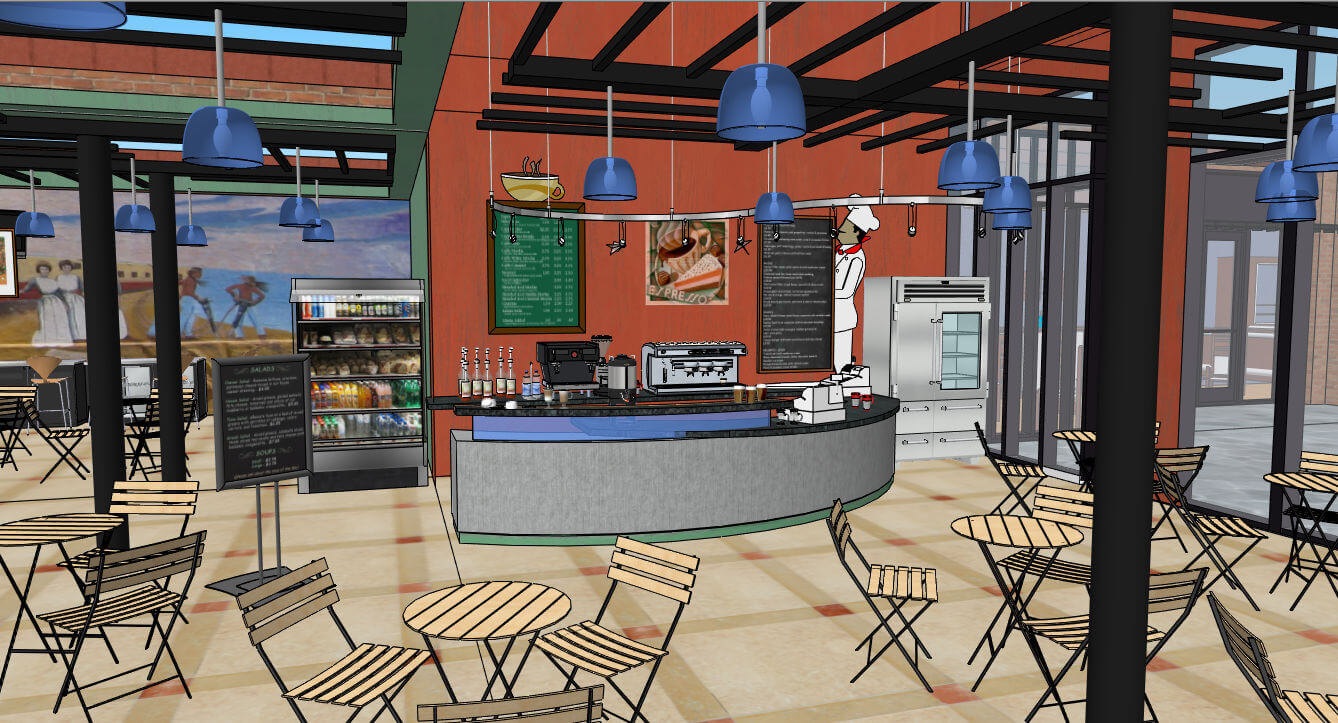
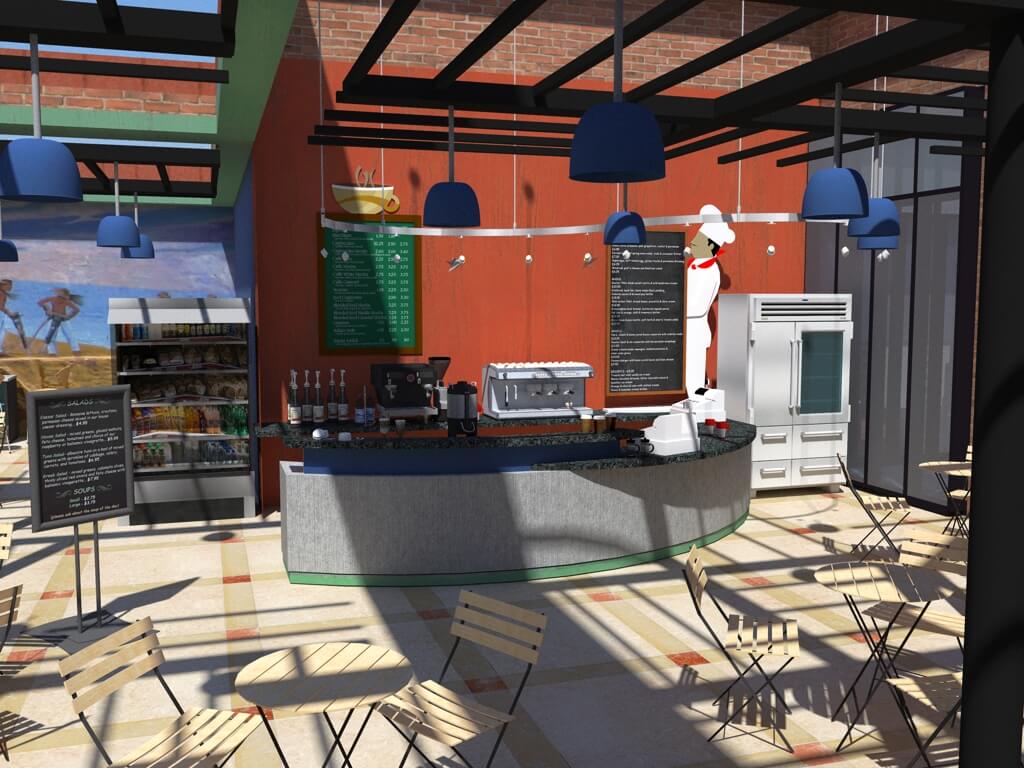
Here’s the SketchUp cafe model I’m testing this on (look familiar?):
Quick Render
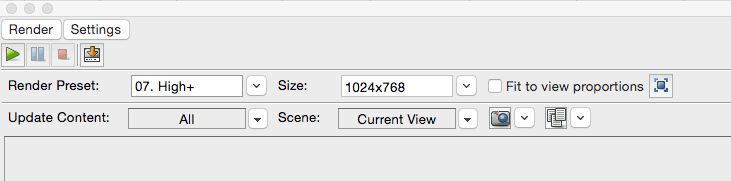
When you choose Extensions / Twilight Render, there are several options, including lights, materials, environments, etc. All of these are worth looking into, but I wanted quick and easy. So I went straight to Extensions / Twilight Render / Render. At the top of the render window you can set the image size, and choose from several preset rendering settings. For a first try I went with option number 7: “High+” which sounds better than just plain “High.” You can also choose from the scenes and layers available in your SketchUp model. I just rendered the whole thing.
The rendering starts when you click the green “Play” icon at the top left. It’s really fun to watch – here’s how things looked after 30 seconds and the first pass through:

But the rendering was complete after only about three minutes, with no effort by me whatsoever.
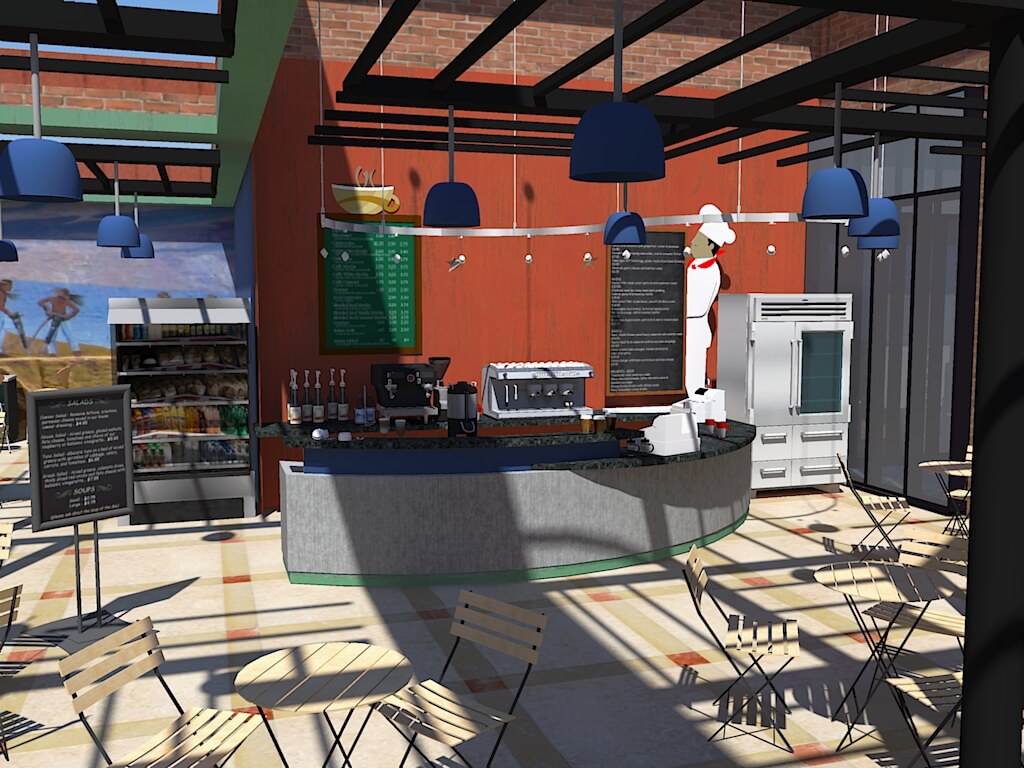
The shadows are set according to the time of year and day set in SketchUp’s Shadows window. Adjusting the level of light and dark makes a big difference. Since the fast render was so fast, it wasn’t much effort to play with shadows and try again.
Longer Render
I thought I’d then try a higher-level render, using preset #9: “Interior Progressive.” It starts out at a finer level of detail than the previous render:
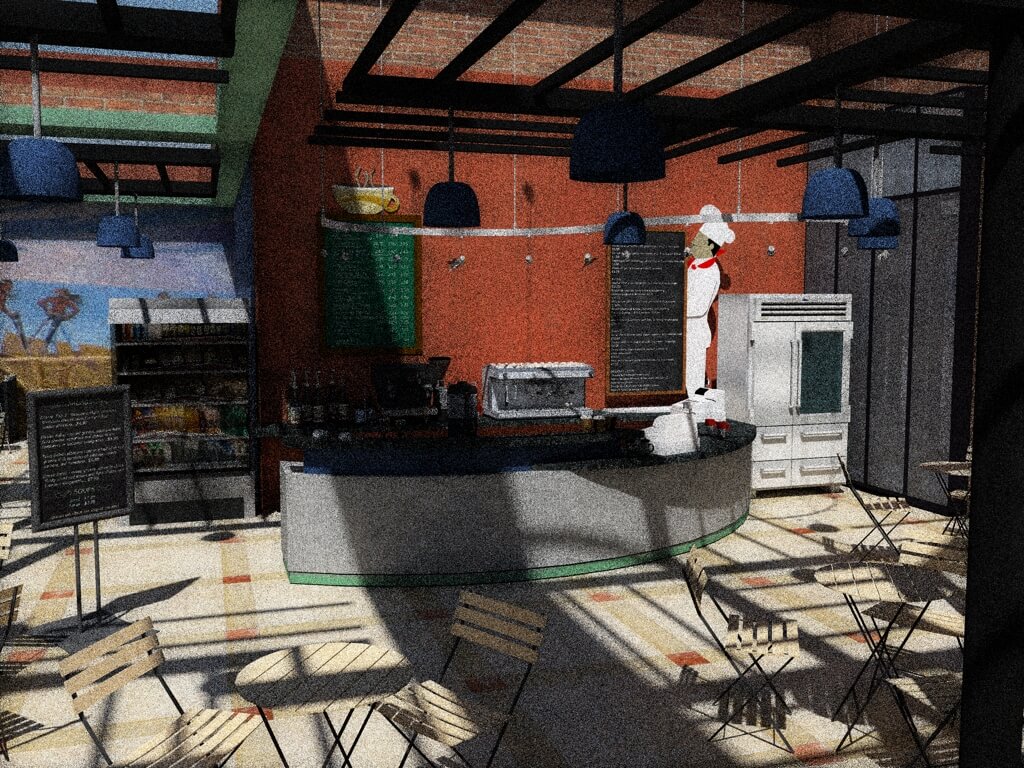
And according to the progress counter at the bottom of the window, the app runs some 10,000 (!) passes. I have no idea why so many. With each pass the rendering gets tighter, but I’m not waiting till all 10,000 are completed. I waited an hour, and the rendering had reached pass #. It looks great to my untrained eye, not so different from the three-minute version. In fact I can’t tell a difference at all….
The only downside I can see with Twilight Hobby is that it sits in front of the SketchUp window and can’t be minimized. But the window can be minimized or moved into a corner, where it remains running in the background.
Also, it’s also not a “real-time” render; if you orbit around or change the SketchUp window, the render keeps going as before. Some might consider this is a negative, I like the idea that you can start a render and then continue to work on your model. If there’s a way to change it to real-time, I didn’t find it.
So if you’re looking for a quick and free way to present your model, give Twilight Render Hobby a try!

