In the few months we’ve been posting to this blog, we’ve covered all levels of SketchUp users. And so far, we’ve found that we get the most views on posts that cover SketchUp basics. So here’s a short tutorial on a topic I get asked about all the time – how to use a digital image found online as a SketchUp texture.
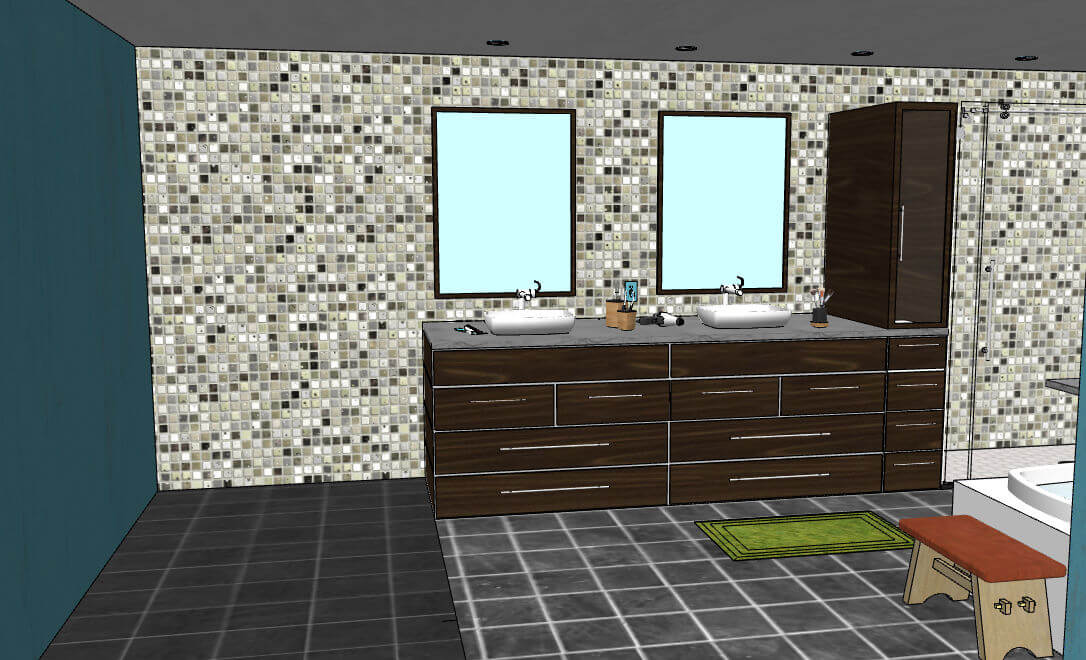
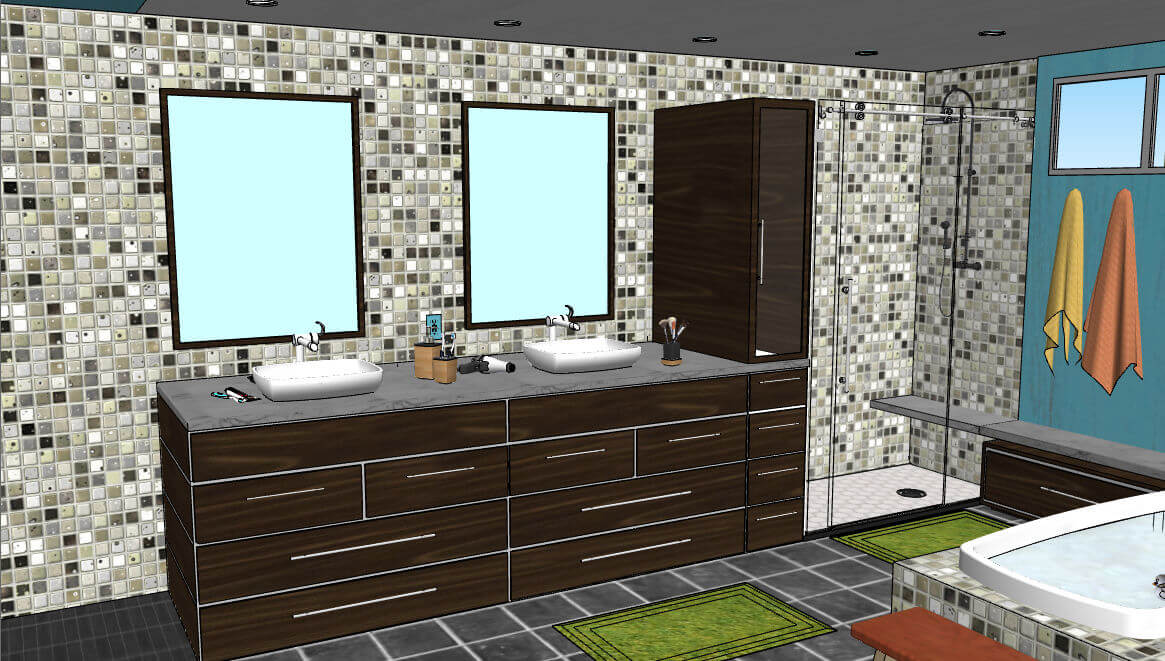
Here’s the example I’m using – this bathroom model has lots of imported textures: the tiled walls and floors, wood drawers, marble counter. These materials didn’t come from SketchUp’s default material collections – they were found online.
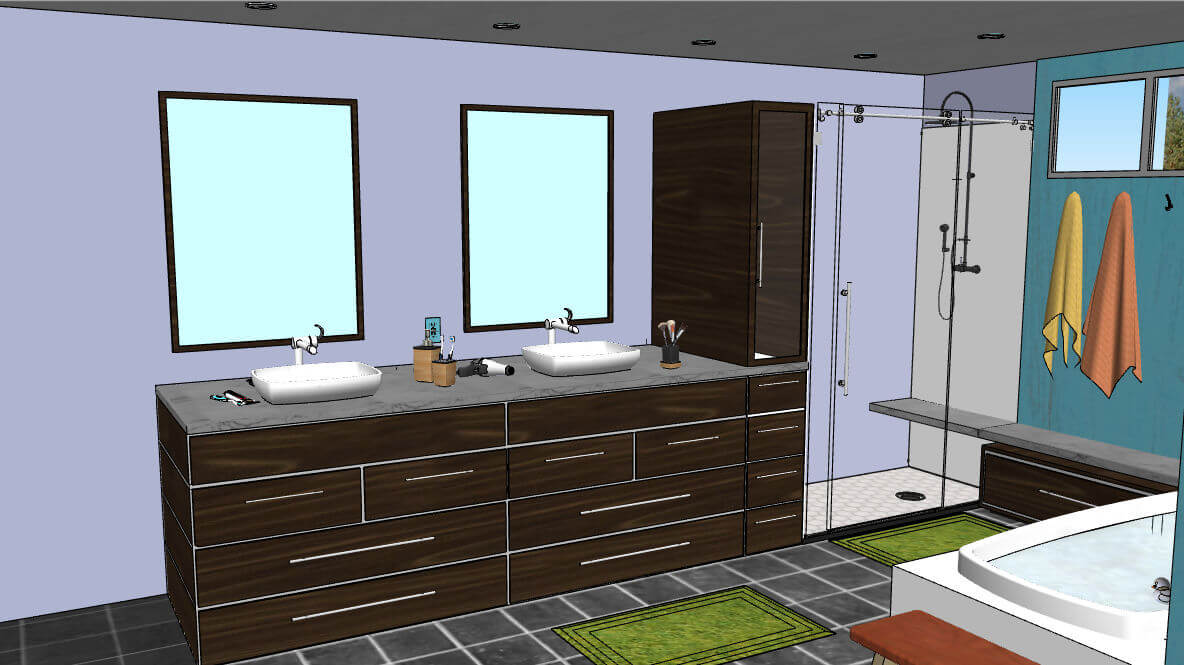
Here’s the same model with the tile taken off the walls. (I painted the walls using the default material.)
And here’s the image that was used for the tile painting:

It’s easy to find texture images online. For example, look through Google Images for bathroom tile seamless texture. The “seamless” guarantees that the image will tile with no visible breaks. To download an image, right-click on it and choose one of the saving options.
If you have a specific brand in mind, that company’s website may also have images you can download.
Not to mention, the 3D Warehouse hosts many material collections.
But keep this in mind: when you bring an image into SketchUp, you bring in the entire image, even if you’re only using a small part of it. So keep an eye on the file size of your image. Reducing the resolution is one way to keep file size down – tiny bathroom tiles don’t need to be overly crisp and clear. Nobody’s going to look that closely.
Importing into SketchUp
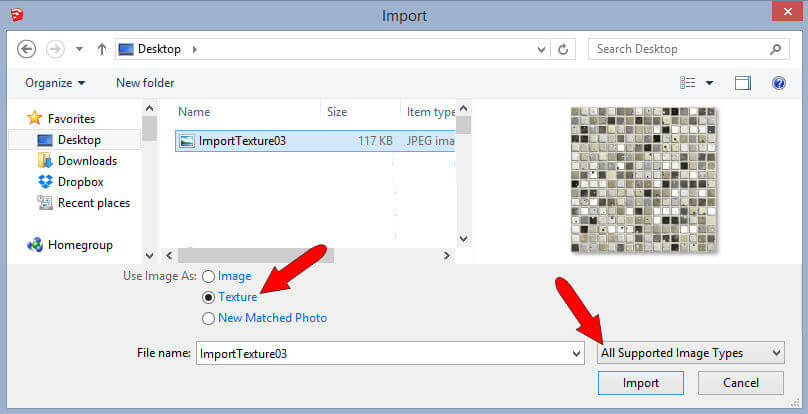
OK, to start painting, choose File / Import from the main menu. Bring it in as a texture (the option used for painting a face), and search for image types (as opposed to SketchUp files).
Click somewhere on the blank wall, and while moving your mouse to size the image, pay attention to the Width or Length field. (Which measurement appears depends on where your cursor is.)
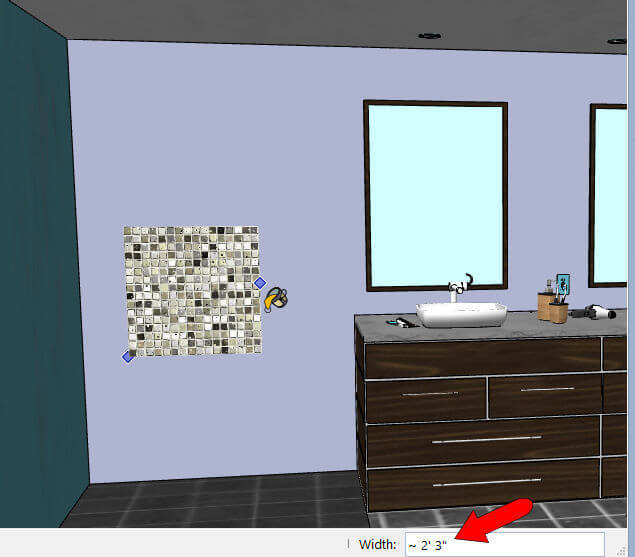
Sizing an image by eye is always a possibility, but let’s say in this case we know each tile is 2″ x 2″. The repeating image shows 16 tiles in both directions. So adding in a bit for grout lines, assume the width or height should be 34″. So instead of clicking to size the image by eye, type the measurement value and press Enter. The image fills the face at that size. Presto – a tiled wall.
Pretty simple, eh? In Part 2 of this series, I’ll show how you can adjust the size of an imported image.


Permalink
Great!!!!!
Simple but I didn’t know how to size the tiles.
Permalink
Hi
I am a high school teacher and want to teach Sketch Up next year. At the moment I am self learning and encountering some problems with accuracy. ie when drawing a circle i use the Tape tool to plot the centre but the centre is not picked I just seem to guess the centre.
Any suggestions?
Permalink
Hi John,
You could draw a line that has one endpoint where you want the circle center. Then when you’re using the Circle tool, you can click that endpoint. Unless you meant you’re using the Tape Measure tool to make a guide point? Also, could be that you’re having graphics card issues – if SketchUp isn’t picking the points you’re expecting it to, try adjusting the OpenGL settings in the Preferences. Any of this help?
Permalink
If this helps anyone, I recently found a tip somewhere that if you hover over the edge of an existing circle for a moment, and then move to the center, it will then identify the center and the cursor will jump to the center when you get close, with whatever tool you are using, even just the select tool. I guess the inference engine just works this way, as with so many things in SketchUp.
Permalink
Yep, it’s always worked that way. You can also mark the center of a circle or an arc: right-click on its edge and choose “Find Center” from the popup menu.