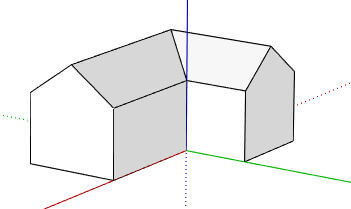
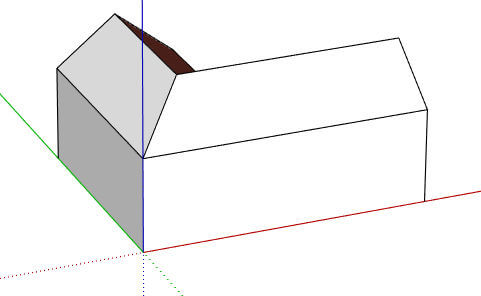
We ended Part 3 of this series with a simple house, modeled entirely in SketchUp, with these two images saved as screen captures:
 |
 |
Now we’ll use these images to paint the blank house, which was copied from the original house.
Photo Match Axes
With Photo Match, model location and directions are essential to get right. If you don’t have your axes turned on, choose View / Axes. For the inside corner, the model origin should be where the two inside faces meet. So move your model to this spot.
Choose File / Import, and make sure you’re looking for image files. Find the screen capture you took of the inside corner of the house. Choose to bring in this image as a New Matched Photo, and import it.
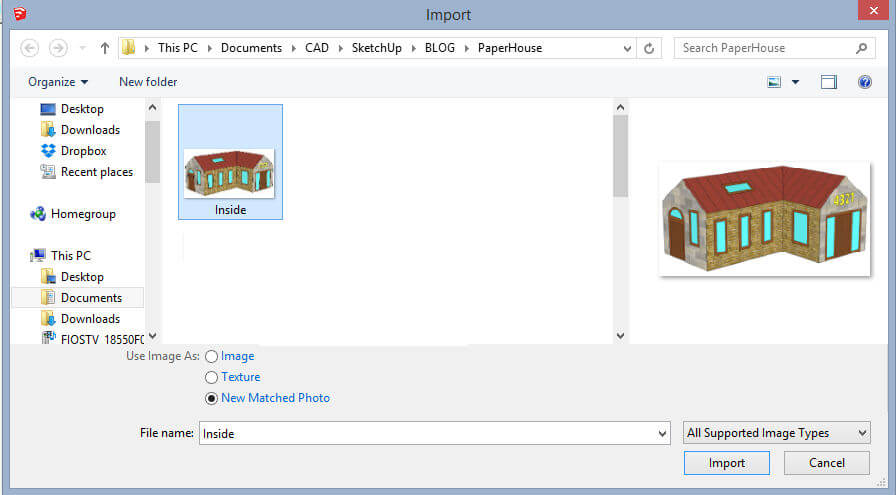
What comes in is the image, along with a mess of red, green, and blue lines everywhere. There’s also a scene tab at the top, with the name of the image.
Set the green and red axis bars as shown below, using lines along the house in the image. Green and red directions should match the green and red axes of your model. The origin – the yellow box – should meet the origin of the model, at the bottom of the inside corner. If everything was set correctly, the blue axis should be perfectly vertical, between the two walls.
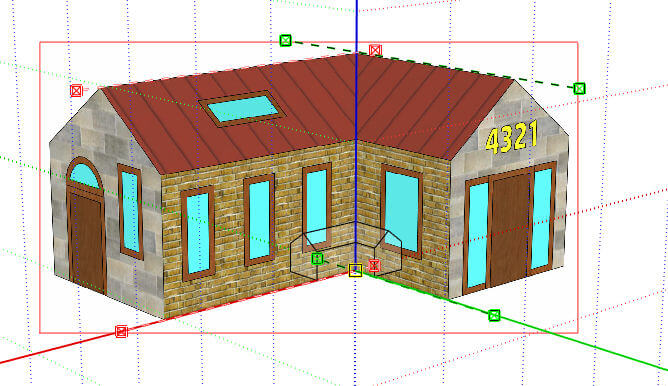
The model itself appears within the image, with the correct origin but probably not at the correct size. To make the model bigger or smaller, drag your cursor along the blue axis. Stop when the model edges match the edges of the image.

Now that the matched photo is set with the correct size, axes, and location, right-click on the image and choose Done.
Paint the Inside Corner
Select all of the faces you can see (six in this case). Right-click on any face and choose Project Photo.

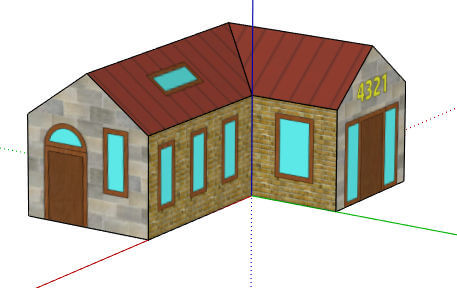
This paints the matched photo onto each of the faces you selected. You can see this when you orbit out of the current view. (If you wanted to get back to the view with the image, just click the scene tab at the top.)
Paint the Outside Corner
The screen capture of the other faces of the house uses a different origin. Orbit around to see the faces that are still blank, and move the model so that the origin meets the outside corner. (This messes up Photo Match for the inside faces – if you click the scene tab it won’t align anymore. But the inside faces are already painted, so it doesn’t matter.)
Import the second screen capture the same way, set up the axes, and size to match the image.

Right-click on the image and choose Done, then project the photo onto the visible faces. All faces of the house should now look correct.

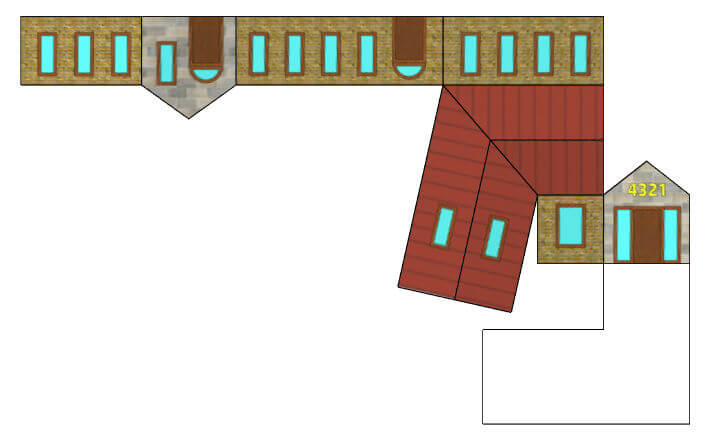
Create the Paper House
Here’s the best result I could get with the Flatten extension:
And here it is after cutting, folding, and taping:

If you try this project at home or in class, and want to share some results, please let me know! I’ll be happy to show some off on an upcoming blog post.

