I had never heard of the Image Trimmer extension until I read something about it on Facebook. So I tried it out and wrote a couple of posts about it.
Why trim?
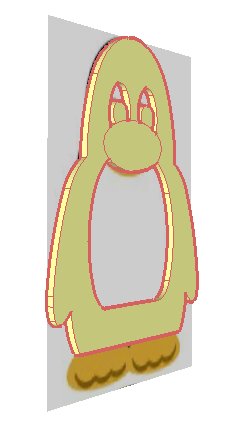
I’ve done a lot of projects that involve tracing and trimming, in particular for 3D printing. As an example, here’s a picture of a penguin:

Using lines and arcs, I traced around it, then made it 3D:
 |
 |
And here’s how it looks when printed. (My kids absolutely love these, and they’re so easy to make.)
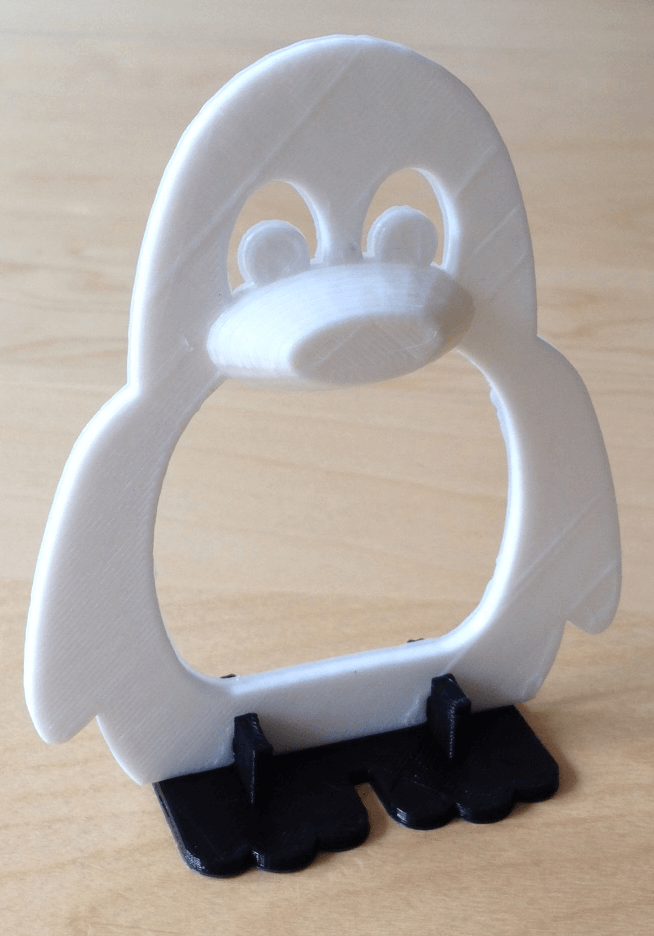
This is an easy example, but even so – the tracing is tedious work. It involves changing the edge style, a lot of zooming and panning and, sadly for my old eyes, squinting. So how cool is it to have an extension that trims around images for you?
Besides 3D printing, image trimming is also great for entourage – people, trees, street lamps. With an image of a person or tree, you can trim around it, make it a face-camera component, and insert it into a completed model.
So I tried it out – it’s a great extension with a few drawbacks. Read on.
Getting the Extension
Image Trimmer is part of an extension that has a suite of image tools. It’s called SKM Tools, Material Tools and Image Tools, available from SketchUcation. (See our post on getting SketchUcation extensions.)
Once installed, Image Trimmer is placed in the Tools menu. Another tool is there too – Image Trimmer Simplifier – more on that later.
You also need to have Java Development Kit installed. Here’s where you can find that installer.
Trying it Out
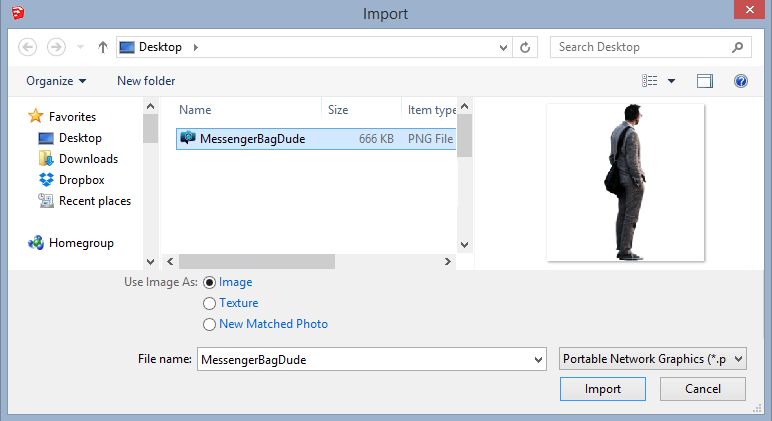
This extension works on PNG images only, which have transparent backgrounds. These images are actually pretty abundant and easy to find. I did an image search for “png people” and found hundreds. I chose this guy with a messenger bag.

In SketchUp, I used File / Import, searching for PNG files and bringing it in as an image (not a texture).
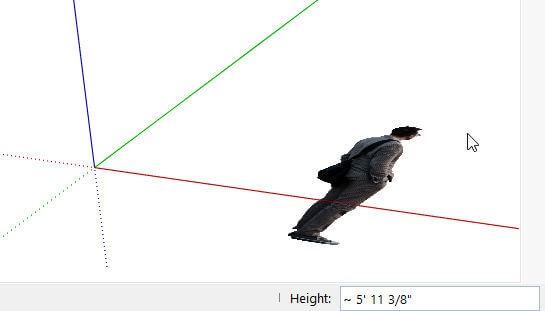
I placed him on the ground, and set the image height to be around 6′ – the assumed height of this guy.
For Image Trimmer to work, the file must be saved first.
The rest is easy: select the image, and choose Tools / Image Trimmer. It takes a few seconds to make edges and trim away the transparent bits. What results is a new component: a set of edges surrounding a face painted with the person’s image.
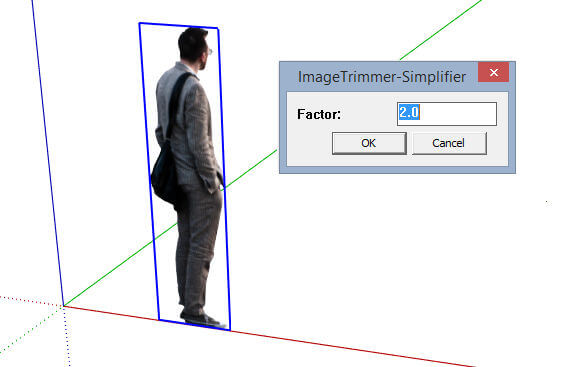
But first, you’re asked a bunch of questions. Stand up? Yes, so that he’ll be oriented the correct way. Flatten the PNG texture? Sure, so it will receive shadows. Delete original image and temporary files? Yes, why not.
Then comes the Simplifier question.
I tried simplifying using a variety of factors, but each time it somehow deleted the component. Maybe I’m doing something wrong, and it is a rather old extension so maybe something’s not updated. I wasn’t able to find out a lot online. So for this question, I just hit Cancel.
File Size
I like to keep entourage models in their own files, in a library I can easily access when I need people, trees, etc. So this guy doesn’t need to remain a component – once he’s inserted elsewhere he’ll come in as a component. So I exploded him.

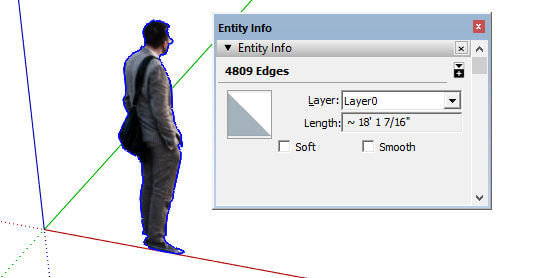
I wanted to know how many edges resulted from the trimming. You can triple-click select the entire person – faces and edges – even though edges are hidden. Then Shift-click the face to unselect it. This leaves just the edges selected. And Entity Info informed me that there is an insanely high number of edges: over 4,800. I believe that a tiny edge is created at each pixel of the image. So starting with a smaller image would help.
The file size of this model, containing just this man and his edges, is 1.6 Mb. Add in a bunch of similar people to a model and your file size will mushroom. And you can imagine the file size of a complicated tree image, with all its individual leaves. You can find entourage models in the 3D Warehouse that have a fraction of this file size.
So the Simplifier tool would really come in handy – I believe it used to work just fine for this purpose but I couldn’t make it work in SketchUp 2017. Oh well. I tried out a couple things from the Extension Warehouse (Simplify Contours, Edge Tools), but couldn’t make anything work. If anyone has more luck, I’d love to hear about it.
Also, this model isn’t quite ready to be used as entourage. He’s not face-camera, and he’s not located exactly at the origin. So in Part 2, I’ll show how I fixed this.

