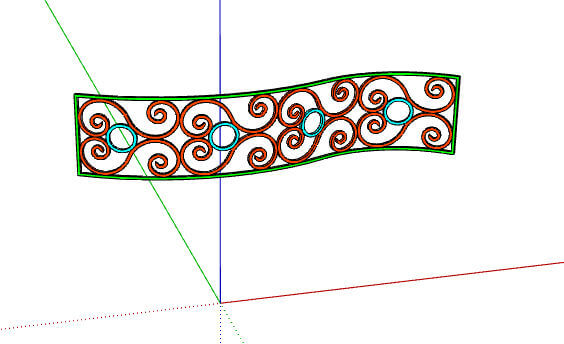
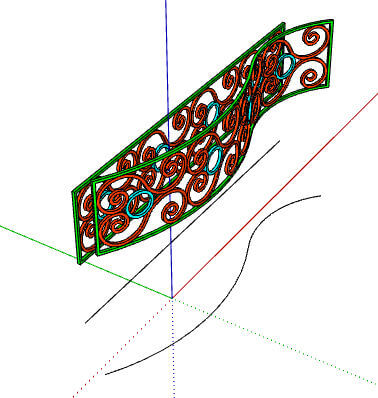
In Part 1 of this series, I left off with the three objects needed for the Shape Bender extension. I have the model to be bent (the trellis), a straight edge parallel to the red axis, and the curve along which the trellis will be bent.
(Check out my previous series on Shape Bender. And read here about installing extensions from the Extension Warehouse.)
So, with Shape Bender installed and at the ready, here’s how to bend this trellis.
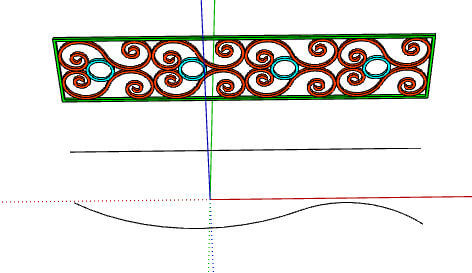
First, select the trellis. (It needs to be a group or component, and since it was imported from the 3D Warehouse, it’s already a component).

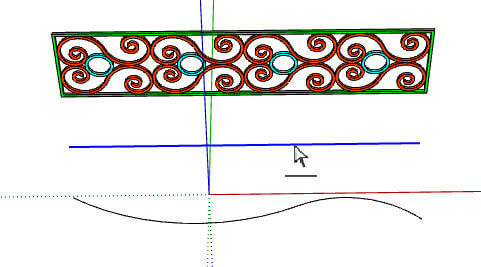
Then click the straight edge along the red axis.
Then click either curve. As long as the set of curves are a chain, the entire curve will be selected. If the “Start” and “End” labels match up, the preview of your bend should look perfect. (If not, use the Up and Down arrow keys to toggle things around.)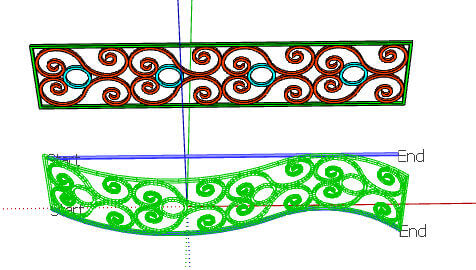
When your preview looks right, press Enter to finalize the bending. The new, bent trellis is added to the model, and all the original stuff remains there as well.
So erase everything but the bent trellis, ready for Part 3 and FredoScale.