How about a Halloween SketchUp project? Grab your kids – they can do this one as well.
Download a Pumpkin
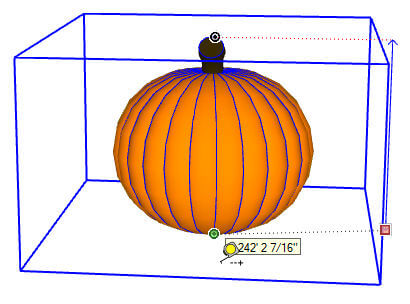
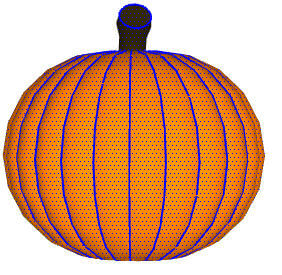
There are many pumpkin models in the 3D Warehouse. The one I used for my jack-o-lantern is this one:
Click the “3D Warehouse” logo at the lower right corner to find this model’s download page.
This scale of this model is rather huge – I measured a total height of about 240 feet. I’m not going to bother changing the size, but later I’m going to create an inner shell, so a sense of scale is useful. Now I know about how thick I want the shell to be. More on that later.
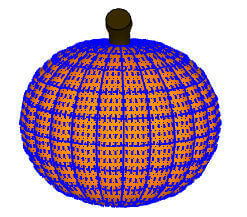
This model is made up of lots of nested components. So explode and explode and explode until you’re left with just loose geometry – ungrouped edges and faces.
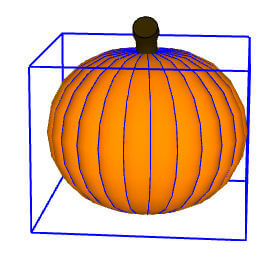
The Shell extension only works with groups or components, so make a single group from the pumpkin faces.
Shell the Pumpkin
Right now the pumpkin is a hollow, paper-thin shell. But I want mine to have a thickness, like a real pumpkin. So I’m going to use ThomThom’s Shell extension. (There are other ones you could try, like Joint Push Pull, but Shell works great for this example.)
If you haven’t installed extensions before, see our intro post on how to do it (it’s easy).
For Shell to work, you also need to install ThomThom’s TT_Lib2 extension.
Now let’s shell: select the pumpkin group and choose Tools / Shell from the main menu.
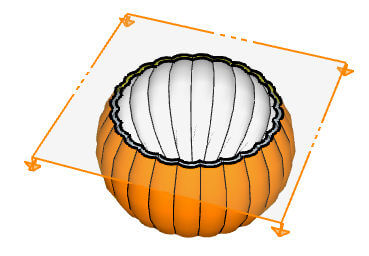
You’re now asked to enter a thickness. I used 10′, a rather thick shell, but it makes sense for a 240′ tall gourd. Then double-click to complete – that’s all there is to it.
Of course, since the pumpkin is closed, you can’t see the results of the shell. So I dropped a section plane (Tools / Section Plane) to slice the pumpkin, to make sure it’s shelled. All good.
The Shell extension adds a group inside the group you already have. So to make things simple, explode everything once again, till you’re down to just loose geometry.
Scary Face
Now you can use your imagination. Switch to Front view (Camera / Standard Views / Front). Draw a rectangle off to the side and use the Line tool to draw on that rectangle the shapes you want to carve into your pumpkin.
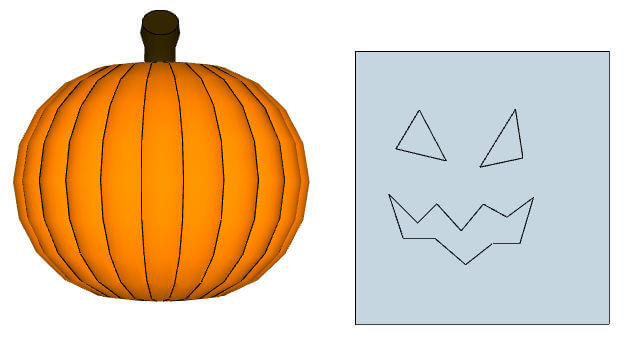
Erase the rectangle, and Push/Pull the objects you drew for the carving. Group these objects, so they’ll be easy to erase later. Move the face over to the pumpkin.
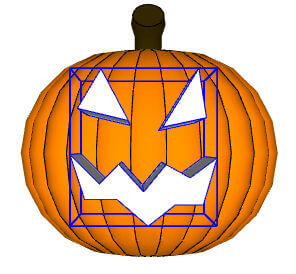
Orbit around and make sure the objects go back far enough to intersect the front of the pumpkin. 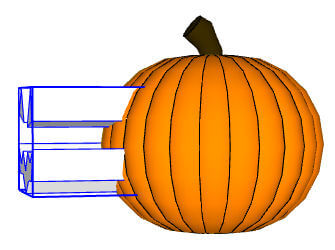
Now select everything in the model. Right-click on anything that’s selected, and choose Intersect Faces / With Model.
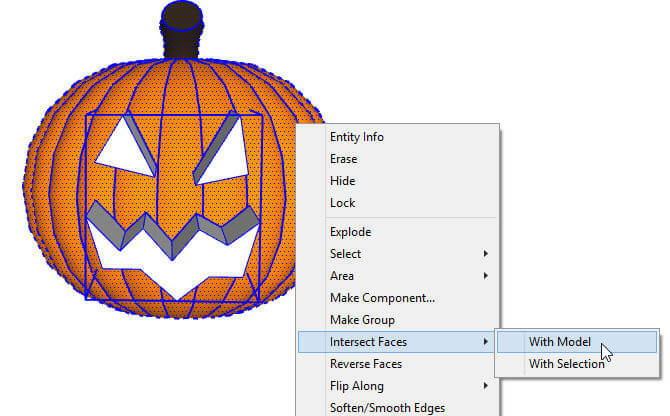
With the intersection edges created, you can now erase the group with the face objects.
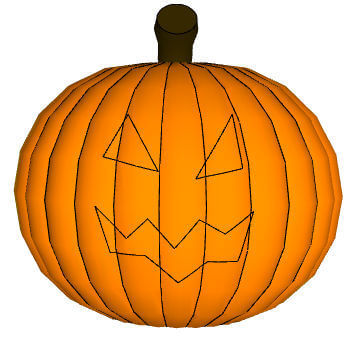
Now comes a bit of painstaking work – erase faces one by one, both outside and inside the shell, to make the holes. There will be a few edges to erase as well. Here’s my final jack-o-lantern:

If you’re feeling ambitious, you could find a digital image of the face you want to use, trace over it with line and arcs, and use those objects for the carving.
Happy Halloween!

