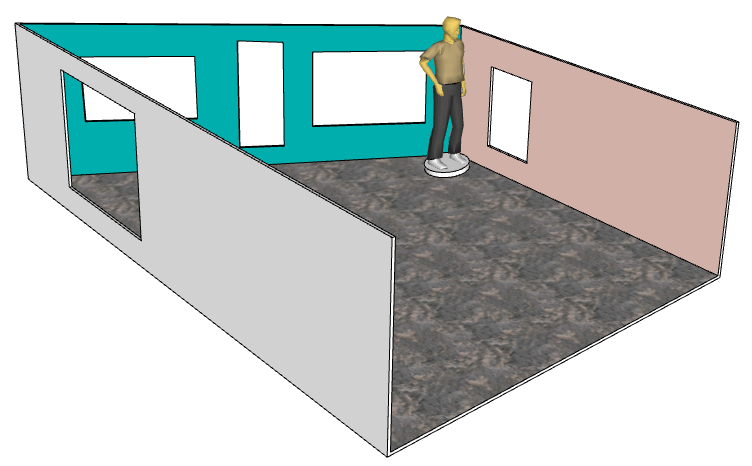
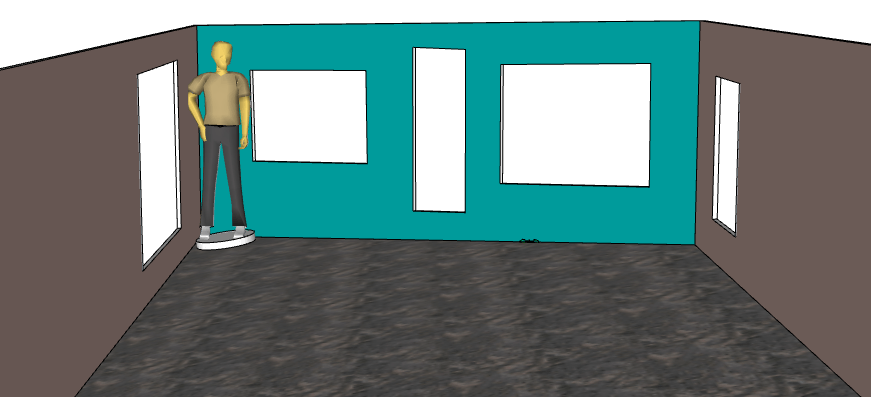
In Part 2 of this series, I left off with the room and person, ready to animate in MSPhysics to see the Ames Illusion.
Here they are:
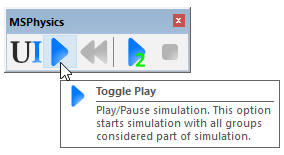
Before getting into making the person slide across the room, run the simulation to make sure the person is stable and won’t topple over because of the sloping floor. To do this, just click Play on the MSPhysics toolbar.
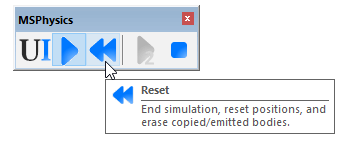
After you see what happens (if anything), be sure to stop the simulation by clicking Reset.
If your person falls, you can try making the pedestal thicker or larger, or rotate the person for better balance. Otherwise, we’re all set to keep going.
There are several types of MS Physics joints. For linear movement, we could use a slider or piston. Both are fine, but the piston is more fun because you can get a controller. (With just a slider, you can click and drag the person, which is also fun.) To create the piston, click its icon on the MSPhysics toolbar.

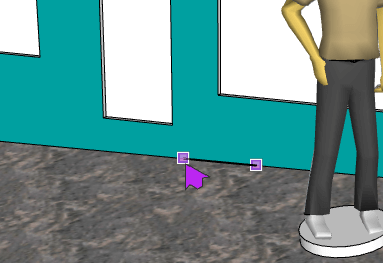
To establish the piston’s direction, click any two points along the back edge of the sloping floor.
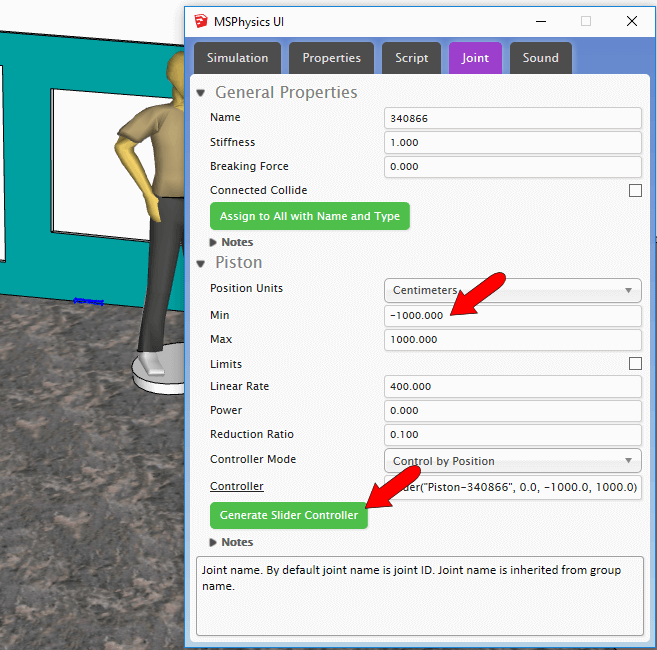
With the piston selected, open the UI window. The min and max positions look good – 1000 mm is more than enough length in either direction. Also, click Generate Slider Controller.
Joints don’t do much unless they’re connected to objects. So click the Joint Connection Tool.

With the Ctrl key (PC) or Option key (Mac) pressed, click both the piston and person.
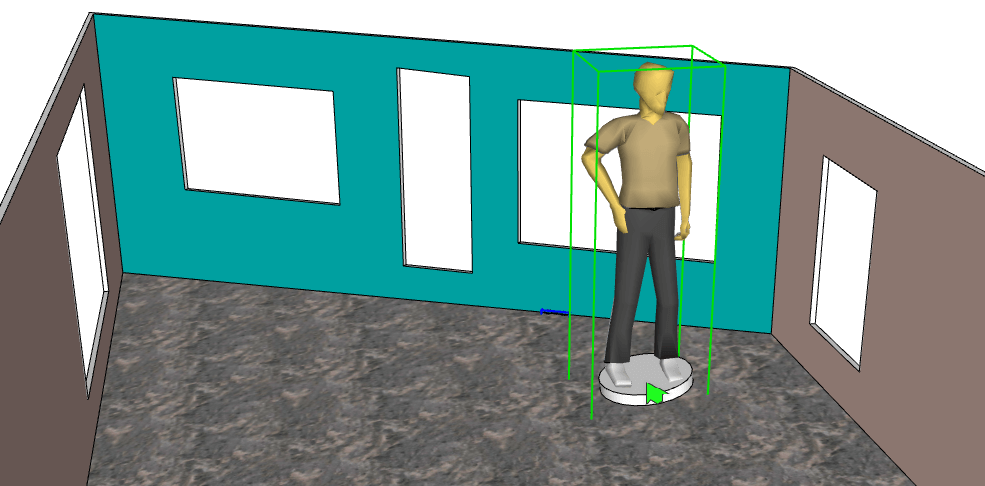
Now all of the pieces are in place! Click Play to start the simulation, and the piston controller appears. Use the slider to move the person, who can only go in one direction. Here’s mine at the start . . .
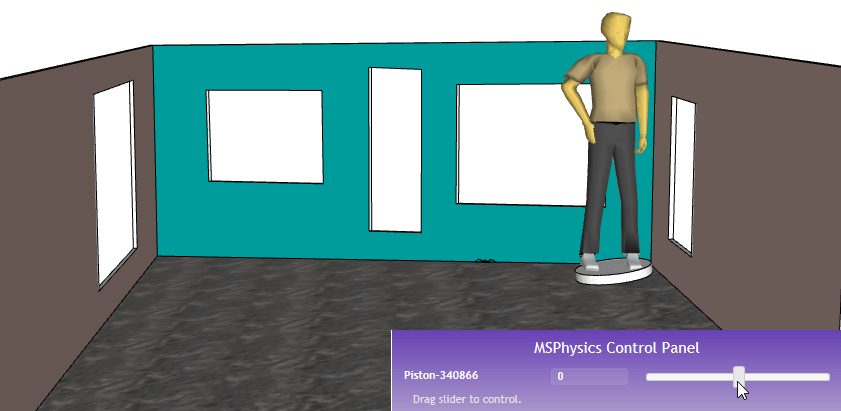
. . . in the middle (getting shorter) . . . .
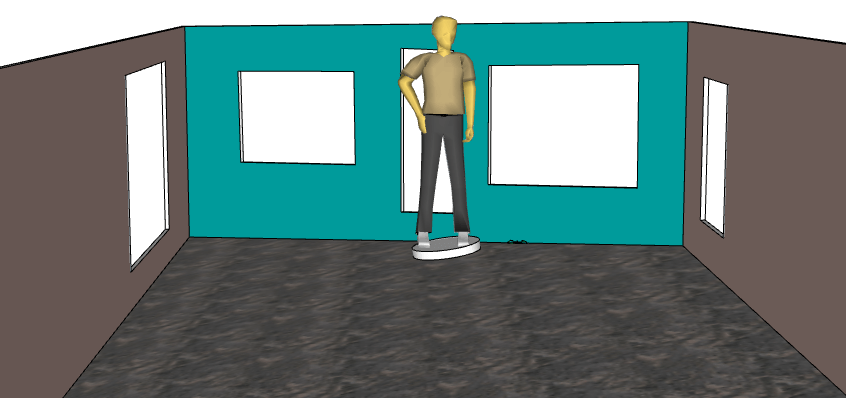
. . . and at the end, where he looks much shorter than before.
And again, here’s the video of my model in action:


