Good SketchUp modelers always make use of components when objects repeat in a model. For example, they use components for identical windows, drawer handles, columns, etc. Nesting components are components that are comprised of other components (or groups). This post will demonstrate what this means, why you should use nested components, and how the Outliner can make this easy.
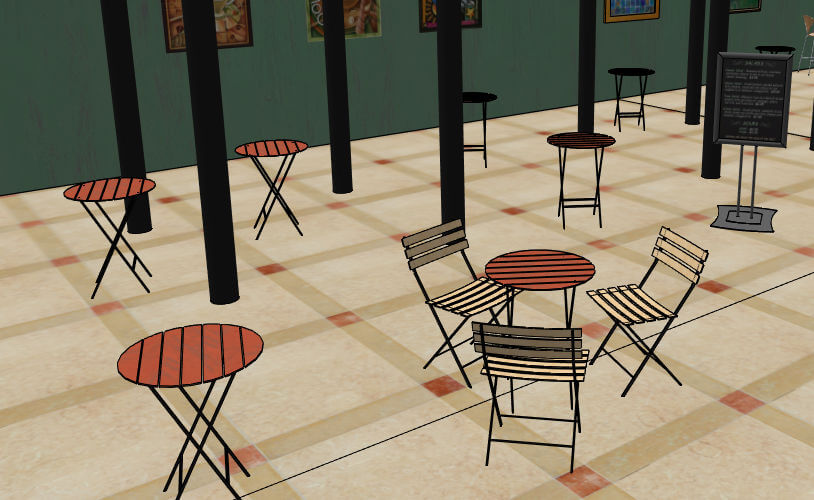
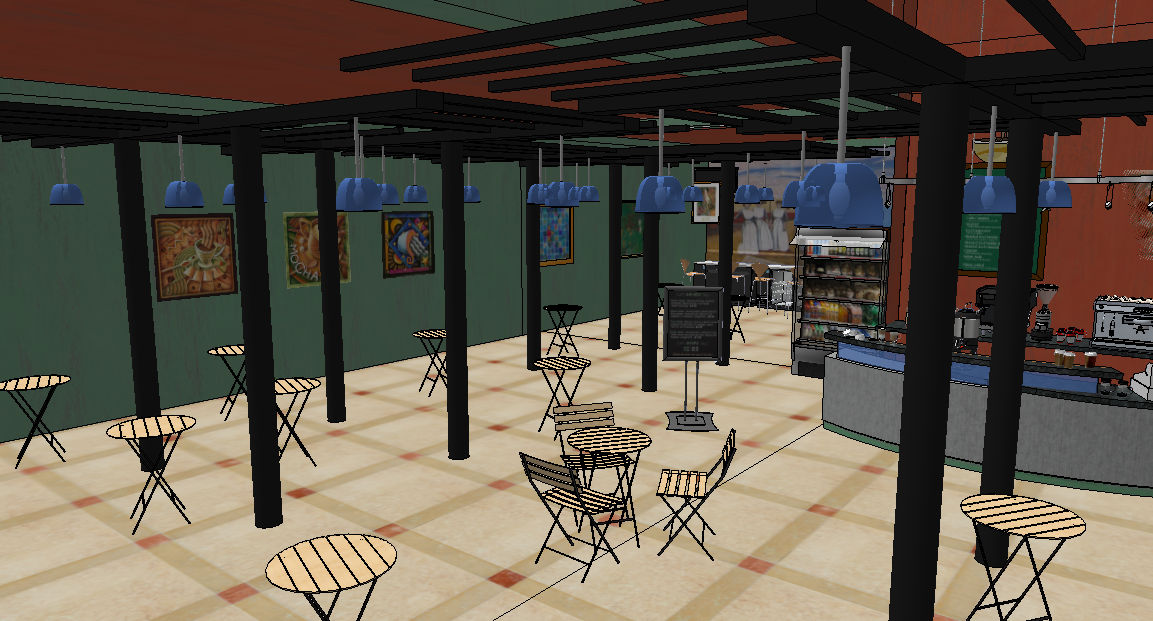
I’ll use this model of a cafe. There are tables scattered throughout – each table is an identical component. But only one of the tables has chairs – there are three identical chair components surrounding one table. The idea is to create a table-and-chairs component, automatically placing three chairs at each table.
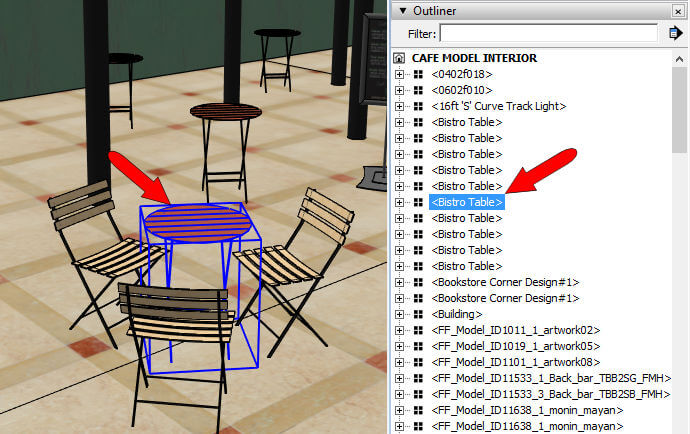
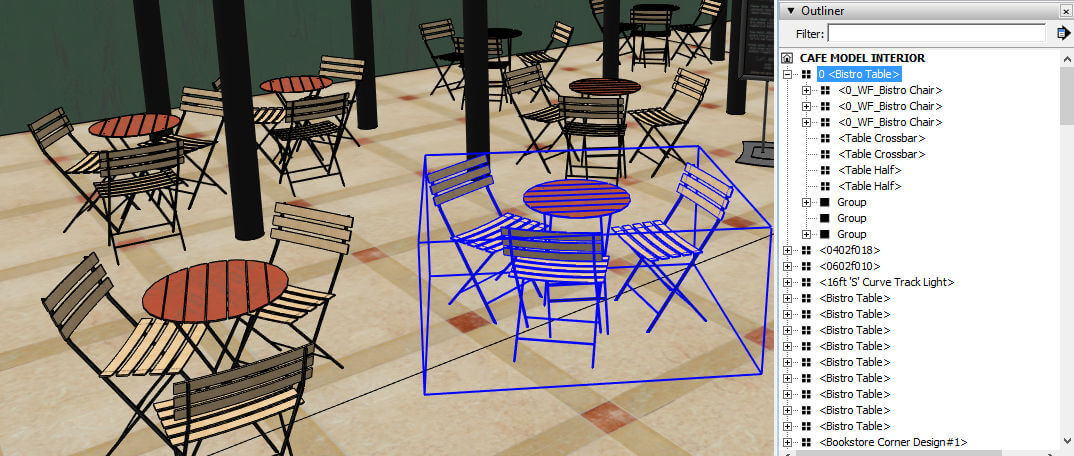
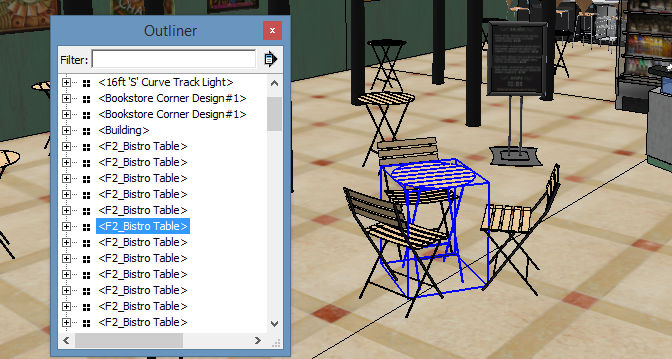
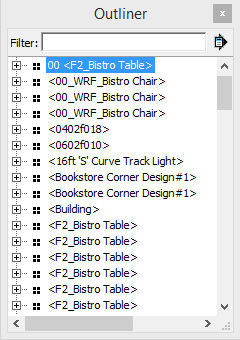
The Outliner is available in a tray (PC) or in its own window (Mac). It shows a list of all groups and components in the model. This particular cafe model is quite complex, consisting of dozens of separate components, so the Outliner list is long. But it’s easy to find a particular object in the Outliner list – just select an object and it will highlight.
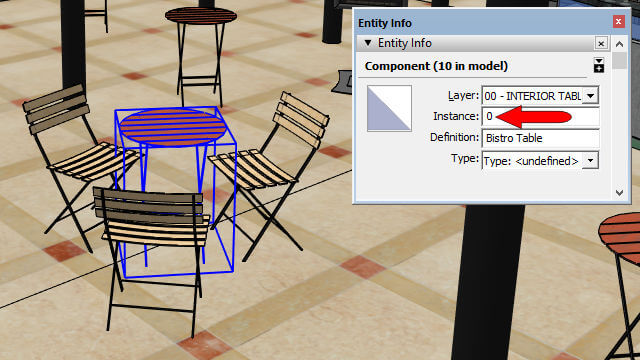
The table selected below, the one that has the chairs, is identified as “Bistro_Table.” But there are many of these tables, and I want to identify this particular one so that it will stand out – more on that in a bit.
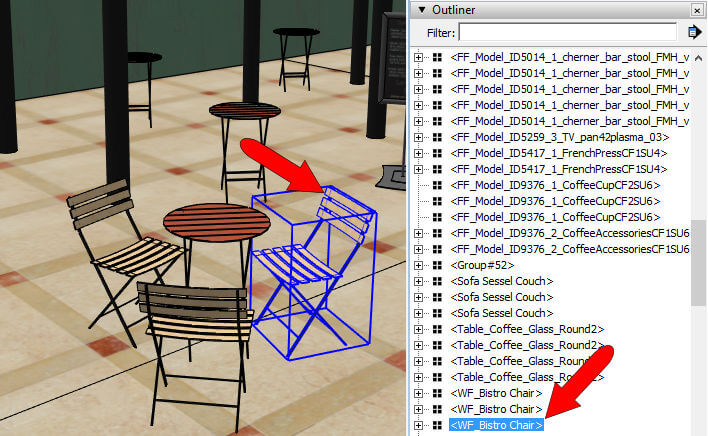
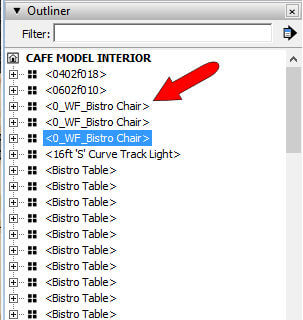
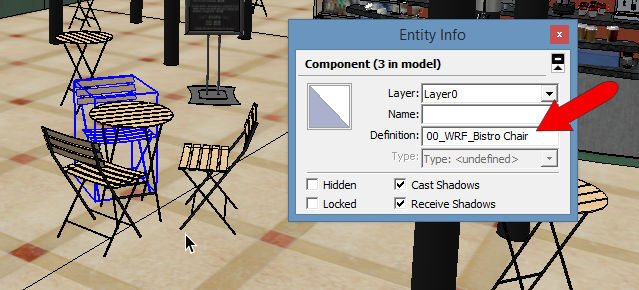
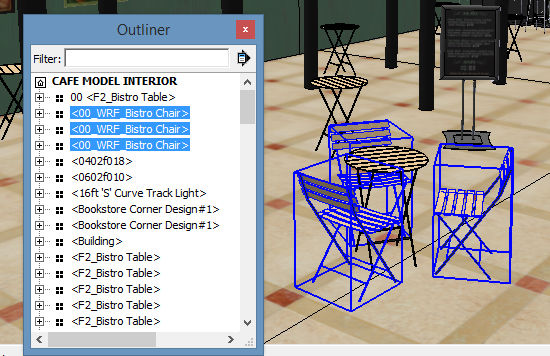
Here is one of the chair components: “WF_Bistro_Chair.” There are only three of these in the model so far.
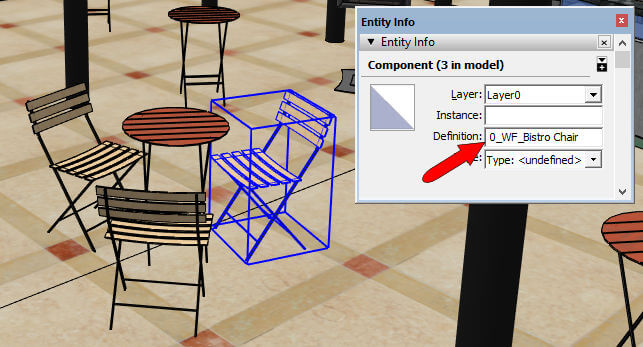
The Outliner list is alphabetical, so “Bistro_Table” and “WF_Bistro_Chair” are nowhere near each other. I want to mark both the chairs and the table so that they’ll all appear close together, at the top of the Outliner list. So I’m opening the chair’s Entity Info window (available on the chair’s right-click menu). The Definition field shows the name assigned to the component when it was created, and if I change this field, the definition updates for all identical components. I want all three chairs to move up to the top of the Outliner list, so I’m adding a “0_” (numbers come before letters) to the beginning of the Definition.
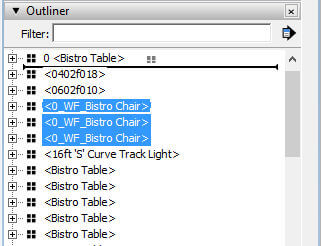
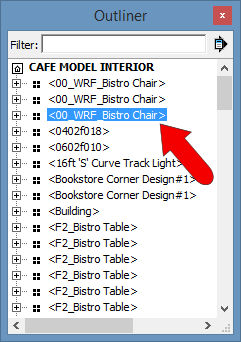
Pressing Tab or Enter makes the change official, and here are my three chairs at the top of the list:
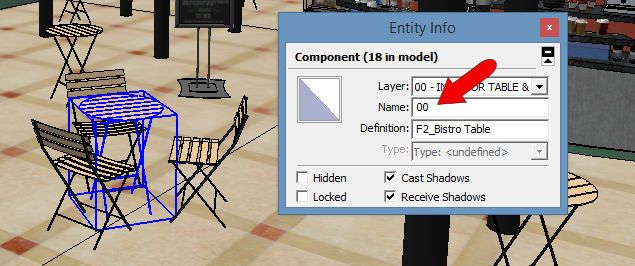
The table identifier is a different situation. I don’t want all of the tables to move to the top of the list, just the table that has chairs around it. If I change the table’s Definition, I still won’t be able to identify that specific table – they will all have the same new definition. But I can assign a new Instance – this particular table will have an Instance of 0.
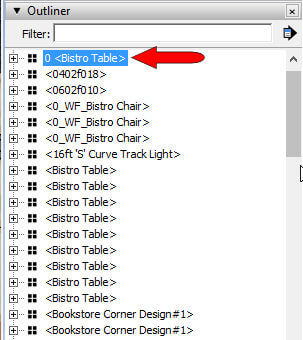
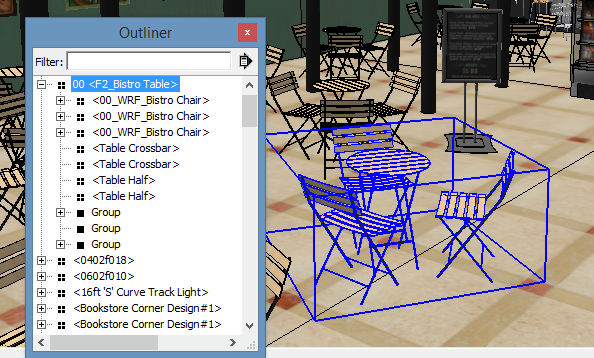
Now just this one table moves to the top of the list, right near the three chairs.
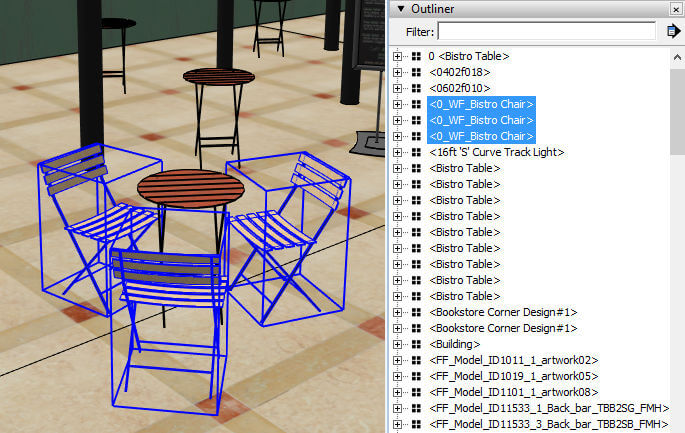
Here’s the fun part – the nesting. I’m selecting the three chairs, which are highlighted in the Outliner.
Then in the Outliner I drag them just below the table component.
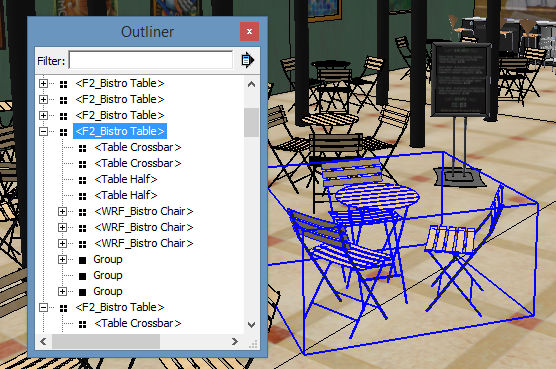
Now the three chairs are inside the table component. And all identical tables also have three chairs nested inside.
Now that the nesting is done, I’m removing the “0” instance of that one table component. Now all tables once again appear together on the list. 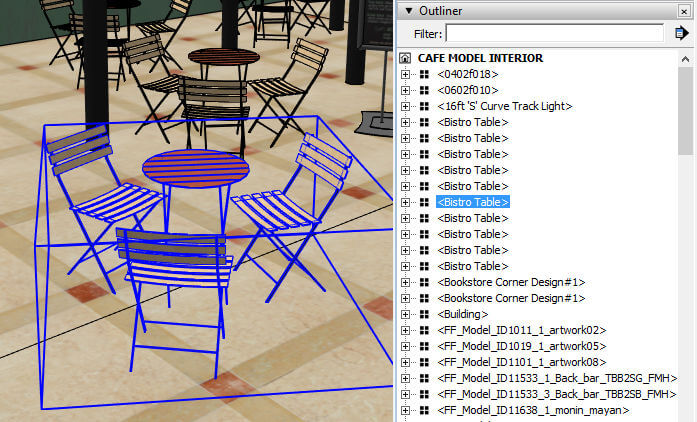
Note that this isn’t the only way to do this nesting. If you don’t want to involve the Outliner at all, here’s another way: You could select the three chairs and Cut them (Ctrl + X). Then you’d open the table component and choose Edit / Paste in Place. Same exact result, no messing with definitions and instances.

